16 Tools That You Need In Your Nail Art Kit
 Dao Huyen NhuNail Artist
 Dao Huyen Nhu is a highly skilled nail artist with 8 years of experience in the beauty industry. Her enthusiasm for self-expression through nail art led her to specialize in hand-painted nail art. Her work is a testament to her artistry, wi... more
 srijita deCommerce Writer Experience: 2 years
Srijita De is a makeup and fashion enthusiast with a passion for empowering readers through practical tips and tricks to present their best selves with confidence. Armed with a postgraduate degree in ... more
 srijani roy chowdhury Associate Commerce Editor Experience: 3 years
Srijani is an associate commerce editor with a master's degree in journalism and mass communication from the University of Calcutta, West Bengal. She is certified in makeup techniques and is also a ce... more


Image: shutterstock
There are many nail art kit products available in the market. Here we discuss the basic things you will need to get started with nail art.
In This Article
Must Haves Of The Nail Art Kits
1. Nail Art Stickers
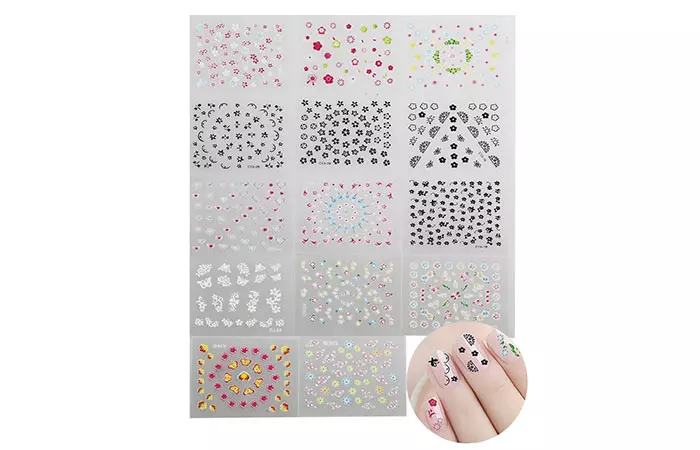
Nail art stickers come with strong adhesive backing. You should apply them on dry nail polish and seal them with a fast dry topcoat. They come in a variety of designs from flowers to cartoons etc.
2. Dotting Tools
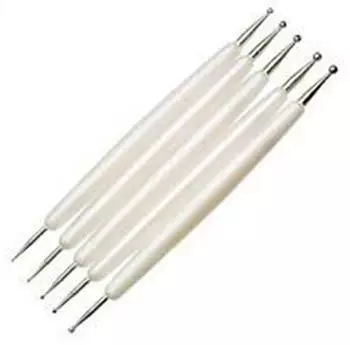
Dotting tools are a must in your nail art kit. They help in creating dots. They usually come in sets of five with different sizes of 10 heads. They also help in creating some easy nail designs.
3. Rhinestones

Acrylic, crystal, or glitter, rhinestones have a charm of their own. Having different colors and sizes or shapes of rhinestones adds that extra bling and style to your nails. Use them to get uniquely designed nails of your desire.
4. Striping Tapes
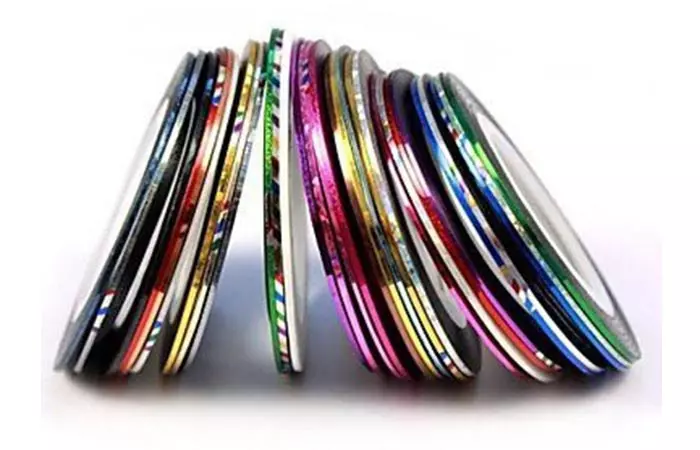
These tapes are very thin and help in adding metallic lines in your manicure. These tapes also come in many textures and colors. Dao Huyen Nhu, a nail artist, opines, “Make sure the nail surface is clean and grease-free, and cover both ends of these tapes nicely with a top coat so they won’t come off.”
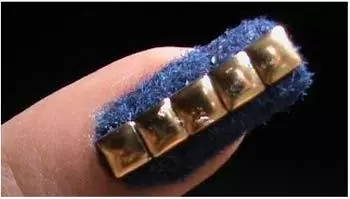
5. Bullion Beads/Sprinkle Beads/Cavier Beads
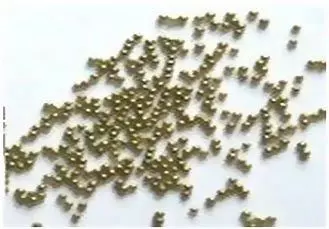
They are small metal beads or glass beads. These help in creating accents and give a 3D effect to your nails. Dao Huyen Nhu suggests, “When applying beads, keep them together for better adherence.” You can see the Caviar nail art in action.
6. Loose Glitter
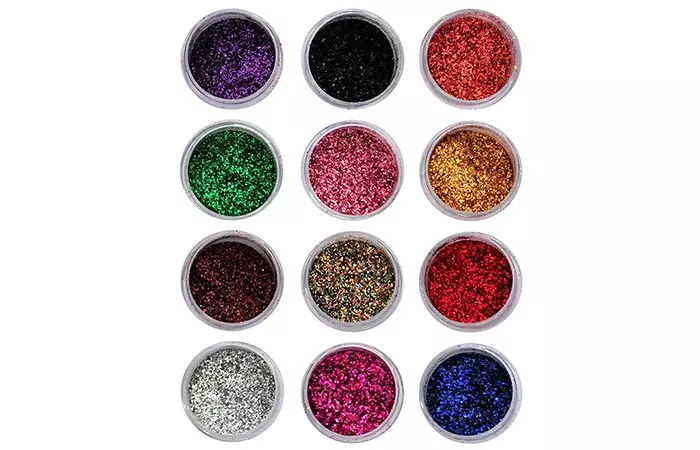
Well, it is not mandatory to have glitter in your nail paint always. You can use loose nail art glitter powder on your nails in your desired quantity for a chic look. Dao Huyen Nhu, suggests, “Make sure the glitters are not chunky so it won’t create an uneven surface when you put the top coat on.” You can create flitter french tips by applying topcoat to your nails, then dipping them in glitter pots, removing the excess using a fan brush, and sealing it by applying another layer of topcoat. Also, you can change the look of your tacky nail polish by sprinkling some glitter on top of it using a fan brush.
7. Nail Polishes
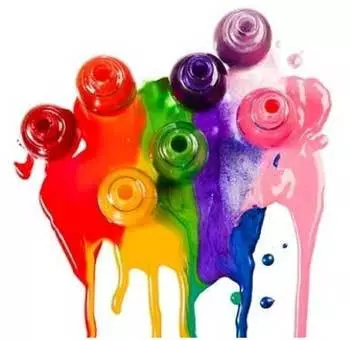
You should have at least some good shades of nail enamels. Don’t forget to add black and white shades as they are the most used ones. Also you can add some textured nail enamels or glitter ones. The most trending nail enamel nowadays is magnetic nail enamel. Dao Huyen Nhu, opines, “It is recommended to use thick and fast dry nail polishes for drawing and stamping.”
8. Nail Stamping Kit
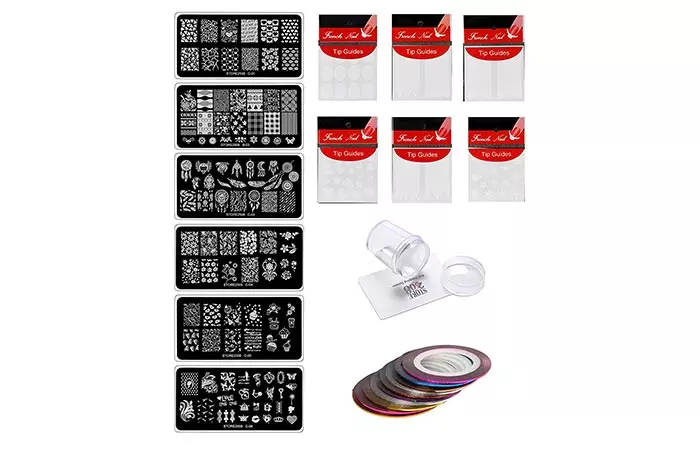
A regular nail stamping kit includes a stamper, a scraper, and a stamping template, but a few can also include stainless steel image plates, clear jelly, and rolls of nail striping tape. The image plates have a plastic backing, making them safe for use, and protecting your nails from the sharp edges. Always clean the stamping plates after use.
9. Topcoat and Basecoat
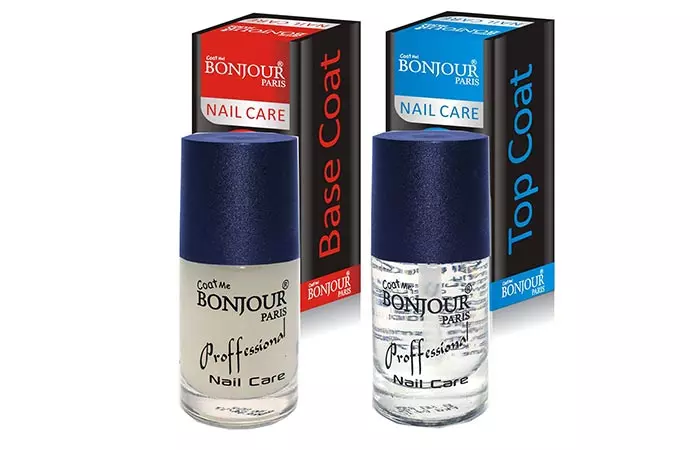
Topcoats and Basecoats are a must-have in your nail art kit. A good top coat not only extends the life of your manicure but also protects your nails and adds shine to them. On the other hand, a base coat protects your nail polish from chipping and yellowing. You can also opt for nail hardening, calcium-based base coats that strengthen your nails.
10. Orangewood Stick/Toothpick
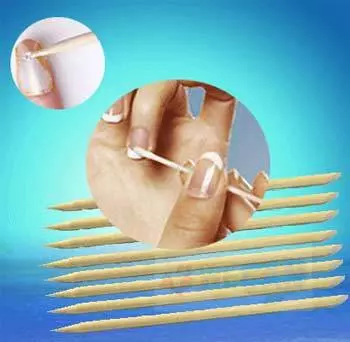
These are used to pick rhinestones and also help in creating dots. They are also very helpful in water marbling. Dao Huyen Nhu, claims, “Orange sticks can also be used to push and clean cuticles for home manicure.”
11. Nail Grooming Kit

A nail grooming kit is a must-have in your vanity. It is a multipurpose kit that can be used for manicure, pedicure, facial grooming, etc. This set of 16 tools contains many essentials such as scissors, nail clippers, dead skin pliers, scraping knives, scraping cutters, etc that are useful in creating perfect nail art.
12. Nail Polish Remover
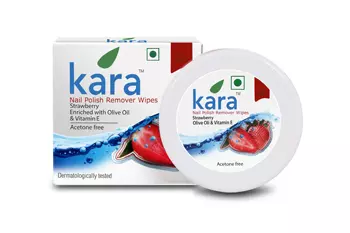
To remove nail polish, you can try nail polish remover wipes. Kara Nail Polish Remover Wipes are a good option. They are the one-stop solution for pretty nails. The wipes are easy to use and do not contain acetone, toluene, alcohol and paraben. They can easily remove dark shades of nail polishes. They contain natural olive oil and vitamin E. These wipes moisturize your skin as well as prevent peeling of cuticles and chipping of nails, making your nails healthy looking and shiny.
13. Lint-Free Cotton Swabs/Q-tips
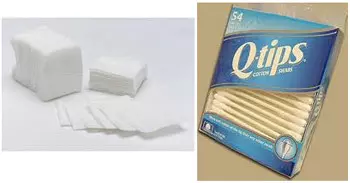
These are needed to clean and remove polish from your nails. Lint-free cotton swabs are important because ordinary cotton may leave cotton fibers on your nails thus ruining your manicure. Q-tip dipped in acetone free remover helps in removing extra polish from cuticles and your manicure looks neater.
14. Acrylic Colors
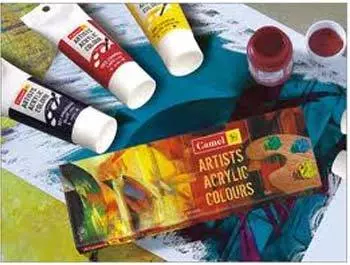
They help in creating beautiful nail art designs.
15. Nail Art Brushes
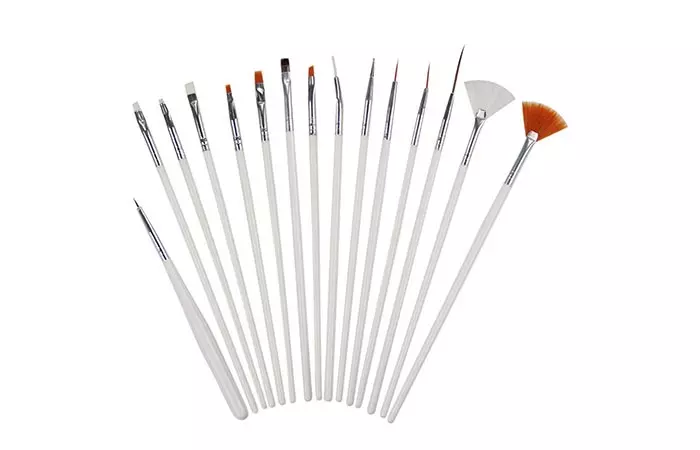
If you are an ardent nail art lover, having a set of nail art brushes is a must. These brushes help you design your nail art as you desire effortlessly. Each brush has its purpose and designs uniquely like no other. Grab one set and be amazed at its benefits.
16. Others
You can add studs, acrylic decals, flocking powder, artificial tips etc to your stash.
*Subject to Availability
So which of this nail art tool kit do you frequently use?
Let’s look at some important points to consider before investing in a nail art kit.
Things To Consider Before Buying A Nail Art Kit
- Number Of Tools
Check the tools included in the nail art kit. It is necessary to have all the essential tools to do the best designs. An ideal nail art kit consists of an adhesive, stamping tools, a palette, and acrylics.
- Patterns And Design
A good nail art kit is all about patterns and designs. Therefore, ensure your kit comes with all those exciting design stickers and stencils. Also, check the different tints, shades, and hues included in the design sheets.
- Adhesive
The quality of the adhesive is essential as a low-quality glue can damage your nails and skin. Look for a tool kit that comes with a good-quality adhesive.
- Quality
The overall quality of tools plays a vital role. Good-quality tools not only make your nail art experience amazing but also do not harm your skin. If you are unsure about the quality, explore the users’ reviews and visit the official website.
- Brand
The brand name cannot be missed when selecting a nail art kit. A well-known and reputed brand will always ensure good quality. Opt for a trusted brand that delivers satisfactory results.
- Cost
Different brands offer nail art kits at different price ranges. The cost of a kit depends on the quality of the tools. The better the quality of the adhesive, patterns, and stickers, the higher the price.
Frequently Asked Questions
What are some tips for using a nail art kit effectively?
Start with clean and dry nails, follow the kit’s instructions, use nail tape or stencils for precise designs, practice on paper before applying, and seal the design with a top coat.
Are there any nail art kits suitable for children?
Some nail art kits are designed for children, offering non-toxic and kid-friendly materials. Look for age-appropriate options that can be used with parental supervision.
Can I customize my own nail art kit?
Yes, you can create a personalized nail art kit by selecting individual nail polishes, nail art tools, stickers, rhinestones, and other decorative elements.
How long do nail art kits usually last?
The longevity of nail art kits varies based on the number of designs created and the amount of product used. Properly sealed nail designs can last for several days.
Are nail art kits suitable for both gel and regular nail polish?
Some nail art kits are compatible with both gel and regular nail polish, but it’s essential to check the kit’s specifications and ensure the products work together.
Recommended Articles:
- Top Nail Polishes For Dark Skin Beauties
- The Most Essential Manicure And Pedicure Tools For You
- Best Indian Nail Polish Brands


