Braided Twister Hairstyle – DIY
 jyotsana raoBE
 Jyotsana Rao is an engineering graduate from NIT, Nagpur, who discovered her love for writing during her undergraduate days. She is passionate about writing about everything related to beauty - makeup... more

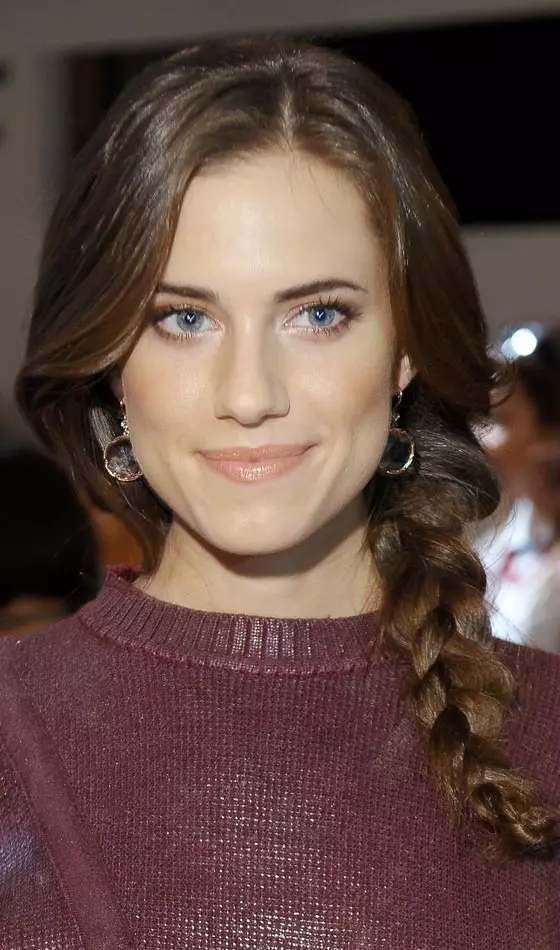
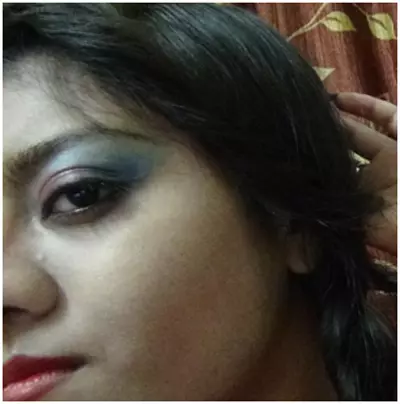
Image: iStock
Gone are the harsh days of sweat and summer and it’s time to flaunt your hair now. Winters are perfect to let your hair down and flaunt different hair styles that allow you to keep your hair open.
You may have tried out a few hair styles already, but today, we will be sharing a different and fun style for you to sport. If you haven’t tried it out already, the Braided Twister Hairstyle is something that is easy to create, even though it looks quite complex. This is one hairstyle that girls with varying length of hair can try out, and the unique braids combination will surely interest you. So let’s see how to create an easy Braided Twister Hairstyle at home.
Things you will need:
- A few hair pins (bobby pins)
- Some hair clips
- Rubber band (1 in number)
How to create the hair style:
Step 1:

- Wash your hair and make sure there is no dirt or grime
- Let your hair dry completely
- Now comb through your hair to remove all tangles
- Once you have removed all the knots and tangles, side section your hair.
Step 2:
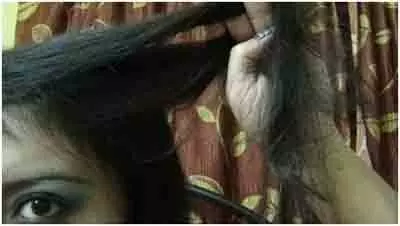
- Now take two big sections of your hair but make sure they are just enough to do a twist from the front section.
- For the rest of the hair, let it remain as it is.
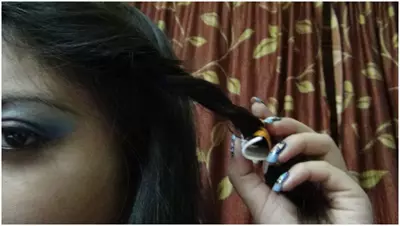
Step 3:
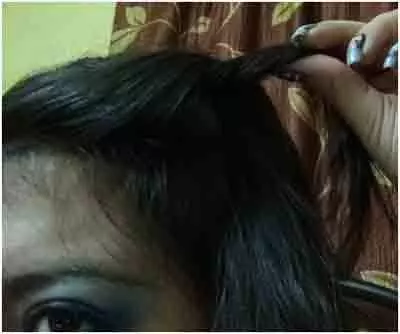
- Make a twist using these two sections.
Step 4:
- Once you have made the twist, tie the end with a hair clip or rubber band
- This will help the twist stay in place.
Step 5:
- Now to complete this look you can create a simple braid.
- As you most likely already know, we need to take 3 sections of hair to complete a simple braid.
- You already have created the twisted and braided portion.
- Now use this as the middle section for the main braid
- Now take two more sections on either side of this section
- Begin making the simple braid.
- Continue making the braid through the length of your hair.
If your bangs are not long enough to form a section for a low braid, you can do a normal side braid and then tie the ends with a rubber band. You can then stick the twisted hair into the braid from the back with a hair pin.
And that’s it, your messy twist braid hairstyle is ready for you to flaunt. While the final look looks quite complicated, it is actually a very simple hair style to create a look at home. As you do not need any additional items or accessories to do this hair style, this is also extremely inexpensive, yet gives you a well-done look.
If you wish, you can jazz up the look using some interesting hair accessories like flower clips, jewelled clips, embellishments and more. Style it up the way you want and flaunt your new hair style. This look is also perfect for a party or a wedding celebration.
For more ideas on how to create twisted braid hairstyles you can check below:
For more reference, you can also watch this detailed video:
We hope you enjoyed the tutorial and that it was simple enough to try out. Do make this at home and let us know how it turned out!
For reference, watch this detailed video: