What Are Dreadlocks? How To Make Dreadlocks, Maintenance, And Tips
Everything you need to know about this hair-locking technique for the free-spirited ones
 Monica DickensonCertified Trichologist
 Monica Dickenson has more than 30 years of experience as a dedicated technician and business owner. She is very passionate about providing the best service possible to anyone experiencing hair loss and has certifications in hair replacement... more
 arshiya syedaBA (Literature & Psychology), PG Diploma Experience: 7 years
Arshiya Syeda is a senior editor at StyleCraze with 7 years of experience. Prior to that, she was a content writer and combined her writing and research skills to write over 200 high-performing articl... more
 madhumati chowdhuryMA (English Literature) Experience: 7 years
Madhumati is an associate editor with seven years of professional experience. She has previously worked as an editor, proofreader, and a writer with various organizations, helping her navigate through... more
 bhumika dagaMA (English) Experience: 2.5 years
Bhumika is a content writer with 2.5 years of expertise in crafting articles across diverse genres. She graduated from the University of Delhi and completed her post-graduation from Indira Gandhi Nati... more

Image: Shutterstock
Dreadlocks are the dopest hairstyle of all time! If your curiosity is peaked, and you are wondering how to make dreadlocks, stick around! If you are not sure what dreads look like, think Bob Marley. Got it?
Dreadlocks rope-like sections of hair with a coarse texture created by hair matting. These hair locks have been passed down from ancient Greek, Rastafari, Senegalese, Aztec and Buddhist cultures. While they are mainly associated with African heritage, people of all genders, religions, tribes, and races flaunt dreadlocks.
 Fun Fact
If you have ever wondered how to do dreads, you’ve come to the right place! The most natural way to attain dreadlocks is to neglect your hair completely – no combing, cutting, or brushing your hair. However, it takes years for your hair to get matted and give you the desired look. Also, you can use other methods to dreadlock your tresses, such as dread braiding, twisting, and backcombing. Keep reading to learn how to get dreads without having to wait for years. In this article, we have added some simple ways to help you achieve your dreadlock vision in a more uniform method rather than your hair becoming matted. Scroll down for more information.
 Before You Get Started
- It is normal for your hair to come out of the locks in the first four weeks. They will tighten from the inside around 6-8 weeks.
- Dreadlocks have five stages of development: starter, budding, teen, mature, and rooted.
- After your locs have matured, you can use conditioner on them every 1-2 weeks.

In This Article
How To Make Dreadlocks
What You Need:
- Residue-free shampoo
- Blowdryer
- Sectioning clips
- Rubber bands
- Fine toothed comb
- Dread wax
Crocheting Method
- Wash Your Hair: Wash them with a residue-free shampoo to get rid of all the dirt and oil.
- Dry Your Hair: You may either blow-dry it or just let it air dry.
- Sectioning: Using a wide-toothed comb, and not brush, part your hair into sections from the scalp.
- Twist: After you’ve divided the hair into sections, take off the hair ties and use your comb to twist each one. Work your way down, starting in the middle.
- Crochet your hair: Place your crochet hook between the hairs and pull. Choose the smallest available crochet hook on your hair. Since a US size 000 crochet hook is the lowest one available, it is the perfect choice for crocheting hair. After you have pulled the first few hairs through your section, do the same thing over again. Repeat the process until you have made the ends blunt.
Dread Perm Method
- Wash your Hair: Use a residue-free shampoo as it ensures that there are no remnants left on your hair after removing any grease and dirt buildup.
- Dry your hair: Before you begin dreadlocking, you should make sure there are no wet hair strands present. According to your preference, you can blow dry or air dry your hair.
- Start Sectioning: Divide all your hair into defined sections with your comb.
- Dread Perm: Coils are first wrapped around sectioned strands of hair. After that, a chemical relaxer is applied which breaks down the hair’s connections as a result. The relaxer will be washed out and then neutralized when it has thoroughly penetrated the hair.
Backcombing Method
- Wash Your Hair: I cannot stress enough how important it is for you to wash your hair with a goodresidue-free shampoo before you dreadlock your hair. This shampoo removes all the grease and dirt deposits from your hair and makes sure that it doesn’t leave any residue of its own (the way a normal shampoo would).
- Blowdry Your Hair: Up, down, side to side – blow dry your hair from every direction possible. The key is to get as much volume as you possibly can into your hair. Also, you need to make sure there’s not a single strand of wet hair before your start dreadlocking.
- Start Sectioning: Part your hair horizontally a couple of inches above the nape of your neck. You can use sectioning clips to hold up the rest of your hair. Now, from one corner of this sectioned-off hair, pick up about an inch-wide section of hair.
- It’s Time To Backcomb: From about an inch below your roots, start backcombing this section towards your scalp. This will create a tangle and knot that will be the foundation for your dreadlock. Continue backcombing this way while you move down the length of your hair until you reach the very end.
- Start Twisting: Completely twist this backcombed section of hair until it forms a tight cylindrical shape.
- Apply Dread Wax: Rub a small amount of dread wax between your fingers and work it down the length of your dread while continuing to twist it. The aim is to smoothen down and bind together all the loose strands of hair.
- Palm Roll Your Dreadlock: Starting from your root, roll this waxed up dreadlock between the palms of your hands till the very ends until it’s nice and taut. Palm rolling is super important in not only forming your dreadlocks but also for maintaining them.
- Stagger Your Dreadlocks: Don’t try to follow an even and set pattern when making your dreadlocks. This will make your scalp look exposed. So stagger your locks to cover your scalp as much as possible and give the hair that full look.
- Repeat, Repeat, Repeat: Follow this procedure until you have dreadlocked all your hair.
Dread Braiding Method
- Wash Your Hair: Wash your hair with a residue-free shampoo to get rid of all the grease and dirt deposits from it.
- Dry Your Hair: You can blowdry your hair or you can simply let it air dry.
- Section Off Your Hair: Picking up 1 inch by 1 inch sections of hair at a time, you can section off all of your hair by tying them up with rubber bands at the roots.
- Braid Each Section: Braid all the individual sections of hair and secure them at the ends with rubber bands.
- Apply Wax And Palm Roll: Pick up one braid, apply wax to it, and roll it between your palms until it forms a dreadlock. Repeat this step on all the braids.
Twist And Rip Method

- Section Off All Your Hair: Divide all your hair into individual 1 inch by 1 inch sections and tie them up with rubber bands.
- Wash Your Hair: When washing your hair with residue-free shampoo, rub all your hair in one direction – either clockwise or anticlockwise.
- Let Your Hair Air Dry: Let your hair dry naturally until it is completely dry.
- Wax And Palm Roll: Rip apart each individual section of hair, apply dread wax to it and roll it between your palms until it forms a dreadlock.
You can remove the rubber bands from your dreadlocks about a month or so after making your dreadlocks, once your hair has really got a chance to lock and bind together.
Freeform Dreadlocks Method
- Begin with clean, dry hair free from any product buildup or residue. Shampoo your hair thoroughly.
- Avoid brushing or combing your hair and let it naturally form knots and tangles as it is the foundation of the locking process.
- As your hair starts to lock, occasionally separate the forming dreads to prevent them from combining into larger sections.
- You may apply natural oils like coconut or jojoba to your hair to help with the locking process and maintain hair health.
- Regularly wash your hair with a residue-free, natural shampoo to keep your scalp clean and remove any debris. Avoid over-washing as it may hinder the locking process.
- As the dreads mature, you may want to palm roll or twist them occasionally to encourage locking.
- Freeform dreadlocks take time. Be prepared for several months to a year or more for your hair to look like dreads.
If you have hair type from 3B to 4C, you can use a dread sponge to create dreadlocks. The sponge has holes in it that, when moved in a circular motion clockwise or counterclockwise, start creating dreads by gathering strands and creating sections. If you want dreads but you are not yet ready to commit to the natural process, you can also use dread extensions. They are synthetic dreads that look like real dreads. You could attach colored extensions to make them fun. You can also use beads on your dreads to make them look colorful and lively.
Congratulations! You have successfully dreadlocked your hair! But, wait a minute… not to burst your bubble, but dreadlocks actually require a fair bit of upkeep and maintenance to keep them looking fresh and clean. Let’s look at how you can do that…

How To Maintain Dreadlocks
Let me start off by answering the question that is probably on everyone’s minds – yes, you can and you do need to wash your dreadlocks (think of how gross they would get otherwise, yuck!). But there are a few things you need to keep in mind when it comes to washing and maintaining your dreadlocks. Let’s discuss them one by one:
- Leave them unwashed the first week: Your dreadlocks are super delicate the first week after they have been made. Washing them at this point could loosen and unravel them. So, get yourself a big shower cap and stick your dreads in it when you take a shower during that first week. (For the love of God, do not forgo showering altogether just to protect your dreads).
- Always use residue-free shampoo when washing your dreadlocks: You can wash your hair between one to three times a week after the first week of leaving it unwashed. It’s imperative that you use residue-free shampoo for two reasons. Firstly, normal shampoos leave behind residues that lubricate your hair and loosen your dreadlocks. Secondly (and this is pretty disgusting), this residue can really build up in your hair and form mold in your dreadlocks. “Clarifying shampoos are a great residue-free shampoo to keep on hand,” says Monica Dickenson, a certified trichologist.
- Make sure your dreadlocks are completely dry: Whether you air dry or blow dry your dreadlocks, make sure they dry completely and right down to the center before you wash them again. Leaving them wet can really cause them to stink.
- Regular waxing and palm rolling: Whenever you feel like your dreadlocks are loosening up, apply some dread wax and palm roll them to tighten them up. You may have to do this every week or so when your dreads are in their early stages.
- Dreadlock cream: Use dread cream once in a while to keep your locks moisturized and tight as they do not reduce the friction between the hair.
 Quick Tip
Now that you’ve gotten the regular maintenance of your dreadlocks down pat, here are some more tips that you can follow to give them the tender loving care that they deserve.

Tips: How Can You Take Better Care Of Your Dreadlocks?

This is how you can take better care of your precious dreadlocks:
- Conditioning spray: If you feel your scalp is getting too itchy and irritated, invest in a bottle of dread conditioning spray. This spray will add moisture to your scalp and help relieve the irritation.
- Dread balling: If you find some loose stray strands of hair coming out of your dreads, simply roll them into a ball and insert it into the nearest dreadlock using a crochet needle. Then, palm roll this dread to lock the dread ball in tightly.
- Sleep with a headscarf on: To prevent your dreadlocks from picking up all sorts of lint and fuzz from your pillow, tie them up in a headscarf (preferably a silk one) before going to sleep.
- Salt water spray: Salt water works excellently in tightening dreadlocks. You can make and store this in a spray bottle and spritz it on your dreads whenever they feel a little loose and lifeless.
- Use natural hair products: As much as possible, try to use natural hair products that don’t contain chemicals or leave behind residue to maintain the good health of your dreadlocks. Avoid using any chemical heavy styling products to style dreadlocks hairstyles.
- Tighten new growth at roots: As your hair keeps growing, it is obvious that there will be some loose hair at the roots. To tighten them up again, rub some dread wax between your fingers and use them to roll your dreads right at the roots in a clockwise direction.
- Head massages are your best friend: You may experience some discomfort and irritation on your scalp from time to time owing to your dreadlocks weighing down heavily. To combat this, massage your scalp for at least 5-10 minutes daily before going to sleep. This can be especially relaxing if you can get a friend to do it to you!
Canadian Hikers, a blogger couple, share the journey of the wife getting a dreadlock from day 1 to over a year. It has been a long but rewarding experience for them as she says, “Feels like such a long year yet it went by so quickly. Much has changed in the past year. I still love my dreads and I don’t plan on taking them out any time soon! (i)”
Infographic: 2 Ways To Make Dreads At Home
Achieving badass dreadlocks is a process. It is a game of patience that demands constant and diligent effort. While one method of dreading hair requires unwashed tresses which may damage hair, the other two need washed hair. Check out the infographic below for a quick reference guide on how to make dreads at home with washed hair. Illustration: StyleCraze Design Team
Dreadlocks are like that popular jock (think Zac Efron in 17 Again) at school that everyone likes – famous but still laidback and very cool. Now that you have learned how to make dreadlocks, masterfully, right at home, it is time for a hair makeover. So, scroll up and follow the steps of the dreadlock tutorial carefully. Be patient and take your time dreadlocking your tresses. You can also have a friend around to help you out to be on the safe side. Also, do not forget to care for your hair once it is dreadlocked. You do not want your hair health deteriorating in your dreadlock journey!
Frequently Asked Questions
Can you undo dreadlocks?
Yes, dreadlocks can be undone by cutting them or unraveling them. However, ensure to take good care of the dreadlocks to make the undoing procedure easy.
Are dreadlocks permanent?
No, dreadlocks are not permanent. They can be undone by cutting or unraveling them whenever needed.
How long does it take for dreadlocks to lock?
Typically, it takes around 10 months to two years for dreadlocks to lock. However, it varies depending on the hair type and how it has been maintained.
Key Takeaways
- There are various ways to weave dreadlocks such as crocheting, dread perm, backcombing, dread braiding, and freeform.
- Regularly wash your dreads with shampoo to cleanse the hair and scalp, use a hair wax occasionally, palm roll your dreads to keep them in shape, and use natural hair products.
- Dreads are not a permanent hairstyle and should only be kept for a maximum of 2-3 months.
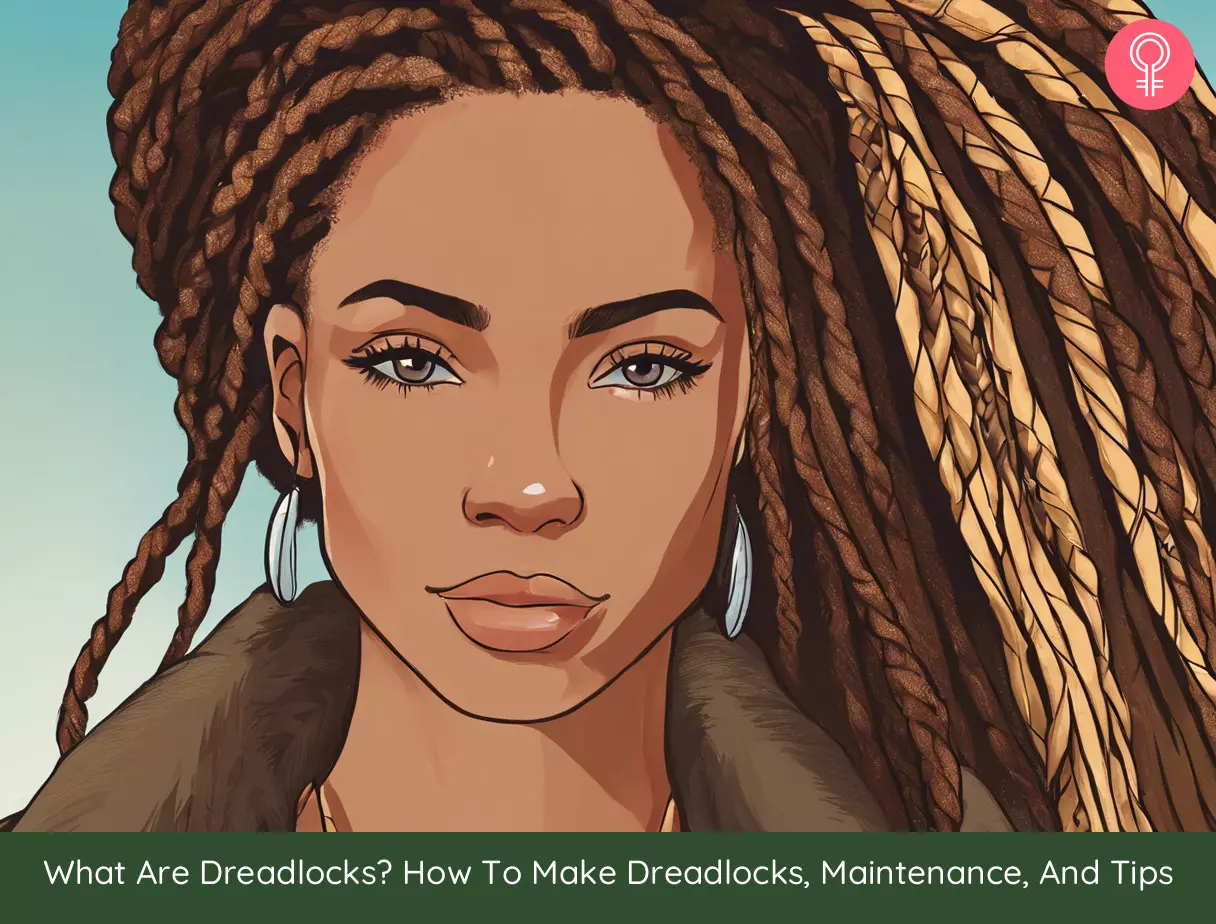
Image: Stable Diffusion/StyleCraze Design Team
Learn how to make dreadlocks with this easy tutorial video! Get step-by-step instructions and create beautiful dreadlocks in no time.
Personal Experience: Source
StyleCraze's articles are interwoven with authentic personal narratives that provide depth and resonance to our content. Below are the sources of the personal accounts referenced in this article.
i. Dreadlock Timelinehttps://canadianhikers.wordpress.com/2016/03/21/dreadlock-timeline/