Eyebrow Tinting At Home: Best DIY Tips To Follow
No need to visit the salon when you can do it yourself like a pro with these tips!
 Daria KruchininaLicensed Esthetician
 Daria Kruchinina is a celebrity makeup and natural brows artist who has been in the beauty industry for 11 years. Her clients include A-list celebrities, such as Jared Leto, Natalia Vodyanova, Maria Gutic, Valentina Beli, and Valeria Dergil... more
 shalini royBeauty & Lifestyle Writer Experience: 2 years
Shalini Roy has a Master's degree in English literature from Pondicherry University. She is an ambivert whose expressions have found their way in writing. She channels her passion for all things fashi... more
 subhrojyoti mukherjeeAssociate Editor Experience: 4 years
Subhrojyoti is an associate editor at StyleCraze with four years of experience. He has a master’s degree in English from Presidency University, Kolkata, and has also done a post-graduate certificate c... more
 joyce joysonBeauty & Lifestyle Writer
 Joyce Joyson is a beauty and lifestyle writer with over a year of experience crafting short-form content for the beauty, fashion, and lifestyle niches. She has a triple majors bachelor’s degree in His... more

Image: ShutterStock
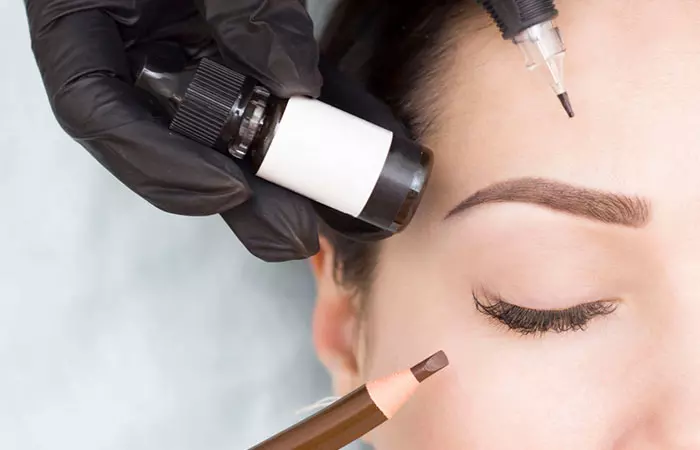
If your brows are looking a little worse for wear, you can try out DIY eyebrow tinting at home! The shape and color of your brows have the power to modify your appearance completely because they are a marker of beauty on your face. This is because your eyes are framed by your brows. Eyebrow tinting can make your brows appear fuller.
You don’t have to run to the salon to get your brows tinted! You can do it at home with things you already have in your pantry and a couple of preparations that should be made ahead of time. We will go over how to tint your eyebrows safely at home and how to maintain them for a long time in this article. Keep reading to find out more!
 Keep In Mind
- Natural Tinting Ingredients: Natural Tinting Ingredients You can also use other natural ingredients to tint your eyebrows like carrots, plums, rose petals, and dark chocolate.
- Ways To Make It Last: Natural Tinting Ingredients Avoid washing your face immediately after. Apply a light carrier oil over your brows or some lemon nice if you are using henna.
- Precautions: Natural Tinting Ingredients Wearing protective eyewear while applying eyebrow tint can help protect sensitive eyes.
In This Article
What Is Eyebrow Tinting?
Eyebrow tinting is the process of temporarily enhancing, shaping, and defining the brows with semi-permanent dyes. They last from 3 to 30 days (up to a week on the skin and up to a month in the hair) and reduce the hassle of drawing, shaping, styling, and filling your brows every day with brow pencils and eyebrow gels. The dyes used for eyebrow pigmentation blends with the natural brow color and do not look drawn on. It has multiple benefits. Let’s take a look.
 Trivia
The Benefits Of Eyebrow Tinting
- Safe: DIY eyebrow tints can be safe if you follow instructions and specific proportions/timing and take extra care of your brows after the completion of the procedure.
- Budget-Friendly: The recurring costs of eyebrow tinting at a professional salon burn a hole in the pocket. DIY options can help reduce these costs. However, ensure you talk to a professional eyebrow artist, ask questions, and get recommendations before taking any action.
- Time-Saving: It takes around 15-20 minutes to tint your eyebrows at home. You can retouch easily in the comfort of your home instead of scheduling salon appointments.
Keep reading to find out how to safely tint your eyebrows at home using natural ingredients.
How To Tint Eyebrows At Home: DIY Recipes
1. Eyebrow Tinting With Coffee
You Will Need
- 2 tablespoons of coffee grounds
- 1 teaspoon of cocoa powder
- 2 tablespoons of coconut oil
- 1 tablespoon of honey
- 1 spoolie brush
- A stopwatch or timer
- 2 Q-tips
- 2 cotton pads or paper towels
Process
Step 1: Mix all the ingredients to prepare a smooth and thick paste. Allow the mixture to sit for a few minutes.
Step 2: Clean the eyebrows, dry them, and comb with the spoolie brush.
Note: Although natural ingredients will not stain the skin, you may apply petroleum jelly to the skin around the eyebrows as a precaution.
Step 3: Apply the paste with a flat brush or Q-tip to your eyebrow. Start from the inner corner and work your way outwards.
Step 4: Leave the mixture on for half an hour. If you want a darker tint, leave it on for longer as per your convenience.
Step 5: After the stipulated time, wipe the color with a wet cotton pad.
Step 6: Follow the same process on your second brow.
Once your eyebrows dry, you are now ready to va-va-voom!
NOTE: This method is an excellent option if you have freshly waxed or tweezed the eyebrows as there are low chances of the open follicles getting inflamed or irritated. This coffee, coconut oil, and the honey mixture will help soothe the raw skin.
2. Eyebrow Tinting With Henna
Note: Henna has an orangish color payoff. Hence, it may suit people with reddish to red-brown hair, whether natural or dyed.
You Will Need
- 2 tablespoons of organic henna powder
- ½ teaspoon of indigo powder (optional)
- 1 teaspoon of petroleum jelly or coconut oil
- 1 tablespoon of water
- 1 spoolie brush
- 1 stopwatch or timer on the phone
- 2 cotton pads or paper towels
- 1 Q-tip
Process
Step 1: Mix the henna powder and water in a bowl to form a paste. Ensure it is not runny. Add a pinch of indigo powder if you want a brown-burgundy tint.
Step 2: Clean your eyebrows and comb with a spoolie brush. Apply petroleum jelly around the eyebrows. Be careful not to apply the jelly to the eyebrows.
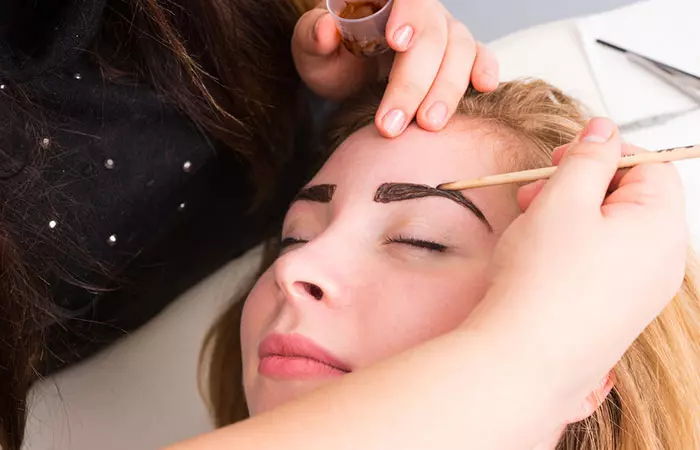
Step 3: Apply the tint to your eyebrows with a Q-tip or a flat brush applicator. Start from the inner corner and work your way outwards.
Step 4: Henna paste may dry and flake. To prevent that, seal the eyebrows with a cling wrap. Flatten the cling wrap over your eyebrow to remove any air bubbles.
Step 5: Leave the cling wrap and tint on for three hours for a decent color payoff.
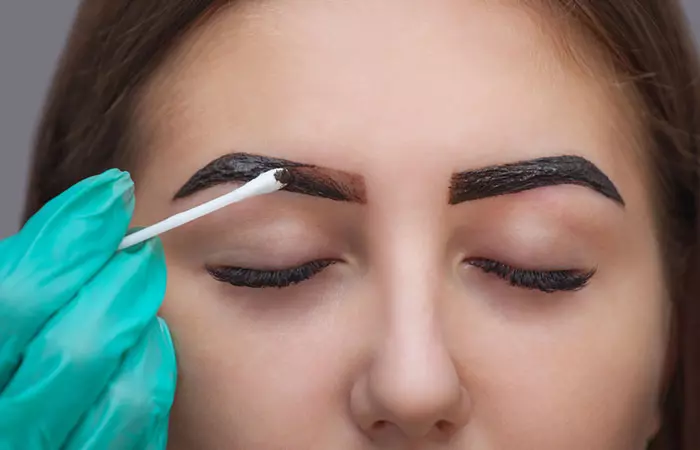
Step 6: Remove the cling wrap after the stipulated time and wash the brows with room temperature water.
3. Eyebrow Tinting With Charcoal
You Will Need
- 1 teaspoon of aloe vera gel
- ½ teaspoon of activated charcoal
- 1 teaspoon of cocoa powder
- 1 vitamin E capsule
- 1 Q-tip
- 1 spoolie brush
- Timer
- Paper towels
Process
Step 1: Mix aloe vera gel, cocoa powder, and vitamin E oil (squeezed from the capsule).
Step 2: Add activated charcoal powder to the mixture to form a smooth paste. Adjust the quantity as per the desired color intensity.
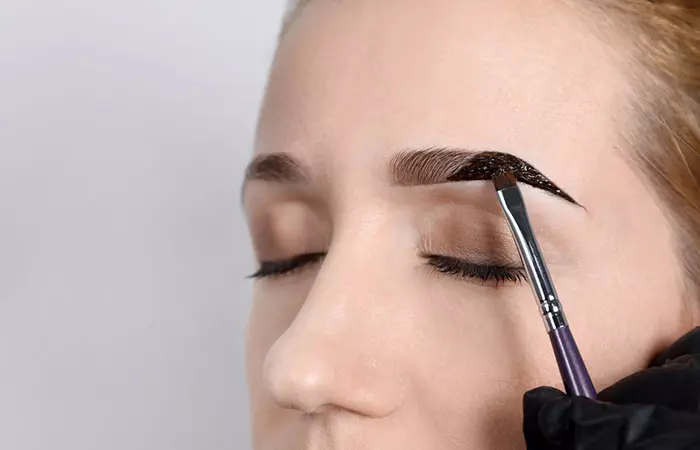
Step 3: Comb your brows with the spoolie brush. Apply the mixture to your brows with it or a Q-tip. Let it dry a bit, and apply another layer if you want a deeper tint.
Step 4: Leave the mixture on for 20 minutes.
Step 5: Gently rinse the brows with water. Repeat this process if the color payoff is not up to your satisfaction.
Note: You can refrigerate the remaining mixture for up to 2 weeks.
Check out this tutorial for easy reference:
These are some DIY eyebrow-tinting recipes you can try at home. However, there are some possible adverse effects to keep in mind. Find out in the following section.
Eyebrow Tinting Side Effects
- The ingredients used in tinting dyes may cause irritation or redness of the skin around the eyebrows, especially for individuals with sensitive skin.
- The eyebrows may appear uneven if the tint is applied incorrectly or is left on for an extended period of time.
- In some cases, the skin surrounding the eyebrows may stay briefly stained by the pigment. This may be due to over-exposure to the dye, or improper tinting removal techniques.
It is easy, right? Now, before you start tinting your brows, keep these safety tips in mind.
Tips And Precautions To Follow While Eyebrow Tinting

- Do not go overboard and use excess tint. Stick to the shade close to your skin color and tone. A dark tint may lend a harsh appearance to your face, and a lighter one may not add any definition.
- The general rule of thumb is to keep the tint two shades lighter than your natural eyebrow color. You can always build it up to get a personalized look that fits your style.
- Ensure to saturate both eyebrows uniformly to match the color. Be consistent with the quantities of tint and the time to achieve even results.
- Cover the entire brow using an angled brush (if you need to fill gaps) or a clean mascara wand (if you want to achieve natural results and you have thick brows) to avoid uneven color patches.
- Seek medical attention if you notice signs like redness, tingling, or burning sensation.
- Use an old T-shirt and keep paper towels handy to clean the mess. Temporary dye stains are easy to clean. Sometimes, dry cleaning might help as well.
- Use petroleum jelly around your brows to prevent staining the skin around your brows.
- Use a mascara wand or a spoolie brush to prevent clumps and uneven application.
- Condition your lashes before hitting the bed. Wash it off the next morning. This improves the longevity of the tint and keeps the eyebrows healthy.
 Quick Tip
Hannah, a beauty blogger, shared her experience of tinting and shaping her extremely light eyebrows. She wrote, “I like to start at the front of the eyebrow, doing small strokes upwards to mimic and enhance the brow hairs that are already there (i).” She also wrote that while re-outlining the eyebrows, there should be no harsh lines.
Infographic: 3 Ways To Tint Your Eyebrows At Home
Eyebrow tinting temporarily enhances the look of your brows. While you can get them done at a professional salon, you may also try a few DIY hacks to tint them at home. These ingredients and recipes may not give salon-like results but can help define your brows. The results may last for a few days, depending on the formula’s strength. Check out the infographic below for the easiest hacks to tint your eyebrows at home.
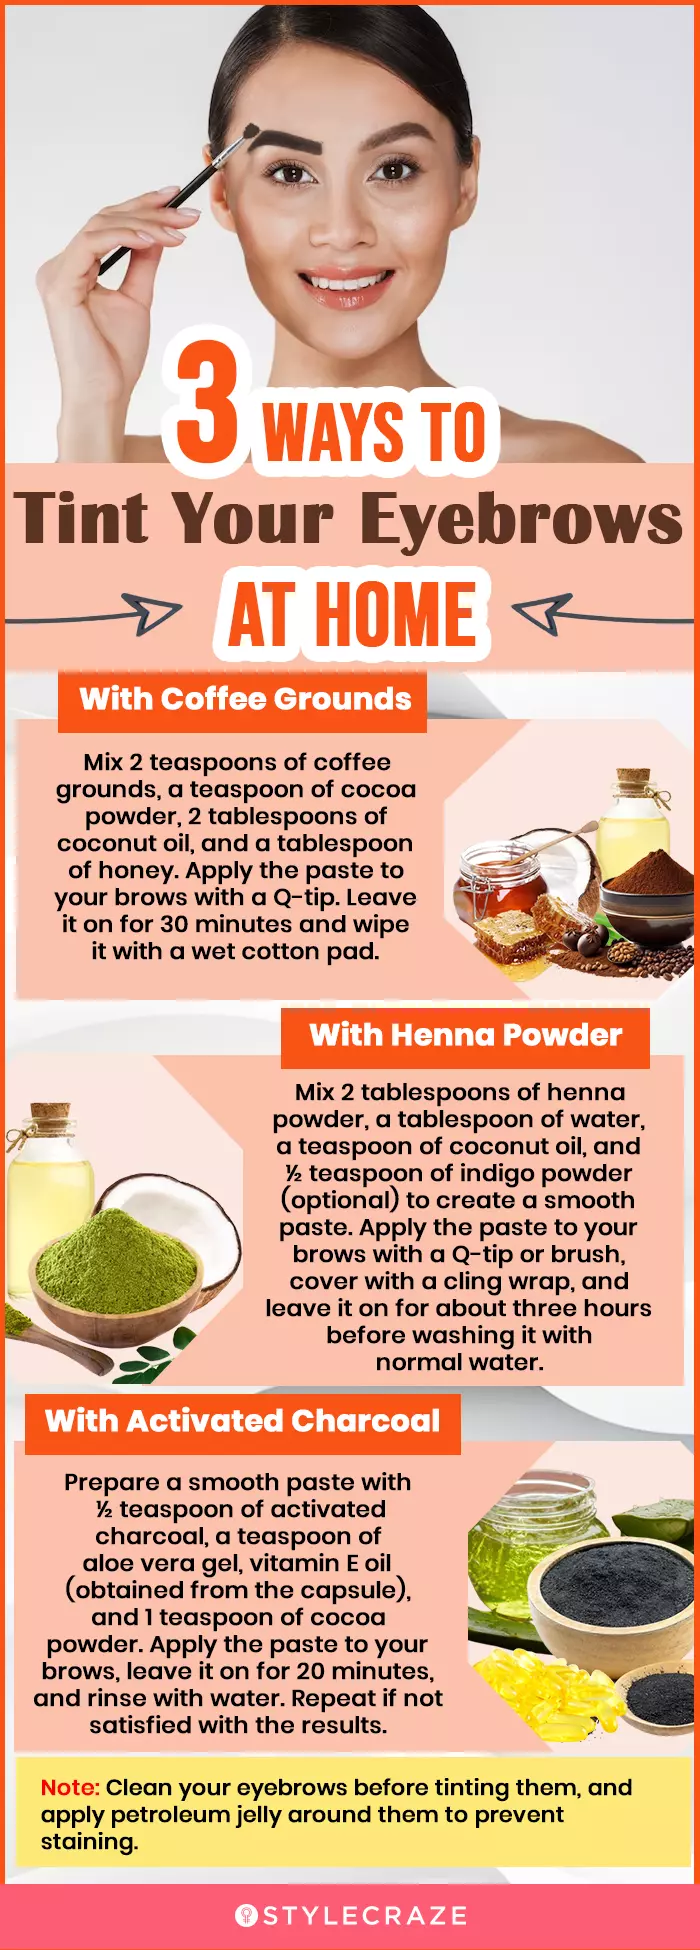
Illustration: StyleCraze Design Team


Eyebrow tinting improves the appearance of your brows by thickening and filling them. However, semi-permanent colors, commonly used in professional salons, are costly and might induce allergic reactions. Instead, try the eyebrow tinting DIY methods shared in this post to safely shape and define your brows. You can achieve great results by carefully using henna, coffee, or charcoal and following the instructions and guidelines. It is important to avoid overusing the homemade tints as that can leave your eyebrows looking unnaturally tinted. In addition, conduct a patch test with the homemade tint before applying it to your eyebrows to avoid allergic reactions.
Frequently Asked Questions
Can I tint my eyebrows with hair dye?
No, avoid using hair dyes as they can be aggressive for facial skin and may cause more harm than good.
What happens if you leave eyebrow tint on too long?
Leaving eyebrow tint for too long can stain your skin and may take more than a day to fade. Additionally, it may cause an allergic reaction or skin infection. Ensure that you follow the instructions on the box for the correct application.
Does sweating affect eyebrow tint?
Yes, sweating may affect the quality of the eyebrow tint hence avoid any vigorous exercise for 24 hours.
Does eyebrow tint fade in the sun?
Yes, sun exposure may cause the tint to fade faster due to the sun’s harsh UV rays.
Key Takeaways
- DIY eyebrow tints are a safe and effective option without having to deal with chemicals to acquire the desired results.
- Eyebrow tinting with coffee is a suitable option for those with eyebrows recently waxed or plucked.
- Henna is known for leaving a dark-orangish tint, making it a good option for ginger heads or individuals with red-brown hair.
- Refrain from using excess tint and opt for a hue two shades lighter that doesn’t appear too heavy on the face.
Want to learn how to tint your own eyebrows? Look no further. Watch this video for a perfect and mess-free guide to getting tinted eyebrows.
Personal Experience: Source
StyleCraze's articles are interwoven with authentic personal narratives that provide depth and resonance to our content. Below are the sources of the personal accounts referenced in this article.
i. How to do perfect browshttps://smalltownbeautyaddict.wordpress.com/2018/07/20/how-to-do-perfect-brows/


