50 Makeup Tips You Have To Know
Everything you need to know about applying makeup all by yourself like a professional artist.
 Marin McCarthyProfessional Makeup Artist
 Marin McCarthy is a licensed professional makeup artist with over five years of experience. She is the founder of Marin Eve Makeup. Her company specializes in wedding parties on the beautiful Vancouver Island, BC. Her greatest passion is ma... more
 joyce joysonMA (Mass Communication & Journalism)
 Joyce Joyson is a beauty and lifestyle writer with over a year of experience crafting short-form content for the beauty, fashion, and lifestyle niches. She has a triple majors bachelor’s degree in His... more
 asmita deMA (English) Experience: 3 years
Asmita De is an associate editor with over three years of experience. She graduated in English Literature from the University of Calcutta. She has collaborated with several digital companies and reput... more
 vaishali sinhaMA (Comparative Literature) Experience: 5 years
Vaishali Sinha is a beauty and lifestyle writer with five years of experience in writing for various genres. She has a master’s degree in Comparative Literature from Jadavpur University. She combines ... more

Image: Created with Dall.E
Whether you are a beginner or an expert, makeup tips and tricks always come in handy for a smooth experience and tackling accidents. For example, a simple trick can help you get the perfect wing design or cat-eye using an eyeshadow. You may be surprised that you can use the same eyeshadow palette to contour your cheekbones, fill your brows, or highlight the face. So, take a look at your cosmetic products and think about creating a masterpiece. A primer, foundation, blush, or color correcting palette — you can use each makeup product with some trick to appear flawless and elegant. With easy tutorials and hacks, this article will be your ultimate gateway to stunning beauty looks. Try out these genius makeup tips to get your best look. Keep reading to know more!
In This Article
Top 50 Makeup Tips And Tricks
Makeup Tips To Apply Primer

1. Make Sure Your Primer Complements Your Foundation.
Whether oil or water, your primer and foundation should share the same base; otherwise, they will repel each other or just slide off your face, making it difficult to blend. A good start guarantees a good finishing, so ensure to effortlessly blend the primer and foundation for a clean and subtle look.
2. Make Crow’s Feet Disappear.
Dabbing a little amount of primer around your eyes dramatically minimizes the appearance of crow’s feet. Marin McCarthy, a professional artist and founder of Marin Eve Makeup, recommends using a hydrating primer instead of a silicone based product like pore-filling primers and says, “ Less product is more around the eye area especially on thinner skin with fine lines. If you need more coverage, work in thin layers. My trick with mature under eyes is: moisturizer, moisturizing primer, thin layers of concealer ( no foundation underneath) and a small amount of loose powder pressed into the skin with a powder puff.”
Makeup Tips For Applying Foundation
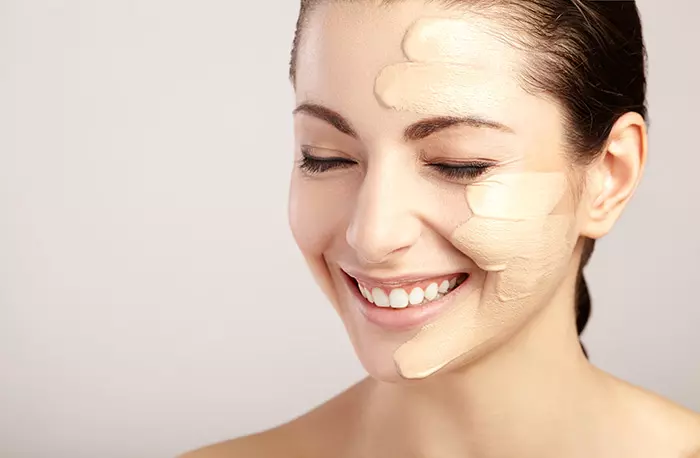
3. Right Application For Right Coverage.
It is commonly believed that while putting your foundation on, if you want sheer coverage, you should use your fingers. But, if you want a full coverage, you should opt for a foundation brush. However, It is important to note that formula is key to achieving the kind of coverage you want, irrespective of the application style. Marin McCarthy remarks, “There are some amazing sheer coverage foundations such as Charlotte tilbury beautiful skin or a tinted spf that will likely not be able to build up to full coverage even with a brush.” She goes on to add, “ I find the best application for any foundation is to smooth over skin with fingers or a brush and then blend out any lines with a sponge.”
4. Avoid Peach Fuzz
The secret to applying your foundation is by using downward strokes. Most of us have a thin layer of hair on our face, and applying foundation in an upward stroke will make the hair strands stand out. However, even with perfect makeup, given the right light, peach fuzz will be visible. The best way is to remove facial hair. You can opt for derma planing or use a small facial razor with oil to remove peach fuzz and get a natural and perfect glow.
 Quick Tip
Apply foundation in a stippling motion, which involves lightly tapping it into your skin. Avoid wiping or rubbing because doing so will move the foundation and leave streaks.
Makeup Tips For Applying Concealer
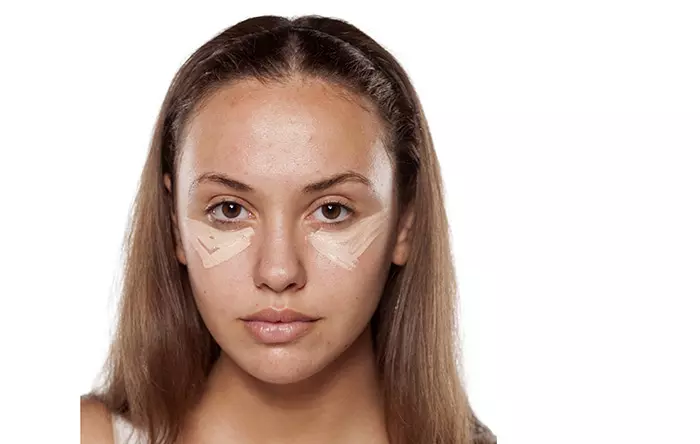
5. Create A Conical Shape.
Most of us are used to applying concealer in a semi-circular pattern under our eyes to reduce the appearance of the bags or puffiness. However, for best results, apply the concealer in a conical pattern under the eyes and extend it to almost where your nose ends. It not only does a better job at concealing because it is easy to blend, but it also helps in contouring the sides of your nose. Here is one pro tip from Marin McCarthy: “A great way to lift the face without using too much product is applying a dab near the inner corner under your eye and an upwards angled line following the outer corner of your eye.”
6. DIY Color Correcting Palette
You probably, by now, have heard about the wonder called color correcting palette. These concealers of various hues are used to cancel out flaws on your face. For example, a green concealer is used for canceling out any redness, lavender for yellow toned discolouration, peach for bruises or blue toned under eye circles, etc. But if you suddenly find yourself without your color correction palette or just want to save money, just mix an eyeshadow of the color you want your concealer to be with your normal concealer – and voila! You have your smart and cheap color corrector concealer palette. However, do note that mixing powder into a cream formula can change and thicken or dry out the concealer. Marin suggests an alternative to eyeshadow- lipstick!
7. Know The Important Focal Points.
This hack is for those days when you are running late or just feeling too lazy to apply your concealer properly. Just dab on a little concealer, preferably with a brush, under your eyes, on the corners of your mouth, and near your nose, and you are good to go. As Marin McCarthy states, “Highlighting the center of your face is ideal.”
Face Powder Application Tips
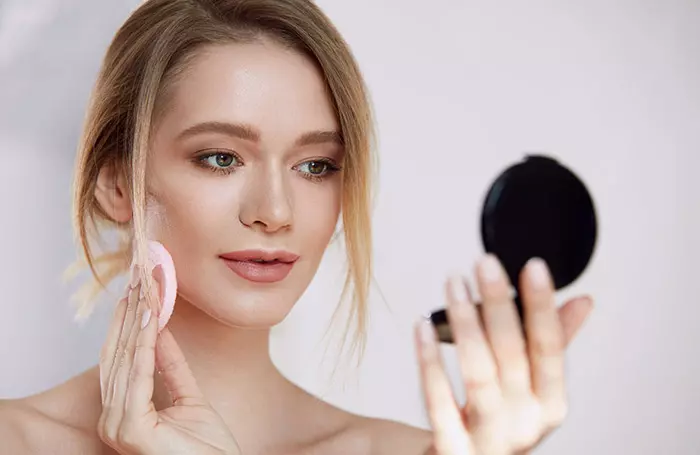
8. Know The Correct Function.
There are mainly two types of face powder – loose powder and pressed powder, and both come in dewy and matte finishes. It is important to know which one to use for what purpose. Loose powder is basically used to set the makeup in place and make it long-lasting. Though it comes in both tinted and translucent forms, it is best to use the colorless translucent one for setting the makeup as it will not disturb the color of your foundation and concealer. Pressed powder, however, is best suited for touch-ups on the go. Also, a dewy finish gives a glowing appearance to the skin, and a matte one provides a porcelain look with fine textures.
9. Choose The Right Brush.
The result of any makeup product largely depends on the applicator, and this is especially true for powders. Always use the fluffiest brush you can find to put your powder on for best results.
Makeup Tips To Apply Blush
10. Blush Under Foundation.
This is also a clever way of reversing the order of applying the product to get smashing results. All you have to do is apply the blush first and then apply the foundation over it. The end result looks like you are glowing naturally from within. However, do make sure it is cream or liquid blush! Powder blush under foundation could cause patchiness.
11. Use A Tissue Paper For Blotting.
Instead of blotting your blush with a powder, use a tissue paper. Press it lightly over the blush after application and finish off with your makeup sponge or beauty blender for that perfect flush of color on your cheeks.
12. Be Careful With Shimmery Blushes.
It is tricky to pull off a shimmery blush perfectly. In fact, it is a good idea to skip shimmery blushes altogether if you have large pores, pimples or other symptoms of troubled skin.
Quick TipYou must pick the ideal shade to accentuate your complexion. Instead of enhancing your warm, youthful glow, something excessively dark or dazzling can make you look older. Choosing a color that closely matches your natural flush is essential, and pinching your cheeks is the simplest way to ascertain what that is.
Makeup Tips To Apply Bronzer
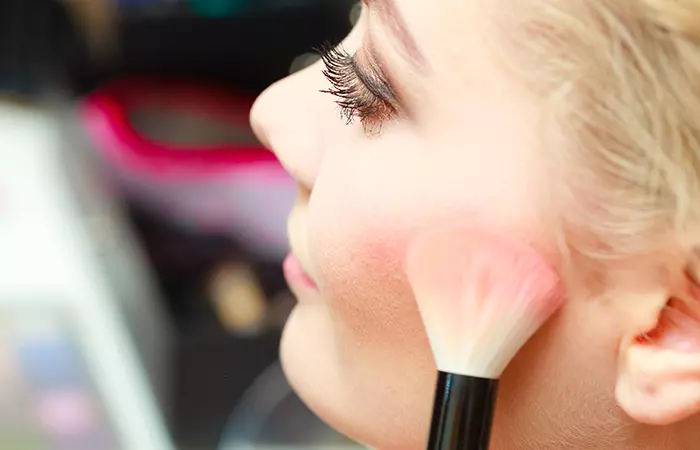
13. Apply In A Triangular Fashion For Better Blending.
Though it’s a common practice to apply bronzer with a fluffy brush on the hollow of your cheeks, it is a better idea to draw two inverted triangles on your cheeks with a bronzer if you want to achieve cool-toned contouring. Blend it out, and you will have the perfectly done bronzer that will give you perfectly chiseled features. On the topic of bronzers, Marin comments, “Bronzers should be placed where the sun would hit the face, so the forehead, temples, middle of the cheeks (vertically) and optionally on the nose and chin. A great hack to bring the face together is to use your bronzer as eyeshadow in your crease.”
14. DIY Bronzer.
If you are in the mood for trying out something fun, try making your own bronzer. All you need are a few items that are already sitting on your kitchen shelf. Take some cinnamon powder, cocoa powder, some nutmeg powder, and mix with some cornstarch – and there you have your bronzer. If you are a fan of makeup with natural ingredients or want to keep chemicals completely at bay, it doesn’t get any more natural than this. However, you may want to conduct a patch test first to ensure that you are not experiencing any inconsistency or patchiness during application or adverse reaction to the ingredients.
Makeup Tips For Brows
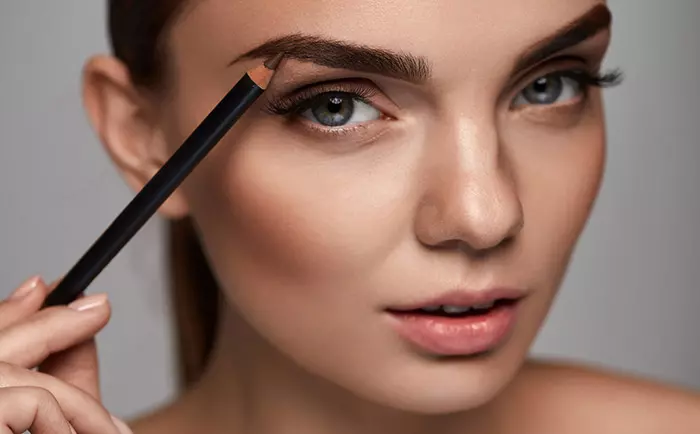
15. Feathery Strokes.
Always use light feathery strokes while filling out your eyebrows with a pencil. It will make them look more natural.
16. Instant Eye Lift.
For an instant lift in the eyes, use your highlighter just above the arch of your brows and blend it out. It will not only define your eyebrows perfectly but also have a dramatic impact on the appearance of your entire face.
Eyeshadow Application Tips
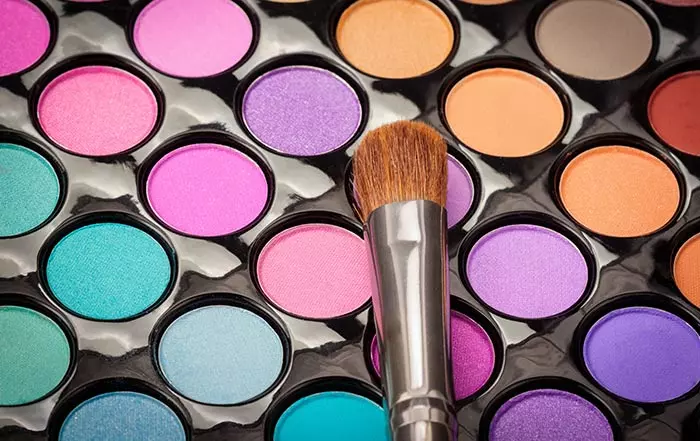
17. Donning Many Hats.
This is one of the most versatile soldiers of your makeup arsenal. Eyeshadow can be used as a blush, bronzer, highlighter and even to slightly alter the color of your base makeup items. Our advice is to go for an eyeshadow palette that has a touch of shimmer and glitter to it rather than solid hues.
18. Get The Pop.
If you are stuck with an eyeshadow with less pigment or you want that extra pop of color, create a white base by filling in your eyelids with a white eyeliner pencil first. You may also achieve the same effect by wetting your brush with water or a setting spray before application.
19. Proxy For Eyeliner.
On the days when another battle with your eyeliner seems impossible or you just want a soft look, take an angular brush and use eyeshadow instead of an eyeliner on your upper lash line. It gives a natural and breezy look, absolutely perfect for summers.
Mary, a licensed makeup artist and blogger, shares how she does her makeup in her blog. She suggests doing the eye makeup before the face and she says, “I have fallout from my eye shadow, or if I twitch while attempting to draw a clean wing or my mascara ends up on my lower lid, I can very easily clean it up without affecting my foundation/powder/highlighter and consequently having to replace it all (i).”
Makeup Tips To Apply Eyeliner
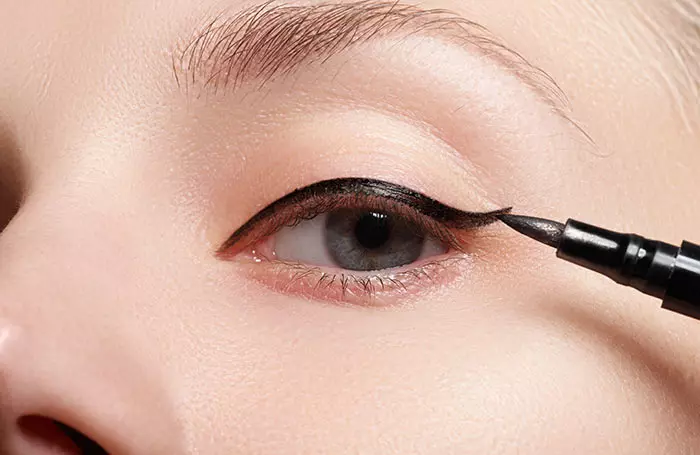
20. Dots And Dashes To The Rescue.
It might sound lame to a few, but there are people (like me) for whom drawing a straight line on paper is a task difficult enough, let alone exhibit such mastery on eyes with an eyeliner. Fret not, just draw small dots or dashes with your eyeliner on the lashline and join them. Perfectly done eyeliner in a jiffy.
21. Scotch Tape Method.
For a perfect wing, use the scotch tape method. Just stick a scotch tape in an angular fashion on the sides of your eyes and let the ends guide you to achieve that killer winged eyeliner every single time. You can also use a spoon, business card, debit card or basically anything with a straight edge as a guide.
23. Go Natural With Tightlining.
Try tightlining for the perfect no makeup look. Instead of putting the eyeliner on the lashline, apply it beneath the line. Make sure you use a waterproof variant for this one.
24. Use A Shadow To Lock It In.
Use an eyeshadow of the same shade as the eyeliner to set the liner in place.
Makeup Tips To Apply Kohl/Kajal
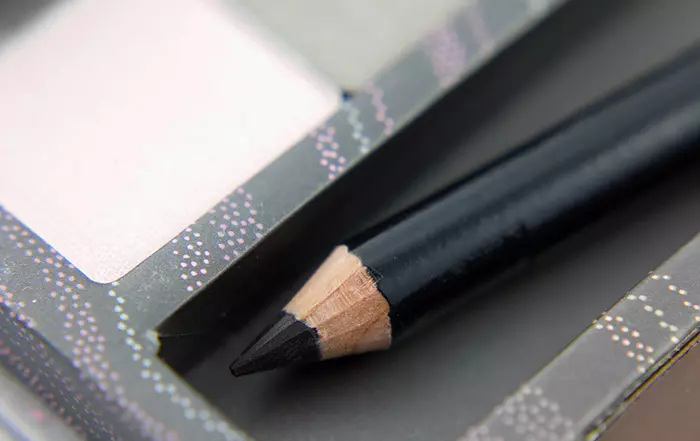
25. Prevention From Smudging.
When it comes to smudge prevention, kajal is not the easiest product to work with. However, to ensure your kajal stays put for hours, simply dab some eyeshadow over it once you are done. You can also use an eyeliner. Simply draw a line with the liner over your kajal. It will lock the kajal in place and also look super neat.
26. Hassle Free Smokey Eyes.
For a quick smokey eye, apply kohl on your upper and lower lash lines and waterline and then smudge it. Finish off by drawing a sideways ‘V’ on the outer corner and blend well. Rock the sultry smokey eyes for a night out.
27. Easy Removal Of Kajal
Removing kajal from your eyes can be quite a task. Simply dip a Q-tip into a cleansing lotion and carefully remove the kajal with it. Avoid poking yourself in the eyes.
Mascara Application Tips
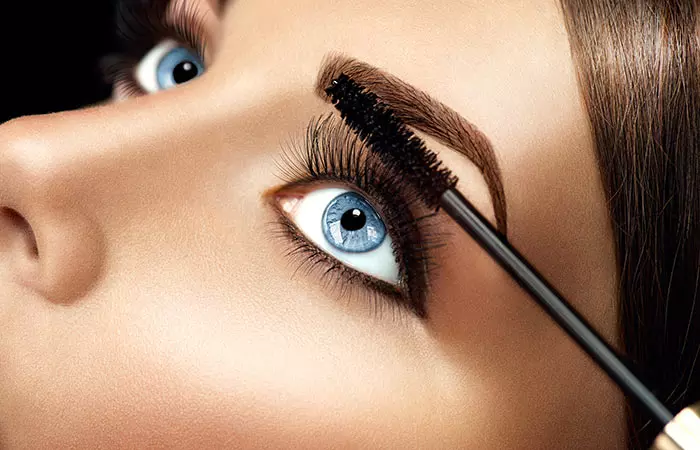
28. Use Tissue Paper To Eliminate Clumping.
To prevent mascara from clumping, wipe off the excess product on a tissue paper before every application. Marin McCarthy has an alternate approach and states, “I work in thin layers and use a lash comb in between for this.”
29. Use Baby Powder For Thicker Lashes.
If you want your eyelashes to plump up, follow this technique. First, apply a coat of mascara and then dust some baby powder on it. Then, apply a second coat. It will instantly give your lashes dramatic volume.
30. Contact Lens Solution Is The Solution.
Instead of scrapping your flaky mascara, add a few drops of the same solution you clean your contact lenses with to it. The formula would be back to a usable consistency. You can also put the tube in a glass of warm water to liquefy the formula.
31. Preserve Your Mascara Applicator.
Once you are done with a tube of mascara, do not throw away the applicator. You can use the applicator as a spoolie for your brows.
Lip Liner And Lipstick Tips

32. Start From The Middle.
For a defined cupid’s bow, draw an ‘X’ where your cupid’s brow should be, and then apply the lipstick normally. Even if you do not plan to highlight your cupid’s bow, start applying the lipstick from the middle of your lips and move outwards for a flawless finish.
33. Practice Overlining With Caution.
If you want your lips to appear slightly bigger, you can consider overlining your lips, that is, putting your lip liner outside your lips. However, be careful while doing this. If you go overboard, it will look too obvious and exceptionally tacky. For best results, apply along the outer margins of your lips. However, take care not to over line the outer corners of your lips! Over line the inner third of your lips only to appear much more natural
34. Make It Last Longer.
To make sure your pout looks perfect for the longest time, dab a little translucent powder onto your lips after you apply your lipstick. You can also use a colorless eyeshadow for the purpose. If you use a shimmery eyeshadow, it will also act as a highlighter and give your lips that extra dimension.
35. Apply The Lip Liner After Lipstick.
I know it sounds a little odd, but according to some experts, if you put lipstick first and then go for the lipliner, you will know exactly how to line. Also, when they start fading, they will fade together.
36. The Thumb Rule.
Getting lipstick on your teeth is surely not a look you were aiming for, but it happens more often than we care to admit. In order to avoid it, put your thumb inside your lips, pucker up, and pull the thumb out.
Makeup Brushes
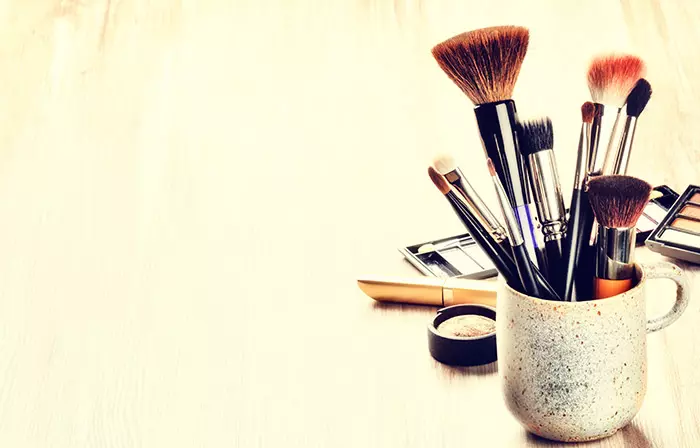
37. Know Your Brushes.
No matter how exclusive your products are, everything depends on the application. Marin McCarthy reiterates, “Using a different brush for every product (large fluffy brush for powder and bronzer, medium fluffy for blush, small fluffy for highlighter) allows precision and avoids muddiness.” Thus, brushes are of extreme importance. Know which brush to use for what purpose. Yes, with a number of options at your disposal, remembering which brush does what can be daunting. Take time to figure all that out, and till then, remember that fluffy brushes are good for diffusing products like powder or blush, and small brushes are used for products that require precision, like eyeliner and lipstick.
38. Clean Your Brushes.
There is absolutely no excuse for not cleaning your brushes, unless a serious skin breakout is the look you are going for. Unclean brushes are breeding grounds for bacteria and makeup residues impact their performance as well. Clean them with a mild shampoo at least once a week.
39. DIY Fan Brush.
Brushes can be expensive, and the plethora of varieties can be daunting to choose from. So, if you have been eyeing that perfect fan brush but your pocket has been looking at the other side, don’t lose heart. Simply take a bobby pin and fix it where the bristles of your blush brush start, and there you have your perfect fan brush to nail than contouring.
40. Wet The Tip Before Application.
To get the best out of your intense or shimmery shadows, gently spray your brush with a little makeup setting spray. If you do not have a setting spray handy, just dip the tip of the brush into water for the desired intense effect.
Smart Tips And Hacks
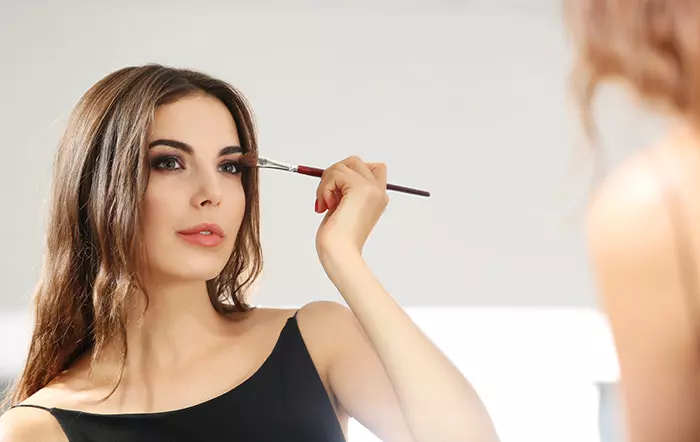
41. Follow The Correct Order.
It is important to follow the right order of applying makeup to ensure you get the best finish. Though it is a common practice to start base makeup first, beauty experts suggest that you start with your eyes and brows. In fact, it is also a good idea to do your foundation, concealer, and powder in the end, so that you can easily cover up all the mistakes for an end result that is flawless.
42. Do Your Makeup Under Natural Light.
Try to do your makeup in as much natural light as possible. Makeup looks different under different artificial lights. It is only in natural light that you can understand the real deal.
43. Cool, Warm or Neutral?
Know your color tone. There are basically three tones – warm, cool and neutral, and it is important to know yours to find makeup products that have undertones to suit your color tone. An easy way to tell which tone you are is to check the color of your veins. If you have bluish or purplish veins, you have a cool tone. If they appear green, you have a warm tone, and if you have trouble telling, you are probably of a neutral tone.
44. Walk Into The Mist.
Your makeup is usually incomplete without a dash of your favorite perfume. However, don’t empty the bottle yourself. If it’s a strong fragrance, instead of directly spraying it, spray it above your head, a little away from your body, and walk into the mist. It will distribute the fragrance evenly and linger on. Marin McCarthy recommends using the same technique with setting spray and says, “Spraying directly onto the face can result in unwanted wet marks that won’t go away.”
45. Make Your Own Palette.
Whether it is a concealer palette or an eyeshadow palette, there are always only a few colors that we use. Palettes are usually expensive, so our recommendation would be to buy refill eyeshadows of the colors you like and set them in an empty box to make your own palette consisting of products you will actually use. It is not only eco-friendly, but can also save you a lot of money as single colors or refills cost way less than palettes.
46. Heat Your Eyelash Curler.
Blow your hair dryer on the eyelash curler before curling your lashes. The heat will help you to get perfectly curled lashes instantly. However, make sure the dryer is on low heat mode and test the temperature on your hand to avoid getting burned.
47. Use Waterproof Products Carefully.
Although water resistant products are good for long wear and stay put, extended exposure to such products can cause harm to your skin. As water resistant products require a lot of rubbing or special products to remove, wear and tear of the protective layer of the skin is highly possible. When you do wear them, you can use oily or balm cleansers to melt away waterproof makeup. Coconut oil works too!
48. Rubbing Alcohol Miracle.
The next time your compact, blush or eyeshadow breaks, don’t worry. Just add some rubbing alcohol and hold it in place. Make sure to press firmly with a flat object separated by a paper towel to absorb excess alcohol. Let the alcohol evaporate and say hi to your restored cosmetics.
49. DIY BB Cream.
Mix your own primer, foundation, sunscreen, and compact powder to make your DIY customized BB cream. You can also make a version of this BB cream without adding the powder, especially if you want a more dewy look. Instead you can selectively apply powder on more oily areas after the application of the powder-less BB cream.
50. Sharing Is Not Caring.
It is not hygienic to share makeup items, even with your closest friends. There is a huge chance of infection spreading. Especially refrain from sharing eye and lip products.
Infographic: 9 Makeup Tips You Must Know For A Flawless Look
It does not matter if you are a beginner or an expert at applying makeup. Knowing a few simple tricks can take your makeup game to the next level. A simple stroke of the brush or the right shade of foundation can accentuate your best features effortlessly and become a form of self-expression.
We have rounded up the top 9 tips that you must know. Check out the infographic below to know more! Illustration: StyleCraze Design Team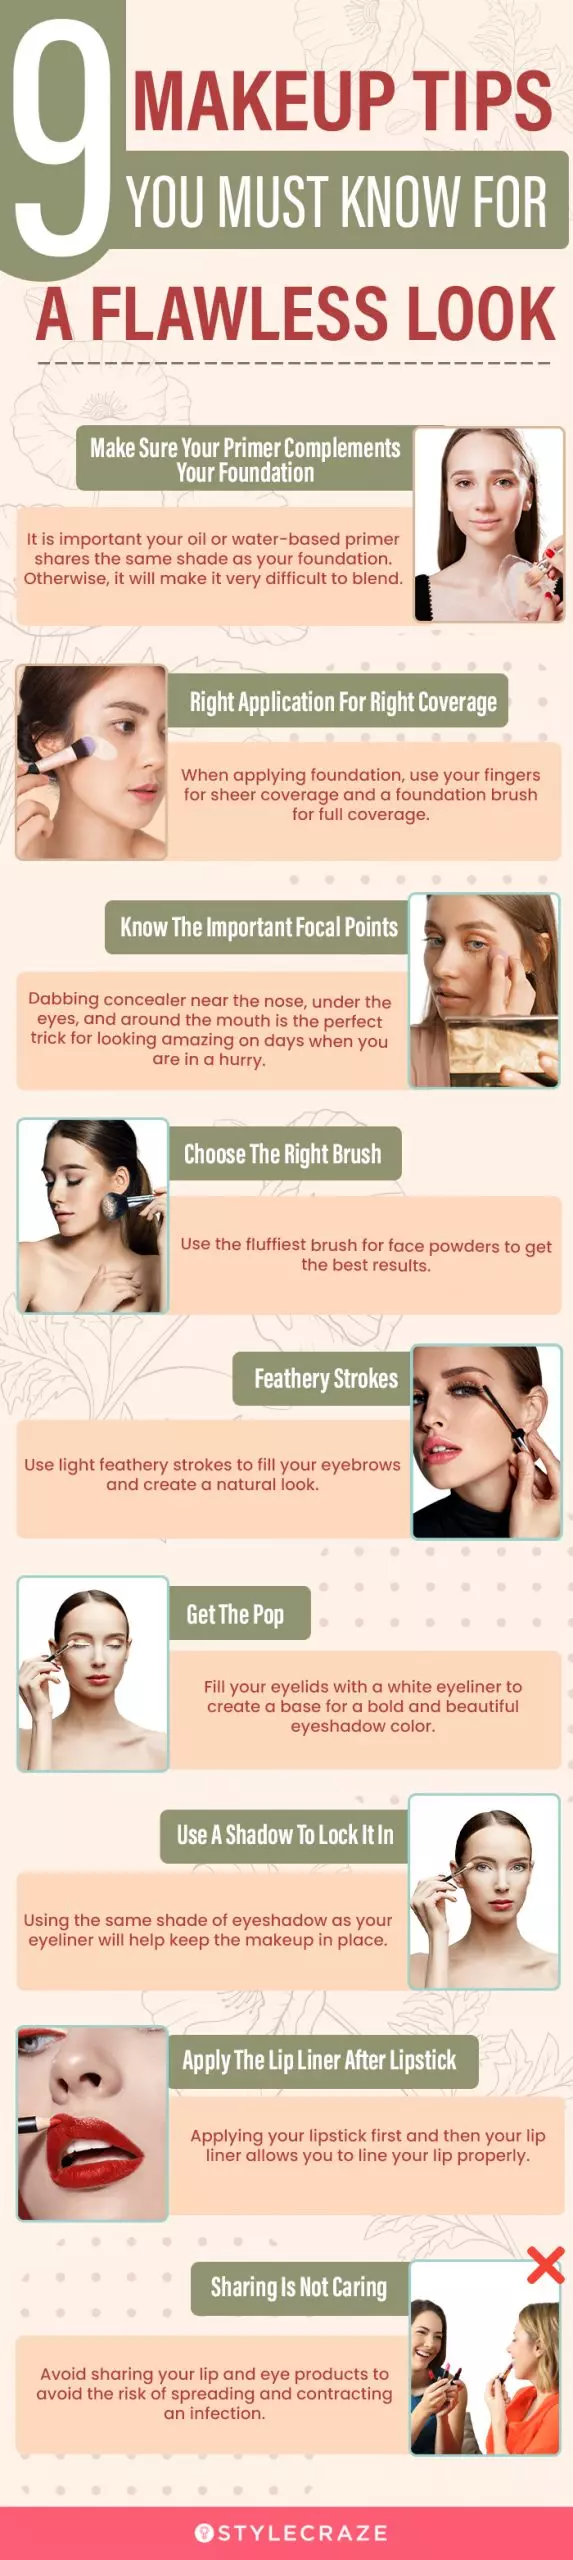


We hope the makeup tips and tricks shared in the article will help you understand everything required to nail the perfect look. You do not have to be a makeup pro. All you have to do is know these little tips that can give you instant results. From choosing the budget-friendly brands that suit your skin to selecting proper makeup tools and opting for soft looks instead of vibrant and bold ones. You don’t necessarily have to rush to a salon or purchase high-end products to get the perfect look for yourself. The above hacks will help you achieve that glam look and step out with confidence. Also, always make sure you are eating right and sleeping well. A good lifestyle can do wonders for your skin and enhance your look.
Frequently Asked Questions
Does wearing makeup damage your skin?
No, makeup normally doesn’t have any major negative effects on the skin, but it depends on the skin of the person. There can be different types of skin reactions due to a common ingredient present in the products. These reactions are most commonly caused by things like fragrances or preservatives present in the makeup products. Following a proper skin care regime every day will help prevent skin damage. Marin McCarthy, the founder of Marin Eve Makeup, adds. “Non-comedogenic products are a great way to go for sensitive skin or conscious buyers. Also double cleansing can protect against breakouts!”
Does makeup cause wrinkles?
The makeup and the environmental pollutants that get accumulated on your skin through the entire day slowly seep into your pores and break the collagen and elastin. This speeds up the aging process and can cause fine lines and wrinkles. This is the reason it is very important to cleanse and moisturize your skin every night before going to bed.
Does makeup make you look older?
No, it doesn’t. In fact, wearing the right products for your skin and using the right techniques to apply makeup will make you look younger and fresher and provide a visible transformation. Less is always more, so use less makeup and wear shades like pinks and corals on the eyes and cheeks to look more youthful.
Does mineral makeup help acne?
Yes, mineral makeup is considered as the best product to use if you have acne as it contains only natural minerals. Also, the benefits it provides are numerous. Mineral makeup does not contain oils, fragrance, and preservatives that cause irritation and aggravate acne. Most of the mineral-based products are non-comedogenic, which means they don’t clog your pores.
How long do you leave a primer on before foundation?
Wait just a couple of minutes after primer application. Once the primer gets absorbed into the skin and creates a smooth surface, you can proceed with the foundation.
What goes first, moisturizer or primer?
Moisturizer goes first. You need to do your skincare routine before your makeup. The last step of your skincare is moisturizing. The first step of your makeup routine is priming. Proper moisturizing helps keep the skin hydrated and provides a radiant finish.
What goes first, concealer or foundation?
Foundation goes first. Foundation, after primer, is part of the base makeup that keeps additional makeup layers in place. It evens out the skin tone so that concealers can blend more easily.
Can I use Vaseline as primer?
Yes. Vaseline is an occlusive agent that creates a barrier between your skin and the makeup. It will seal the moisture in and prevent foundation from sinking into your pores. And since it has a greasy texture, it will also help foundation glide easily on your skin. Additionally, it also plays a role in easier makeup removal.
Is setting spray necessary?
Setting spray is not necessary for your everyday, minimal makeup. However, if you are going for something elaborate for special occasions, then yes, use a setting spray to keep your makeup in place, especially if you have oily skin.
Should I put foundation on my eyelids?
No. An eye primer is a good enough base for your eye makeup. Foundation will form creases on the eyelids making the makeup appear cakey.
Key Takeaways
- Makeup should always start with a primer. It preps the skin, minimizes minor imperfections, and creates a perfect canvas.
- The right foundation must be chosen for your skin type and tone and applied using downward strokes.
- Your eyeshadows can also be used as a blush, bronzer, and highlighter.
- Applying the lipstick from the middle and using a lip gloss gives lips a fuller appearance.
Transform your look with these amazing beauty hacks! Learn how to become popular with these easy and smart makeup tricks for girls. Get a flawless look with these great ideas featured in the video.
Personal Experience: Source
StyleCraze's articles are interwoven with authentic personal narratives that provide depth and resonance to our content. Below are the sources of the personal accounts referenced in this article.
i. How I Apply My Makeuphttps://mytripdownthebeautyaisle.wordpress.com/2013/11/17/how-i-apply-my-makeup/


