What Are Finger Coils? How To Get Finger Coils Easily
Easy-to-follow tutorial to get the technique right and flaunt gorgeous curly hair.
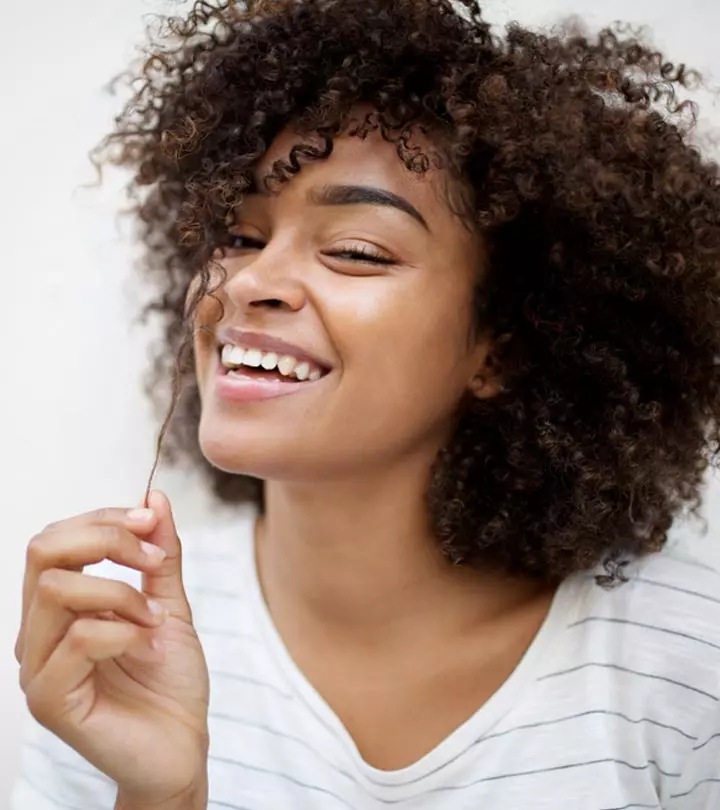
Image: Shutterstock
Finger coils are those dense, thick curls most of us want. Finger coiling is a fun wash-and-go technique to style your natural hair in perfectly shaped thick curls. They are a cool protective style that helps maintain the integrity of natural hair while also giving it a super-stylish look. Finger coiling helps prevent breakage and promotes hair growth by reducing manipulation and heat styling. Additionally, they can enhance the definition of natural curls, making them a preferred and popular method among individuals who want to embrace their natural hair texture. You simply have to use your fingers to curl, twist out, twirl out or coil your hair. Sounds pretty easy, right? But you need patience and some practice to get it right. We provide you with a step-by-step guide on how to master the art of finger coiling. And yes, you can do it right at home. Keep reading to know more.
In This Article
What Are Finger Coils?
Finger coils are curls made using the fingers. Divide your hair into multiple sections and twirl them around your fingers to create these coils. If done correctly, they can last up to 2-3 weeks.
If you want to master the technique of curling your hair with your fingers, check out the next section.
Key Takeaways
- Finger coiling is a method of curling or twirling your hair to achieve thick and dense curls.
- Create these coils by dividing your hair into multiple sections and winding them around your fingers.
- Apply a few drops of coconut or olive oil to your curls before going to sleep to keep your curls hydrated.
How To Do Finger Coils– A Detailed Tutorial
You Will Need:
- Curl enhancing cream
- Wide-toothed comb
- Water in a spray bottle (optional)
- Rat-tail combi A type of comb with a pointy and tail-like handle that is used by professional stylists to achieve fine and precise hairstyles.
- Hair clips
- Hairspray
- Blow dryer with a diffuser attachment
Step By Step Process For Finger Coils
If you are wondering how to curl your hair into gorgeous, defined finger coils, follow this super fun method that gives your locks a bouncy, natural look.
1. Prep The Hair
Apply Shampoo

- Cleanse the hair with a sulfate-free shampoo and conditioner to lockin moisture.
- On busy days, dampen your locks with a spritzi The act of spraying in short, quick bursts, which is especially common while styling or treating hair. of water. Ensure that your hair is not dripping wet.
Apply Leave-In ConditionerA leave-in conditioner helps smoothen and detangle your hair
. Pick a chemical-free conditioner for extra nourishment and apply it to wet hair for optimum results.
Comb The Hair
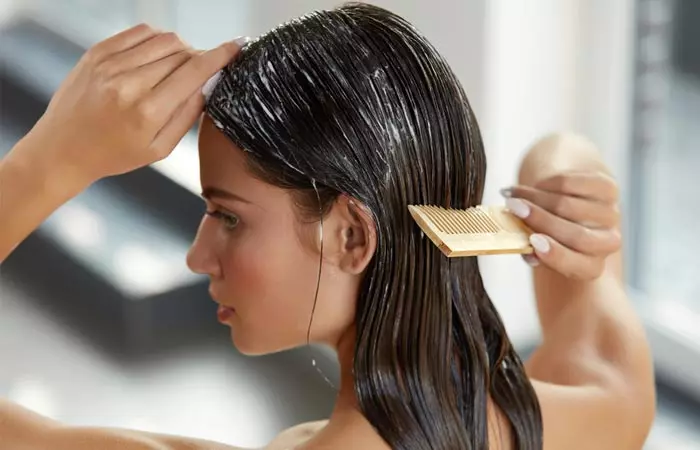
- Use a wide-toothed comb/brush to remove all knots and tangles from the hair. Detangling makes your ends smooth and frizz-free.
- Start combing from the tips and work your way upwards gradually to make the process easier.
2. Section Your Hair
- Divide your hair into two sections using a rat-tail comb and clip the sections on the top of the crown.
- Divide the sections into more sub-sections, depending on how thick or thin you want your finger coils to be.
3. Apply A Curl-Enhancing Cream

- Apply a curl-enhancing cream or gel or a setting lotion to each section of the hair.
- Start to emulsifyi The act of mixing to combine two liquids that don’t completely blend together. it from the root to tip. Apply it on both the front and the back.
- Use a brush to comb the cream for even distribution along the hair.
4. Create Your Finger Coils
- Pick small 1-inch sections of the hair and twirl them with your fingers from roots to tips. You can pick small or large sections of the hair, depending on its length and density.
- Twirl your hair in a spiral motion as close to the roots as possible until the ends. You can apply more curl-enhancing cream for added definition.
- Alternate the twirling direction to give your coils a natural look.
- Continue this process until all your hair is coiled. The time required to coil your hair will vary depending on the length and density.
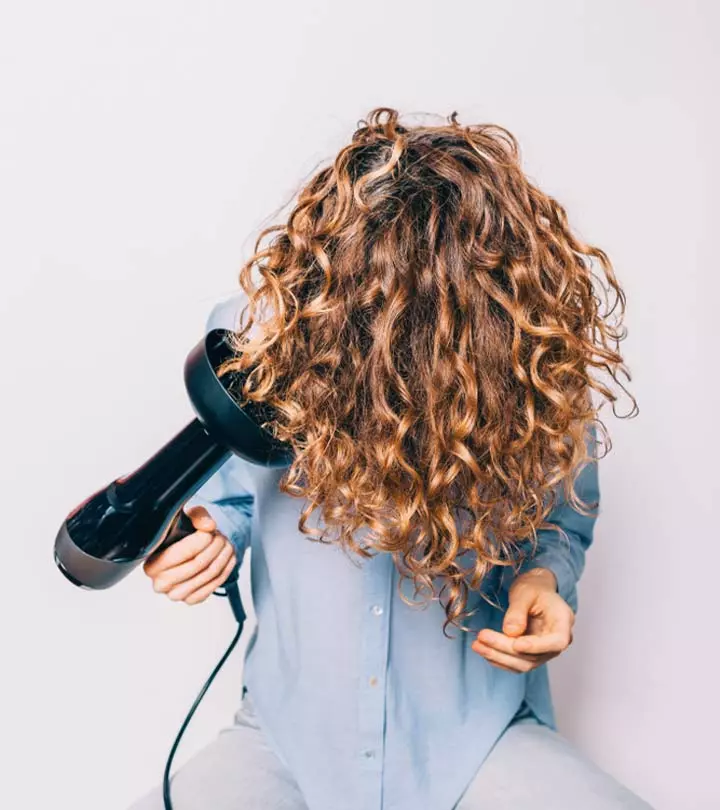
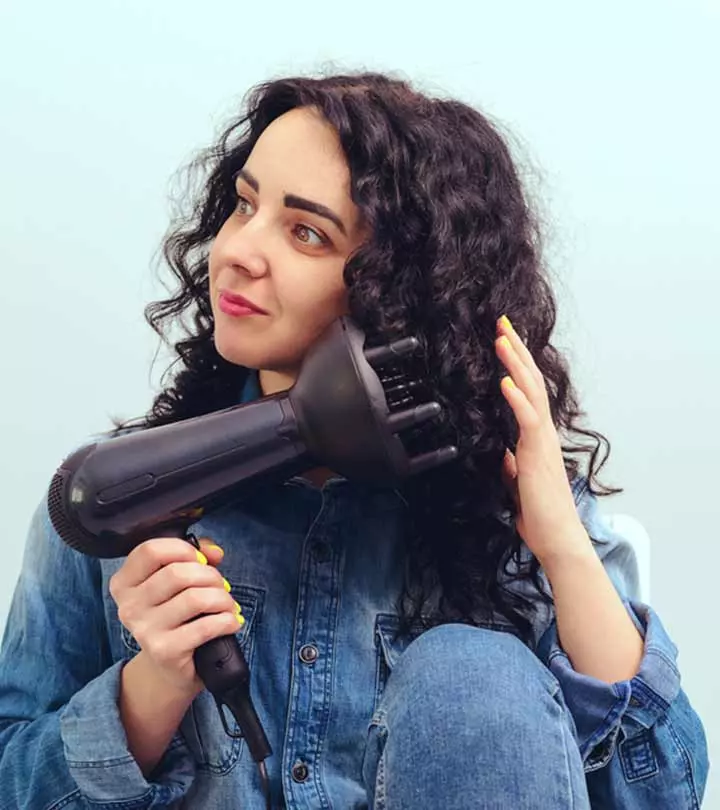
- Blowdry your hair with a diffuser to maintain the curl pattern.
- Use a curl-refreshing spray to eliminate frizz. You can also use a hooded dryer to dry your hair quickly.
- Ensure that the coils are completely dry before styling or separating them.
Michelle, a blogger, shared her experience styling her hair in finger coils instead of following her regular hair routine. She found that the finger coils were time-consuming, taking over two hours to complete. She used an aloe vera juice mixture to wet her hair instead of a gel and skipped detangling her locks. She writes, “Finger coils are really easy to do. That said, It takes a while, a long while, to do the whole head, especially if you’re doing them in really small sections. It took me a little over two hours to finish and my hands were begging for a rest by the time I was done (i).”
If you have 4c hair and are wondering about creating finger coils, here’s a tutorial.
Finger Coils On 4c Hair
- Cleanse your hair with a curl-defining shampoo to eliminate oil, grime, and impurities.
- Apply a leave-in hair mask to nourish and hydrate the curls.
- Use a leave-in conditioner to provide extra moisture and nourishment to your locks.
- Put on a shower cap and leave it on for 20 minutes.
- Part your hair into small sections. Spritz some water, spread the curl-enhancing gel, and comb it through your hair.
- Take 1 inch of the hair and twist it around your finger from the root.
- Repeat by separating each section horizontally.
Check out this video for a clear picture of the process:
Check out the next section to master the finger coil technique for natural long hair.
How To Do Finger Coils On Natural Long Hair
- Towel dry your long natural hair after shampooing.
- Divide your hair into sections and tie a knot on the top of the crown.
- Separate each section using a rat-tail comb and apply a leave-in conditioner for extra moisture and softness.
- Comb the hair to detangle any knots.
- Apply a curl-enhancing gel or cream to each section.
- Start finger coiling from the roots to the tips and repeat for each section.
If you have short hair and want to know how to do finger coils like a pro, check out the next section to know more.
How To Do Finger Coils On Short Natural Hair
- Wash and condition your hair. Make sure it is slightly damp for easy styling.
- Apply a small amount of leave-in conditioner to your damp hair to detangle it.
- Divide your hair into smaller sections with hair clips to help define your curls.
- Starting from the root of your hair, use your fingers to twist the hair around itself to create a tight coil.
- Continue twisting until you reach the end of the section.
- Repeat the same process for each section of your hair.
 Quick Tip
Here’s a video to guide you:
Get ready to rock those gorgeous finger coils with confidence! Check out this video for an easy-to-follow tutorial that will help you achieve stunning coils to define and enhance your natural curls.
Now comes the big question – how long do finger coils last? Swipe up to find out!
How Long Do Finger Coils Last?
With the right products and proper maintenance, finger coils can last up to three weeks. But you cannot wash your hair during this period. Hence, stock up on your favorite dry shampoo. You can also spray a curl refresher.
Further, consider the following tips to maintain your finger coils and extend their longevity:
- Sleep on a satin or silk pillowcase or use a satin bonnet to reduce friction and prevent frizz.
- Limit combing or brushing your hair to prevent frizz and unraveling.
- Use anti-humidity hair products to maintain curl definition, especially if you are constantly exposed to humid conditions.
- Avoid heavy hair products, which can weigh down your curls and ruin their shape. Opt for lightweight, water-based products instead.
 Quick Tip
Sleeping with finger coils is tricky. The following section will explain how to nail it to perfection.
How To Sleep With Finger Coils

Apply natural carrier oils, such as coconut, olive, and jojoba oils, to the coils to keep them hydrated, soft, and smooth throughout the night. These oils add shine and moisturize the hair and scalp. Wrap your hair in a silk head wrap, satin bonnet, or elastic bands to lock the nourishment.
Bored with the finger coil structure and want to deform it? Check out the next section.
How To Remove Coils
To deform the finger coils, use a chemical-free shampoo and hair butter. These hair care products prevent dryness and tangles in afro-textured hair. After applying a hair cream or butter, comb it thoroughly to remove the coils and detangle your hair.
Infographic: Stunning Ways To Style Finger Coils
There are different ways you can style finger coils. You can pair a hair accessory with finger coils, like a headband or head wrap. You can weave your finger coils into protective styles with braids or ponytails. An elegant way to style finger coils is high buns or updos.
You can use finger coils to style your naturally textured hair in twist-outs. Patterns and colors are other ways you can experiment with your finger coils.
Check out the infographic below to learn how to achieve those perfect finger coils.
Some thing wrong with infographic shortcode. please verify shortcode syntax
Finger coils can give you those perfectly thick curls you want so badly. With our step-by-step guide, you can master the finger coiling method like a pro. Remember to prep your hair beforehand to achieve impeccable results. You will also want to use curl-defining or enhancing products to accentuate your finger coils. Nourish these finger coils with oils to keep them healthy and shiny. And when removing finger coils, remember to use a hair butter and chemical-free shampoo to prevent any tangling or damage.
Frequently Asked Questions
Are finger coils damaging?
Finger coils are not damaging to the hair. However, not following the right method to remove the coils may damage the hair.
Do finger coils change your curl pattern?
Finger coils may not completely change your curl pattern – but consistent effort can help you get more defined and tight curls.
How do you keep finger coils from unraveling?
Applying natural carrier oils to the hair and wearing a satin bonnet at night may help keep your finger coils from unraveling.
Should I finger coil wavy hair?
If you want a more curly pattern, you can finger coil wavy hair.
Some thing wrong with illustration image shortcode. please verify shortcode syntaxPersonal Experience: Source
StyleCraze's articles are interwoven with authentic personal narratives that provide depth and resonance to our content. Below are the sources of the personal accounts referenced in this article.
i. Finger coils:my experience,https://naturalinnairobi.wordpress.com/2014/07/22/finger-coils/
Read full bio of Dr. Shruti Chavan
Read full bio of Anjali Sayee
Read full bio of Eshna Das
Read full bio of Krati Darak











Community Experiences
Join the conversation and become a part of our empowering community! Share your stories, experiences, and insights to connect with other beauty, lifestyle, and health enthusiasts.