Homemade Ice Pack: 9 Best Ways To Make One
Ease your pain that comes with injuries or sprain with effective DIY ice packs.

Image: ShutterStock
We always reach out for icepacks in case of an injury, swelling, or sprain. And it is quite usual to stock icepacks if you have an active lifestyle. However, instead of buying, you can prepare homemade icepacks easily. They are easy on the pocket, equally effective as store-bought icepacks, and soothe swelling and pain. Scroll down to learn how to prepare icepacks at home.
 Did You Know?
In This Article
How To Make Homemade Ice Packs
- With Rice
- With Salt
- Using Hand Sanitizer
- With Dish Soap
- Alcohol Ice Pack
- With A Diaper
- Using A Wet Sponge
- With Corn Syrup
- With Peas
9 Ways To Make Homemade Ice Packs
1. White Rice
You Will Need
- 2-3 cups of rice grains
- A sealable plastic bag
What You Have To Do
- Fill a sealable plastic bag with rice grains.
- Freeze for an hour.
- Use as necessary.
How Often You Should Do This
You can use this bag 2-3 times daily on the affected area.
Why This Works
Using rice grains to make ice packs will help the pack stay cold for longer. This can be attributed to the temperature-retaining ability of the rice grains.
2. With Salt
You Will Need
- 2 cups of water
- 2 tablespoons of salt
- A ziplock bag
What You Have To Do
- Add two tablespoons of salt to two cups of water and wait for the salt to dissolve.
- Pour this solution into a ziplock bag and freeze it for a few hours.
How Often You Should Do This
You can use this pack on the affected area daily.
Why This Works
If you don’t want an ice pack that is rock solid, adding some salt to the water pack before refrigerating it helps in making it more moldable.
3. Using Hand Sanitizer
You Will Need
- 1 part hand sanitizer
- 3 parts water
- A ziplock freezer bag
What You Have To Do
- Mix one part of a hand sanitizer with three parts of water.
- Freeze this mixture for a few hours and use as required.
- Avoid any contact with your eyes.
How Often You Should Do This
You can apply this pack to the affected area multiple times daily by refreezing after every use.
Why This Works
Hand sanitizers contain alcohol, which can impart a gel-like consistency to the ice pack.
Caution
Hand sanitizers are highly inflammable. Hence, make sure that the sanitizer doesn’t leak out from the pack while in use.
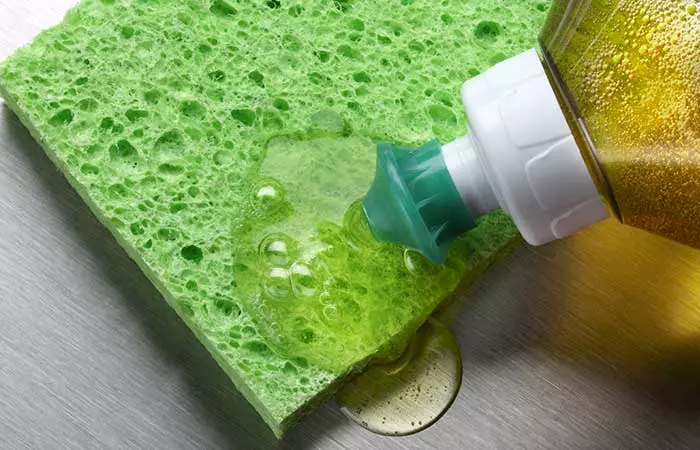
4. With Dish Soap
You Will Need
- 1-2 cups of dish soap
- A ziplock freezer bag
What You Have To Do
- Pour one to two cups of dish soap into a ziplock freezer bag.
- Freeze the content for a couple of hours.
- Use as and when necessary on the affected area.
How Often You Should Do This
You can use this pack multiple times daily.
Why This Works
This is another amazing homemade ice pack that is moldable. This pack is a great alternative to rock-solid ice packs that can easily be used for initial first aid.
5. Alcohol Ice Pack
You Will Need
- 1 cup of rubbing alcohol
- 2 cups of water
- A plastic freezer bag
What You Have To Do
- Mix a cup of rubbing alcohol with two cups of water.
- Pour the solution into a plastic ziplock freezer bag.
- Freeze the pack for a few hours.
- Avoid contact with your eyes.
How Often You Should Do This
You can apply this pack 2-3 times on the affected area. Refrigerate after every use.
Why This Works
Rubbing alcohol doesn’t allow the water to turn brick solid. Hence, you can get your own slushy ice pack that is not too hard on your skin by adding rubbing alcohol to water.
Caution
Since rubbing alcohol is highly inflammable, take extra care to ensure it doesn’t leak out of the pack.
 Quick Tip
6. With A Diaper
You Will Need
- An unused diaper
- 2 cups of water
- 1 cup of rubbing alcohol
What You Have To Do
- Take a clean diaper and spread it open.
- Pour a cup of rubbing alcohol inside the diaper along with one to two cups of water.
- Roll the wet diaper tightly into a small bundle.
- Freeze this for a couple of hours.
- Use as per your requirement.
- Avoid using it on your eyes.
How Often You Should Do This
You can use this multiple times daily on the affected areas of your body.
Why This Works
The flexibility of diapers makes them better than other ice packs as you can use them anywhere on your body quite conveniently (be it wrapping the pack around your finger or spreading it on your tummy).
Caution
Refreeze immediately after use to prevent the alcohol and water mixture from melting. Alcohol is inflammatory, and care must be taken while using it.
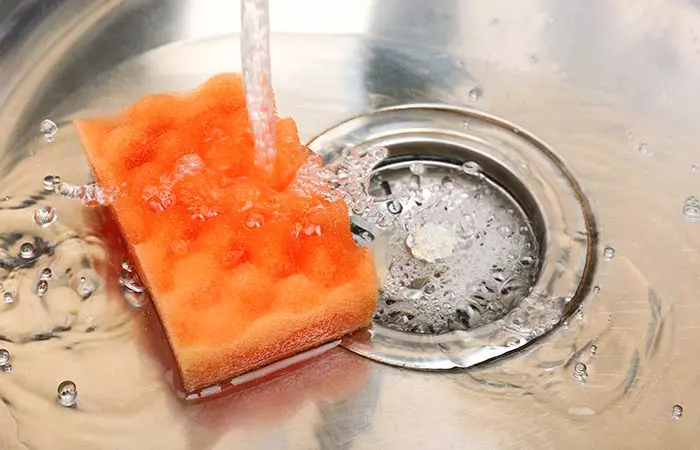
7. Using A Wet Sponge
You Will Need
- A clean sponge
- Running water
- A plastic ziplock freezer bag
What You Have To Do
- Run a clean sponge under water.
- Allow it to soak completely.
- Transfer the damp sponge to the ziplock freezer bag.
- Freeze for a few hours.
- Apply it to the affected area and refrigerate after use.
How Often You Should Do This
You can use this for cold therapy multiple times in the affected area if you refrigerate it after every use.
Why This Works
If you are looking for a quick way to make an ice pack, a frozen wet sponge will do the trick. As the water melts, the sponge reabsorbs it, making this pack effective and reusable for a long time.
8. With Corn Syrup
You Will Need
- 1-2 cups of corn syrup
- A ziplock freezer bag
What You Have To Do
- Pour one to two cups of corn syrup into a ziplock freezer bag.
- Freeze the bag for a few hours.
- Apply the pack on the affected body part.
- Refrigerate after every use.
How Often You Should Do This
You can do this cold compress multiple times daily or as per your requirement.
9. With Peas
You Will Need
- 2-3 cups of frozen peas
- A sealable plastic bag
What You Have To Do
- Fill the sealable plastic bag with frozen peas.
- Place the bag in the freezer for about an hour until it is further chilled.
- Apply the frozen pack to the affected area to reduce pain and swelling.
How Often You Should Do This
You can do this 2-3 times daily.
Why This Works
Thanks to their shape and size, peas conform to the body and offer targeted cooling. Additionally, peas retain cold temperatures well. This may ensure prolonged relief from the inflammation.
Babbette Duboise, an ice skater and blogger, talks about her knee injury and back spasm and how she used ice packs to treat them. She said, “Intermittent ice packs (not to exceed 20 minutes per session) along with rest, slow walking, and gentle stretching. It worked and I’m close to pain free today (i).”
Infographic: 5 Best Ways To Make Your Own Ice Pack At Home
Whether you work out at the gym or your home, injuries and sprains are an inevitable part of it. The immediate solution is to apply an ice pack to reduce the swelling and pain. The good news is you can make your own homemade ice pack with a few simple ingredients. Check out the infographic below to find out how.

Illustration: StyleCraze Design Team
Ice packs or ice therapy can help provide muscle pain relief and reduce swelling associated with injury. Homemade ice packs are easy to prepare and effectively soothe minor injuries. There are different ways to prepare an ice pack, and you can make ice packs with rice, salt, alcohol, dish soap, corn syrup, and hand sanitizer. Choose your favorite ingredients to make these ice packs. In addition, wrap a towel around the bag to protect your skin from ice burns.
Frequently Asked Questions
How long do gel ice packs take to freeze?
Ice packs usually take anywhere between 1-2 hours to freeze.
How long do gel ice packs last?
At room temperature or while being used, a gel ice pack can last for 3-4 hours.
How are gel packs better than ice?
One of the main reasons a gel pack is better than a solid ice pack is due to its physical nature. Ice packs are rock solid and could be hard on the affected area, whereas, the gel packs are much more flexible and softer.
How does salt make ice last longer?
Adding salt to your ice pack lowers the freezing temperature of the water. Hence, salt water is colder than fresh water and also takes longer to melt in its frozen state.
Are the ingredients used in ice packs toxic?
Some ice packs may contain chemicals like ammonium nitrate and ethylene glycol that can be harmful to the body in case they leak out of the pack.
How do you make a homemade ice pack without a fridge?
You need ice, a freezer bag, or a cooler to chill the ingredients and make an ice pack.
How do you make a homemade ice pack for lunch boxes?
You can follow any of the above methods to prepare homemade ice packs to store your lunch boxes.
Key Takeaways
- Homemade ice packs are pocket-friendly and come in handy when you suffer an injury or sprain.
- You can use a few simple ingredients from your pantries, such as rice, salt, and a ziplock bag, to create ice packs that can be applied to the affected area.
- You can also use dish soap or alcohol and freeze it in the refrigerator for use.
- However, exercise caution when using these ingredients as they are flammable.

Image: Dall·E/StyleCraze Design Team
Check out this video to learn how to make your own ice pack in four easy steps! Get ready to combat any injury or soreness.
Personal Experience: Source
StyleCraze's articles are interwoven with authentic personal narratives that provide depth and resonance to our content. Below are the sources of the personal accounts referenced in this article.
i. Ice packs for injurieshttps://icedoesntcare.blogspot.com/2013/08/ice-packs-for-injuries.html
Read full bio of Dr. Archna Agrawal
Read full bio of Arshiya Syeda
Read full bio of Himanshi Mahajan


