How Long To Leave Saniderm On Your Tattoo: A Complete Guide
With the power of Saniderm, your tattoos can now heal in no time.
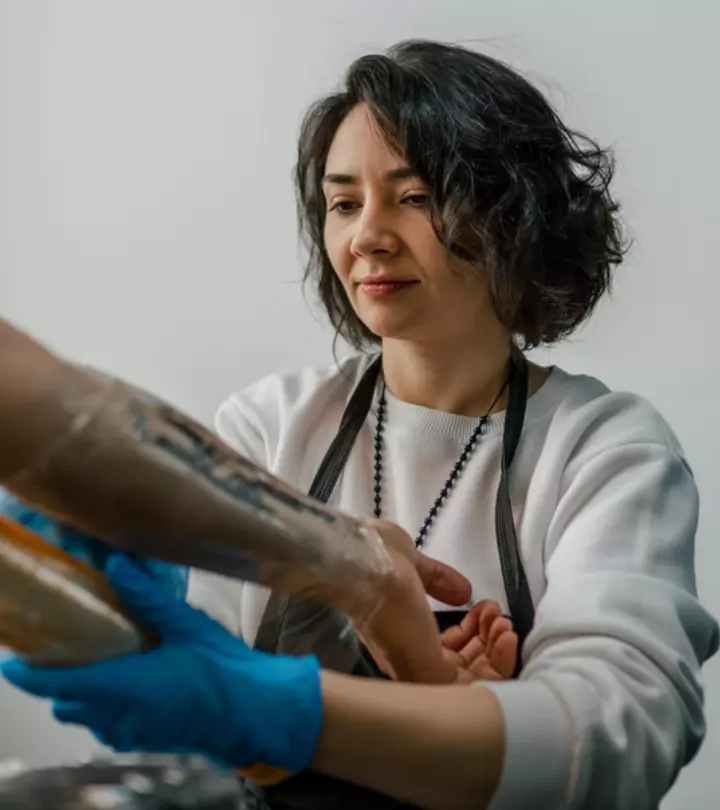
Image: iStock
Are you embarking on the journey of taking care of a tattoo for the first time? Then you could be wondering how long to leave Saniderm on your tattoo. This article guides you on the right use of Saniderm, which is one of the most preferred tattoo aftercare products. Saniderm is a transparent adhesive bandage that plays a crucial role in tattoo aftercare. It offers a layer of protection to keep any contaminants from entering the skin.
In this comprehensive guide, we have discussed how to apply and remove Saniderm the right way, along with other important aspects associated with this aftercare method that you may want to know. Whether you are a tattoo enthusiast or a first-timer, understanding Saniderm’s ins and outs can help ensure your tattoos heal beautifully. Continue reading without any further ado.
In This Article
Is Saniderm Good For Tattoos?
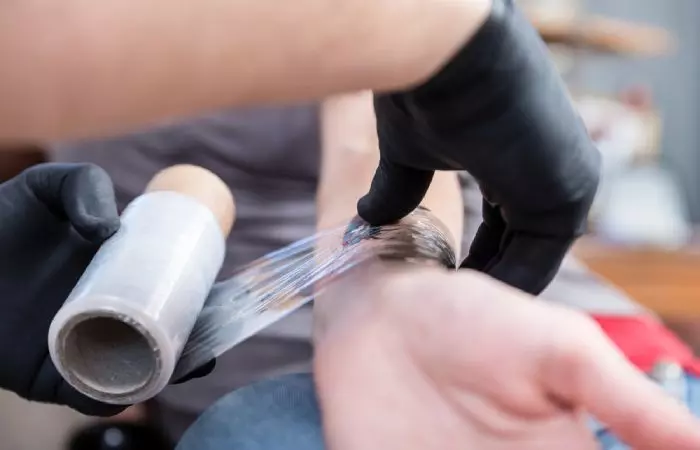
This is one of the first questions people have. Saniderm offers various benefits. We have listed them below.
1. Protects Against Contaminants
Saniderm acts as an effective barrier against bacteria, dirt, and other external elements that may be present in the environment. It reduces the risk of infection during the initial healing stages of a fresh tattoo.
2. Promotes Healing
It creates a moist healing environment by sealing in the natural fluids produced by the skin. This keeps the tattoo from drying out and promotes optimal conditions for cell regeneration.
3. Reduces Scabbing And Itching
It minimizes the formation of thick scabs that may otherwise potentially damage the tattoo during the healing process. Less scabbing also helps alleviate itching.
4. Reduces Healing Time
It facilitates faster healing by providing a protective layer on the healing skin. This promotes an ideal microenvironment for skin regeneration and results in quicker recovery.
5. Preserves Vibrancy Of Colors
It helps maintain the brightness and vibrancy of tattoo colors. It does this by preventing tattoo peeling.
6. Minimizes Friction And Irritation
It acts as a shield against friction from clothing and other external factors. This helps reduce irritation.
7. Minimizes The Risk Of Over-Moisturizing
It eliminates the need for excessive application of ointments, which may otherwise lead to over-moisturizing. Saniderm provides a controlled and consistent moisture level without the risk of clogging pores.
8. Lessens Discomfort During Cleaning
It reduces the discomfort associated with cleaning a fresh tattoo. Traditional cleaning methods can be abrasive. However, Saniderm simplifies the cleaning process and helps avoid potential trauma to the healing tattoo.
Jenna, a blogger, shared her experience with Saniderm in one of her blog posts. She writes, “It’s a wrap that you wear over your healing tattoo. It is said that it heals quicker, and there is less scabbing and scarring. It’s also easier to manage when it comes to being careful with your tattoo. I decided to try this for my next tattoo, which ended up being a TIE Fighter on my leg (i).”
It is now clear why Saniderm is a great choice for tattoo aftercare. However, you may be intrigued to learn how it works. Find out the answer in the following section.
How Does Saniderm Work?
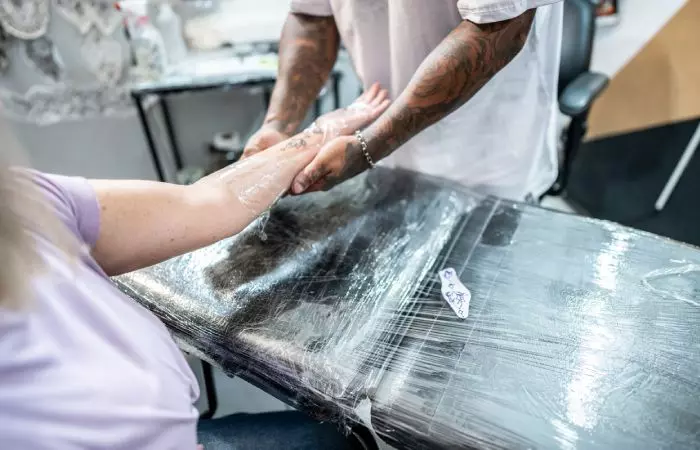
Saniderm creates a protective barrier over freshly tattooed skin and fosters an optimal healing environment. Its transparent, adhesive film acts as a second skin and guards against contaminants. It also reduces exposure to air and friction. This sealed environment promotes faster healing by preventing scabbing, minimizing scarring, and reducing the risk of infection. Additionally, Saniderm’s breathable and waterproof design allows for the natural exchange of oxygen while keeping the tattoo moisturized. This method helps retain the natural tattoo colors.
 Quick tip
It also is important to know how long you need to leave Saniderm on your tattoo before removing it. Learn more in the next section.
How Long To Leave Saniderm On A Tattoo?
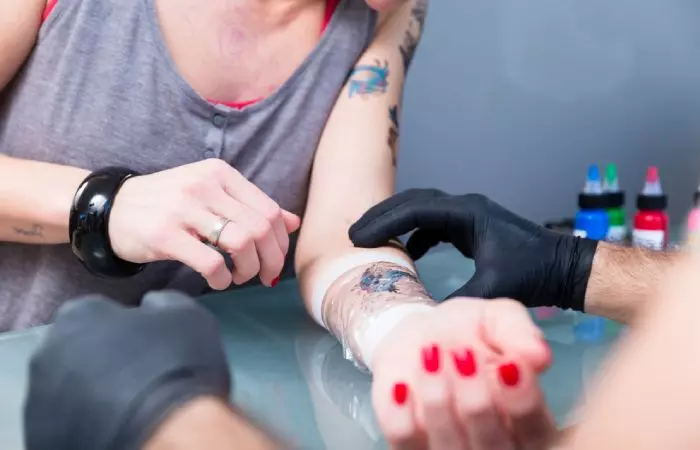
If you are wondering how to take care of a new tattoo, it typically involves following specific aftercare instructions to ensure proper healing and minimize infection risk. Typically, it is recommended to leave Saniderm on a new tattoo for 24 to 72 hours. Always follow the instructions given by your tattoo artist. Some artists will apply the first wrap on clean, dry skin and instruct you to remove the initial film after 8 to 24 hours. Subsequently, replace it with a fresh piece for an additional 24 hours or up to 7 days of healing and minimize infection risk.
Removing Saniderm the right way is key to reducing pain. Understand more about it in the next section.
How To Remove Saniderm From A Tattoo?
Removing Saniderm is as important as applying it. The following tips can help.
1. Wash Your Hands
Wash your hands with a mild soap to avoid introducing bacteria to the clean tattoo area.
2. Use Warm Water
Gently remove the Saniderm in a warm shower or under running water. The water helps loosen the adhesive.
3. Peel Slowly
Start peeling from one corner at a 180-degree angle. Take your time while removing it and avoid pulling on the skin as it may damage the still-fresh tattoo.
4. Use More Water If Needed
Use more lukewarm water if you encounter resistance while removing it. This helps loosen the wrap and makes it easier to peel it off.
5. Be Cautious With Your Hair
Should Saniderm come in contact with your hair, remove it in the direction of your hair growth. This prevents any hair damage and minimizes discomfort.
6. Cleanse The Tattoo
Once you remove Saniderm, wash the tattoo gently with a mild, fragrance-free soap and water.
7. Pat Dry
Use a clean cotton towel or a clean paper towel to pat the tattoo dry. Avoid rubbing.
8. Apply A Moisturizer
After the tattoo has dried, apply a petroleum-free moisturizer, non-scented lotion, or healing ointment, as directed by your artist, to the area. Do this with clean hands as recommended by your tattoo artist to maintain hydration and facilitate the healing process.
 Quick tip
Thus far, we have learned about the crucial steps in the application and removal process. We will now explore why it is important to leave Saniderm for a specific time period. Learn more in the next section.
Why Is It Important To Leave Saniderm On For The Recommended Time?
Leaving Saniderm on for the recommended time is crucial for optimal wound healing. Adhering to the recommended duration ensures continuous protection and facilitates the natural healing process. This, in turn, reduces the risk of infection and promotes better cosmetic outcomes.
The tattoo healing process, unique in its own right, consists of three stages. They vary in duration and intensity for each individual. Find out more about them below.
Saniderm Tattoo Healing Stages
Stage 1: Initial Healing (Open Wound Stage)
When you first get a tattoo, it’s like having an open wound on your skin. This is a crucial time because your body is working hard to close up the freshly tattooed area. But the area is also more prone to infections. While the tattoo might look bright at first, it will lose some of its brightness as it heals. Scabbing is common during this stage, and it’s important to take proper care of your tattoo to avoid scarring. Plasma, a natural healing substance, helps break down the dead tissue and builds new tissue. You can prevent scabbing by keeping your tattoo moisturized and covered with the bandage.
Stage 2: Tightening And Itching
The healing skin starts to tighten in the second stage, and it can get itchy. The top layers of the skin that were affected by the tattoo will peel off. It’s crucial to keep your skin well-moisturized to ease the itching and protect your tattoo from damage caused by dryness.
Stage 3: Subdermal Healing
This happens beneath the surface of the skin after the initial open wound has closed. Here, the tattoo ink settles into the deeper layer of the skin, called the dermis. While the risk of infection decreases, it is still important to keep the tattoo moisturized to keep it from fading early. Taking good care of your tattoo during each stage ensures it stays vibrant and lasts a long time.
Let us finally explore the aftercare regimen to ensure your tattoo remains vibrant and has a lasting impact.
Saniderm Tattoo Aftercare Regimen

- Allow 4 to 8 weeks for the tattoo to heal completely.
- Avoid touching, picking, scratching, or peeling the tattoo to reduce the risk of infection.
- Keep the tattoo dry.
- Wear loose-fitting clothing to prevent friction.
- Protect the tattoo from sun exposure, including tanning beds.
- Refrain from alcohol consumption to further accelerate the healing process.
- Try to avoid intake of antibiotics as they may hinder the healing process.
- Follow aftercare guidelines to prevent bacteria buildup and infection.
- Apply sunscreen (30 SPF or higher) once the tattoo has fully healed.
Conclusion
The process of a beautifully healed tattoo begins with understanding how long to leave Saniderm on a tattoo. This comprehensive guide has revealed the significance of this transparent adhesive bandage in the tattoo aftercare process. From its benefits in protecting against contaminants, promoting moist healing, and reducing scabbing to its role in preserving color vibrancy and minimizing discomfort, Saniderm proves to be a valuable ally in ensuring optimal healing of your tattoos. The recommended duration of 24 to 72 hours provides a crucial window for safeguarding against infection and supporting the natural healing process. By following our valuable tips in the healing stages and maintaining an aftercare routine, you can ensure the longevity and vibrancy of your new masterpiece. Don’t forget to seek personalized guidance and instructions from your tattoo artist regarding the use of Saniderm for your amazing tattoo. Now, follow these insights and let your tattoo shine!
Frequently Asked Questions
What if my Saniderm comes off early?
If Saniderm comes off early, clean the tattoo gently, reapply a new piece of Saniderm, and follow aftercare instructions to ensure proper healing. If concerns persist, consult your tattoo artist or a healthcare professional.
How many pieces of Saniderm should I use?
The number of Saniderm pieces depends on the tattoo size. Generally, one piece large enough to cover the entire tattoo is recommended for optimal protection during the initial healing phase.
How do you know when to take Saniderm off?
Saniderm should be worn for as long as your artist recommends. Once removed, if the tattoo appears healed, further aftercare without Saniderm is advised.
How to reapply Saniderm?
To reapply Saniderm, clean the tattoo, pat it dry, and apply a new piece of Saniderm, ensuring it adheres smoothly to the skin for continued protection during the healing process.
Can you leave Saniderm on a tattoo for too long?
Leaving Saniderm on a tattoo for longer than 7 days can potentially lead to excess levels of moisture or skin irritation. It’s crucial to follow the recommended duration for optimal healing.
What do I do if my skin looks irritated around the edges of the Saniderm?
If your skin appears irritated around the edges of the Saniderm, gently remove it to avoid further irritation, clean the area, and consult your tattoo artist or a healthcare professional for further course of action.
Can Saniderm cause tattoo infection?
While Saniderm is designed to protect tattoos, improper application or leaving it on for too long could potentially create a moist environment that may be conducive to bacterial growth and increase the risk of infection.
Key Takeaways
- Saniderm is a transparent adhesive bandage that protects against contaminants, reduces scabbing and itching, and speeds up healing.
- Acting as a second skin, the transparent adhesive and flexible film minimizes exposure to air and friction.
- To remove Saniderm from a tattoo, wash your hands with a non-scented antibacterial soap. Proceed slowly by peeling it off in warm water. Rinse the tattoo, pat it dry with a clean towel, and apply a moisturizer.
- Leave Saniderm on the new tattoo for as long as your tattoo artist recommends. Replace the first bandage after 8 to 24 hours, then use a fresh one for 24 to 48 hours to promote healing and reduce the chances of infection.
Uncover the magic behind Saniderm in this enlightening video on Tattoo Healing 101. From protection to accelerated healing, the YouTuber demystifies how Saniderm works for your ink. Ready to revolutionize your tattoo aftercare? Watch it now and embark on a journey to flawless tattoo healing!
Personal Experience: Source
StyleCraze's articles are interwoven with authentic personal narratives that provide depth and resonance to our content. Below are the sources of the personal accounts referenced in this article.
(i). My First Experience Healing With Sanidermhttps://jennafleshtats.wordpress.com/2016/02/06/my-first-experience-healing-with-saniderm/
Read full bio of Scott Terry
Read full bio of Subhrojyoti Mukherjee
Read full bio of Manjari Uppal






Community Experiences
Join the conversation and become a part of our empowering community! Share your stories, experiences, and insights to connect with other beauty, lifestyle, and health enthusiasts.