How To Clean A Belly Button (Navel) Piercing? Steps To Follow
Master the art of keeping your navel piercing sparkling clean.
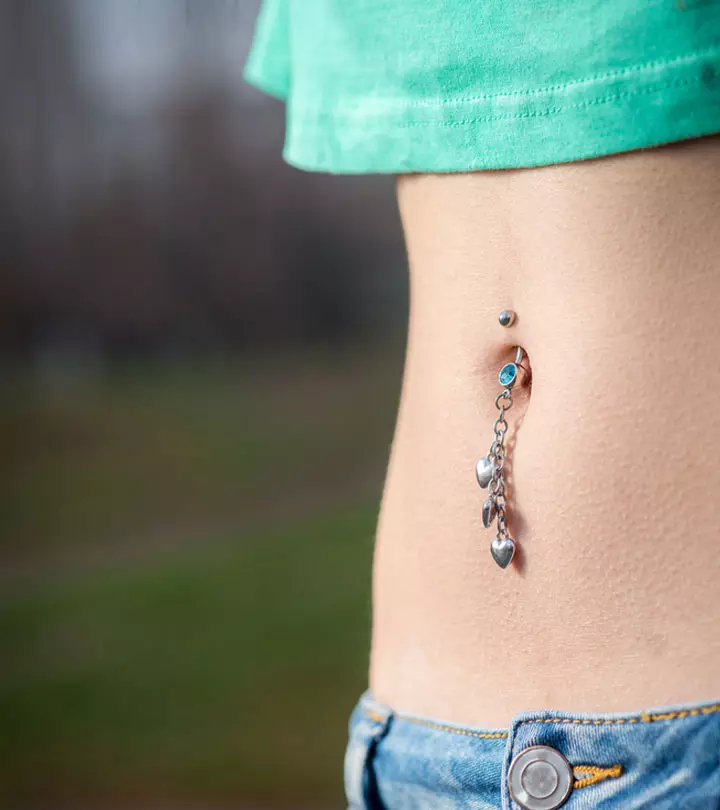
Image: Shutterstock
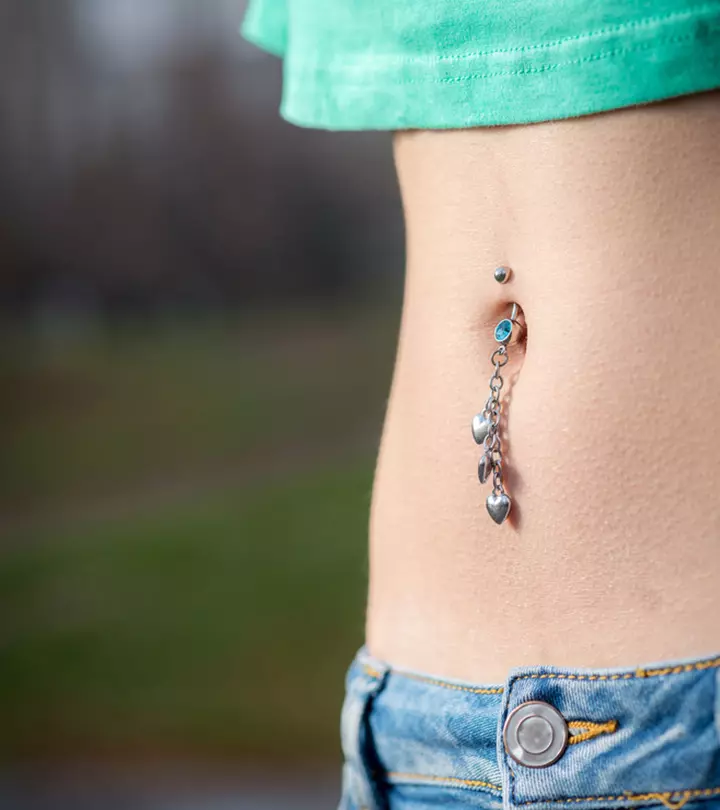
Just got a belly button piercing to add a 2000s vibe to your look? Congratulations! But, you should be aware that such a piercing also calls for added responsibility. And it starts with knowing how to clean a belly button piercing to ensure it does not become crusty or get infected. This is especially important as the belly button is a delicate and often-overlooked area of the body. Read this article to learn how to maintain your navel piercing by following a meticulous cleaning routine and effective aftercare tips to maintain its aesthetic appeal and minimize the risk of complications. These tips will help you flaunt that stylish adornment confidently and comfortably. So, let’s get started!

In This Article
How To Clean A Belly Button Piercing: Steps To Follow
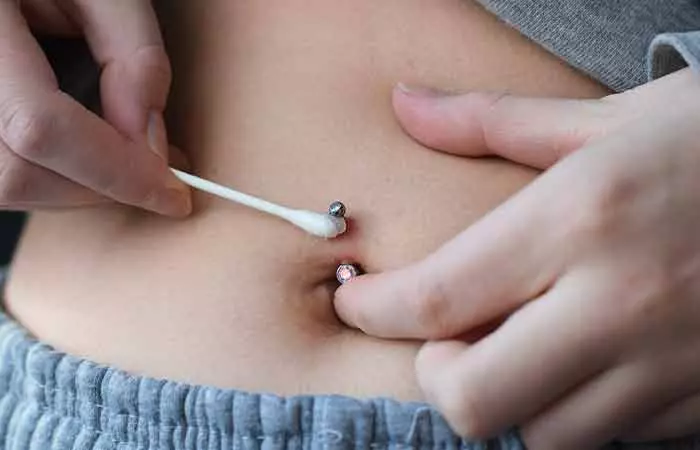
The belly button area is obscured and needs careful cleaning. It may accumulate dirt, bacteria, dead skin cells, or soap suds that can cause crustiness, foul smell, and infections, especially if it is pierced. Follow these detailed steps to clean a belly button piercing effectively:
1. Wash Your Hands
Always start by washing your hands before the cleaning process to reduce the risk of bacterial contact. Use an antibacterial soap, and scrub for at least 20 seconds.
2. Prepare A Saline Solution
Make a saline solution with 1/4th teaspoon of salt per 8 ounces of water as this formula is said to mimic the natural saline balance of the body. This will ensure the piercing does not dry out.
3. Soak A Cotton Swab Or Pad
Dip a cotton swab or pad into the saline solution until fully saturated but not dripping. Use it to carefully clean the belly button piercing and gently remove any crust or discharge. Avoid rotating the jewelry during this process as it can re-open the piercing wound or irritate it.
4. Pat Dry With A Clean Cloth
After cleaning the piercing, pat the area dry with a fresh, disposable paper towel or a soft, lint-free cloth. Do not rub the area harshly as it can cause snagging or irritation.
Along with following these belly button piercing cleaning tips, it is also important to avoid exercise during its healing period. This will prevent any stretching that can irritate the piercing and also keep it safe from sweat that can introduce infection-causing bacteria to the site. In case you sweat a lot, ensure to clean the piercing using the above steps.
 Quick Tip
Sanai Ari, a blogger and a YouTuber describes her personal experience and insights on cleaning a belly button piercing. She prefers using specially formulated cleansers and shares, “Some soaps are harsher than others and this is a very sensitive area, so if you don’t have a piercing cleaner, use a mixture of salt and water to clean the piercing (i).”
By following the proper piercing washing steps consistently, you can ensure optimal healing of your belly button piercing. It is also important to keep a close eye on the piercing regularly to monitor the signs of infection, such as persistent redness, swelling, or unusual discharge, and consult your healthcare professional if concerns arise. While the standard cleaning routine maintains the health of the piercing, addressing infection requires a focused and specialized approach. So, if you notice a developing infection, the following section explains how to clean and heal an infected belly button piercing.
Key Takeaways
- Consistently cleaning your belly button piercing is crucial to ward off infections and complications, promoting a healthy healing process.
- Clean your fresh belly button piercing with a sterile saline solution at least twice a day to remove crusting and ward off bacteria.
- To tackle an infected belly button piercing, gather essential items like a warm compress, antiseptic solution, and topical antibiotic cream for effective cleaning.
- Regularly cleaning your belly button piercing jewelry not only ensures hygiene but also enhances the visual allure of your piercing.
How To Clean An Infected Belly Button Piercing
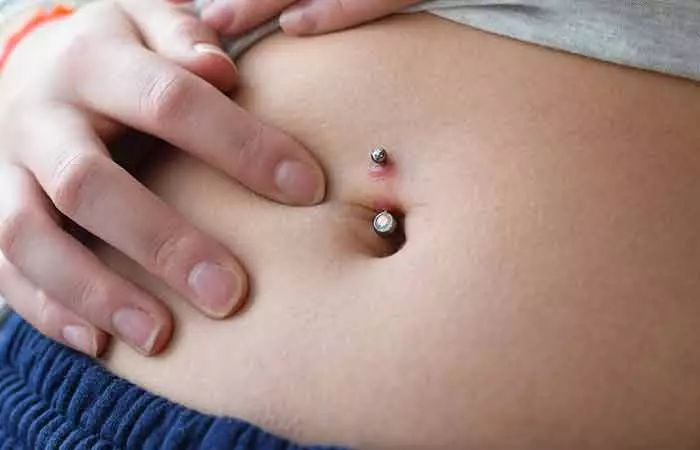
An infected belly button piercing must be treated with a delicate, careful, and thorough approach. Otherwise, it may escalate to fever and chills, impacting your overall health. Follow these effective steps to address the signs of infection and promote quick healing:
1. Spot The Signs Of Infection
Look out for tell-tale signs of infections such as swelling, pain, burning sensation, excessive redness, or the presence of odorous or blood-streaked pus around the piercing (1). If your piercing takes significantly longer than expected to heal or shows signs of regression (e.g., increased redness or discharge after initial improvement), it may be infected. Moreover, the area around the piercing may become darker, develop streaks, or show signs of spreading redness, indicating a potential infection or inflammation. Seek medical help immediately if you spot these signs for early intervention and treatment.
2. Warm Compress
Use a good old warm compress to soothe the infected piercing site. You can make a compress by yourself, using a clean washcloth dipped in warm water, and press it against the infected piercing for about 2 to 3 minutes. Repeat this process 3 to 4 times a day to drain out the infection.
3. Use An Antiseptic Cleaner
Clean the infected area with an antiseptic cleanser about twice a day or if you find it excessively leaking, and rinse thoroughly with running water. Then pat the area dry with a paper towel.
4. Apply Antibacterial Cream
Follow up the cleaning with a thin layer of topical antibacterial cream specifically recommended for the infected belly button piercing.
5. Do Not Remove The Navel Jewelry
Avoid removing the navel jewelry under any circumstances, as doing so may worsen or seal the infection inside. Leaving the jewelry in place aids in proper drainage and facilitates effective treatment.
 Quick Tip
Following the above-mentioned steps can ensure effective treatment of an infected belly button piercing. You can also try some good home remedies for belly button infections, like coconut oil, aloe vera, turmeric, etc., to naturally treat them. It is important to prioritize prompt and appropriate care to prevent complications and support the healing process. Despite following careful precautions, if you note no improvement even after 24 hours, or if additional symptoms like fever or chills develop, consult a doctor promptly.
So, we have established a nuanced process of cleaning an infected belly button piercing. Let us now understand the frequency required to establish a consistent routine. Check out the next section for more details.
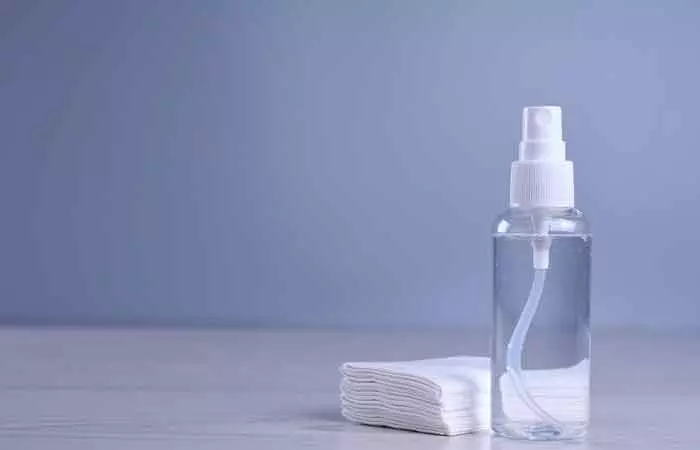
A belly button piercing is located in a delicate and obscured area on the body and is prone to bacterial infection. Coming up with a consistent cleaning routine is important for the healthy maintenance of your navel piercing. Further, over-cleaning can also lead to problems during the healing process. Hence, it is also important to clean your piercing only as many times as is appropriate. The following insights can give you a good idea on how to settle on a cleaning frequency.
Healing-Period Cleaning Frequency
Experts advise cleaning your fresh belly button piercing twice a day during the healing period. It is normal to note a colorless or yellowish fluid from the pierced spot that turns crusty as it dries. It is normal to feel itchiness in the area, but resist the urge to pick at it. Instead, you can simply wash away the crusts with lukewarm water and proceed to clean the spot using a sterile saline solution or a gentle liquid soap. Following this routine on a twice-a-day frequency of cleaning can help prevent infections and promote the healing process.
Post-Healing Cleaning Frequency
Once your navel piercing heals completely, typically taking several months, you can reduce the cleaning frequency. Cleaning once daily or every other day is often sufficient during the maintenance phase. However, continue to check in on the piercing from time to time. If you lead a physically active life, you might need to protect the site from dirt or sweat and clean the area after each activity session.
Alongside setting an optimum cleaning frequency, there are additional precautions that can help prevent complications from arising. Let us learn of them in the next section.
Tips To Follow While Cleaning A Belly Button Piercing
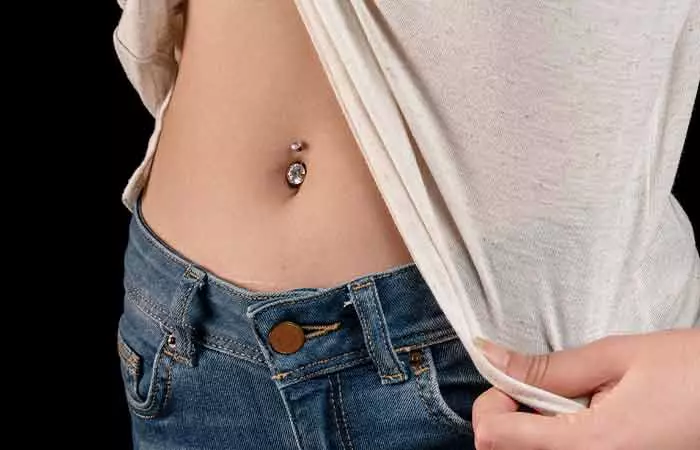
The following tips support a seamless and effective cleaning routine, ensuring your belly button piercing remains clean and serves as a dazzling and well-cared-for adornment:
- Always use a mild antibacterial soap or sterile saline solution when cleaning the belly button piercing for an irritation-free process.
- Avoid twisting, rotating, tugging, or moving the piercing jewelry too much during the cleaning process as it may reopen the wound or seal any infection inside leading to a patchy recovery.
- Never touch a new piercing with unwashed hands as it can introduce bacteria to the site.
- Choose loose clothing to allow the new piercing breathing space and reduce irritation. Avoid tight clothing with seams or fastening that may sit right on top of your belly button piercing.
- Steer clear from public pools, hot tubs, or natural water bodies to minimize the risk of bacterial contamination.
- Avoid sleeping right on your stomach to prevent pressure or friction on the piercing site.
- During workouts, try to cover the pierced holes to avoid sweat from reaching there and causing irritation. Do clean gently but thoroughly after the sessions.
Having grasped the essential tips for maintaining a healthy belly button piercing, let us discover some comprehensive methods to clean your belly button piercing jewelry, ensuring not only a sparkling adornment but also a testament to meticulous aftercare.
How To Clean Your Belly Button Piercing Jewelry
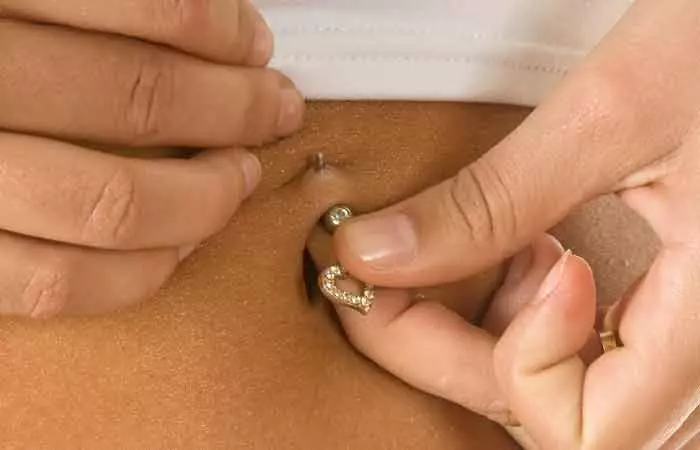
Alongside cleaning your piercing site, it is also important to correctly clean your piercing jewelry. This ensures both its aesthetic appeal and your overall piercing health are in top shape.
- Start by washing your hands with soap to minimize the risk of bacterial contamination.
- Gently remove the jewelry and place it in a clean container. Pour a mild, fragrance-free liquid soap or a sterile saline solution into the container until the jewelry is fully submerged. Let it soak for a few minutes.
- For intricate or delicate pieces, consider using a soft, clean toothbrush to remove crustings from tiny, hidden crevices.
- Follow by rinsing the jewelry thoroughly, removing any soapy residue.
- Pat the jewelry dry completely with a clean paper towel, before carefully reinserting it into the piercing hole. Make sure there is no dampness as it facilitates bacterial growth.
Regularly cleaning your belly button piercing jewelry keeps bacteria at bay leaving your piercing site clean and odor-free. It is generally advised to clean your piercing jewelry at least once a week. This routine helps prevent the buildup of body oils, lotions, dead skin cells, and other debris that can accumulate on the jewelry over time. Making efforts for consistent care of your piercing jewelry ensures its longevity, aesthetic vibrancy, and also the hygiene and health of your piercing site.
Maintaining a belly button piercing can be a bit more difficult than it looks. From gently cleaning the piercing during the initial stages of healing to taking care of the jewelry to prevent infection, each step contributes to the longevity of this unique form of self-expression. By cleaning it diligently, you can showcase your dazzling navel piercing with ease. As you embark on this piercing journey, let the fusion of hygiene and style be your guide, ensuring that your belly button piercing stands as a testament to your self-care and individuality.
Frequently Asked Questions
How soon after getting a belly button piercing should I start cleaning it?
Begin cleaning your fresh piercing within the first 24 hours of getting it. Use a mild, fragrance-free liquid soap or sterile saline solution, and adhere to a gentle cleaning routine twice a day to promote proper healing and prevent infection.
How to clean your belly button piercing if you don’t have sea salt?
If sea salt is unavailable, use clean water and a mild, fragrance-free liquid soap to clean your belly button piercing. Ensure thorough rinsing to wash away any soapy residue.
Can I use alcohol or hydrogen peroxide to clean my belly button piercing?
No. It is not recommended to use alcohol or hydrogen peroxide for cleaning a belly button piercing, as they can be too harsh and may hinder the natural healing process. So, opt for a mild soap which is gentler and more suitable for piercing aftercare.
When can I stop cleaning my belly button/navel piercing?
Continue cleaning your belly button piercing until it’s fully healed, which typically takes several months. Once healed, reduce cleaning frequency to once a day or every other day, but remain attentive to any signs of irritation or infection.
Is it normal for my navel piercing to bleed a little during cleaning?
A small amount of bleeding during cleaning can be normal during the early stages of healing. However, if bleeding is persistent, excessive, continues beyond 3 to 4 days, or is accompanied by other concerning symptoms, it is advisable to consult with your piercer or a healthcare professional for guidance.
Unlock the secrets to a flawless, dazzling belly button piercing with our step-by-step guide! Watch this YouTube video to navigate the art of cleansing—revealing the dos, don’ts, and essential tips for optimal aftercare.
Personal Experience: Source
StyleCraze's articles are interwoven with authentic personal narratives that provide depth and resonance to our content. Below are the sources of the personal accounts referenced in this article.
(i). How to clean your belly piercinghttps://www.youtube.com/watch?v=lJuVy71g3lk
References
Articles on StyleCraze are backed by verified information from peer-reviewed and academic research papers, reputed organizations, research institutions, and medical associations to ensure accuracy and relevance. Read our editorial policy to learn more.
- Body Piercing Infections
https://www.ncbi.nlm.nih.gov/books/NBK537336/
Read full bio of Ikramul Haque Shazib
Read full bio of Sangita Goel
Read full bio of Anjali Sayee
Read full bio of Vaishali Sinha















Community Experiences
Join the conversation and become a part of our empowering community! Share your stories, experiences, and insights to connect with other beauty, lifestyle, and health enthusiasts.