How To Clean Ear Piercings: 11 Easy Tips For Fast Healing
Elevate your piercing aftercare routine to ensure optimal hygiene for trouble-free healing!
Image: Shutterstock
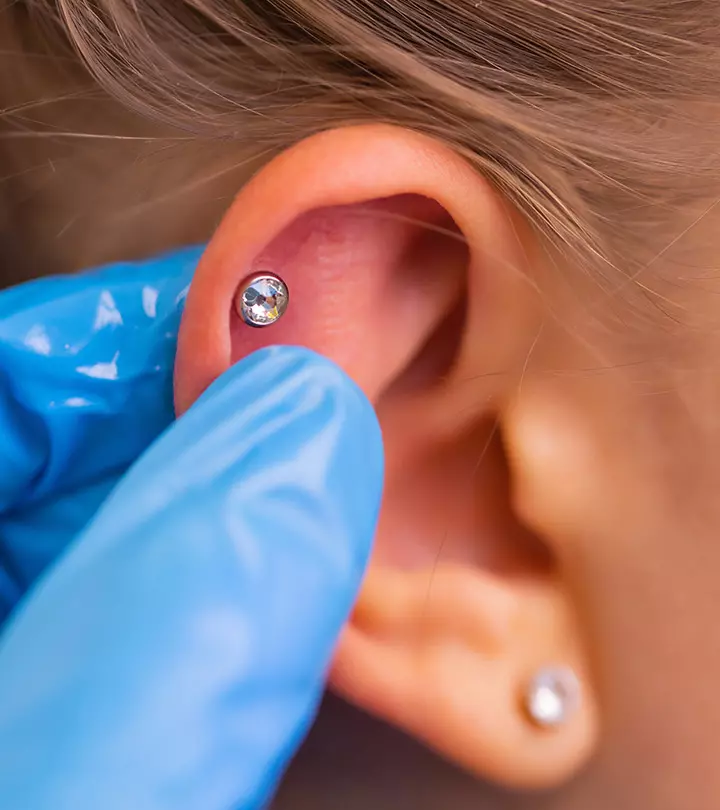
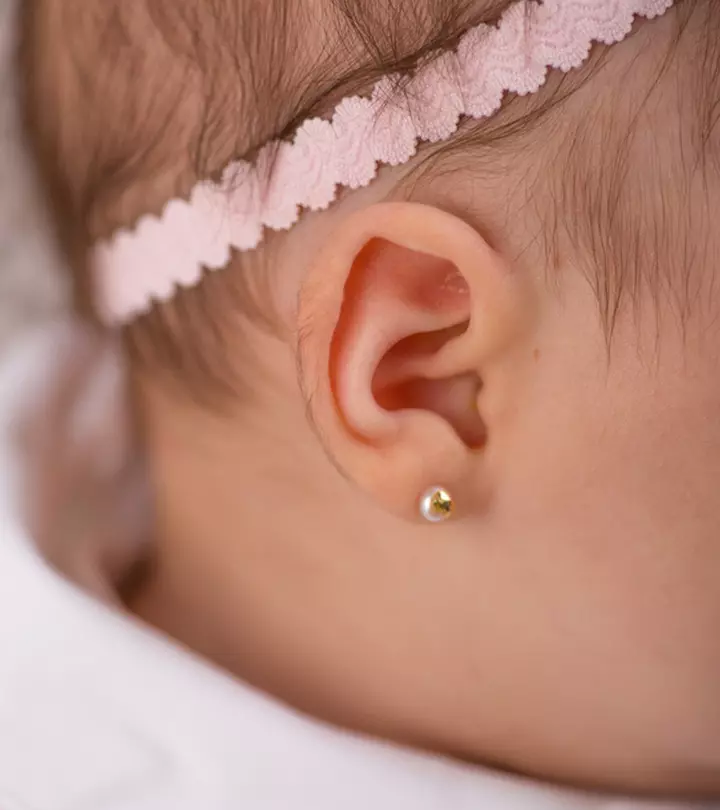
Ear piercings can be a vibrant way to express yourself, but you must focus on cleaning and healing after each new one. While the anticipation leading up to the actual ear piercing is palpable, knowing how to clean ear piercings forms the most prominent aspect of the piercing process. Ensuring your fresh piercing receives proper care can help sidestep potential complications and speed up the healing process. This article shares the guidelines and vital tips on how to clean ear piercings and highlights signs that may signal an infection. Dive in for insights on caring for your freshly pierced ears, with helpful tips and tricks to keep them safe, infection-free, and stylish.

In This Article
Things To Consider Before Getting An Ear Piercing
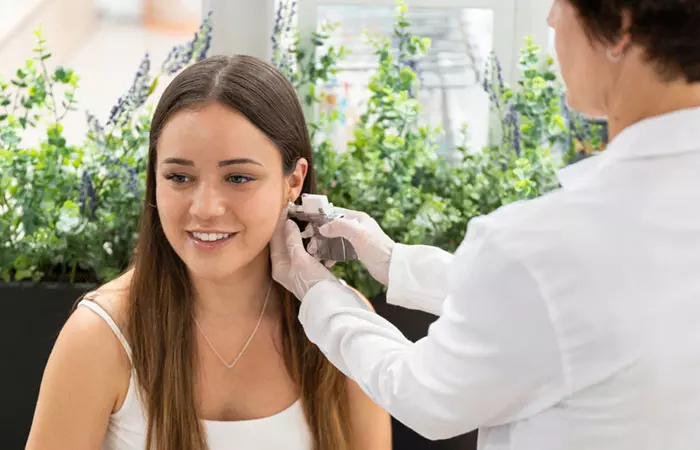
Before getting an ear piercing, here are the key points to consider for a safe and positive experience:
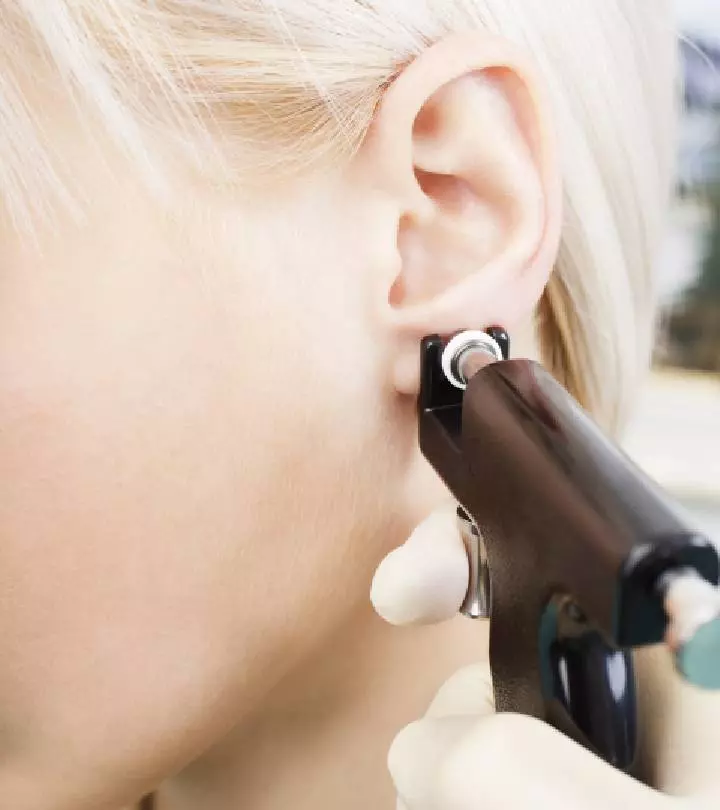
- Piercing Studio Reputation: Choose a reputable and licensed piercing studio with experienced professionals. Check reviews, ask for recommendations, and verify the studio’s hygiene practices to ensure they use sterilized equipment, wear disposable gloves, and provide an overall clean and safe environment.
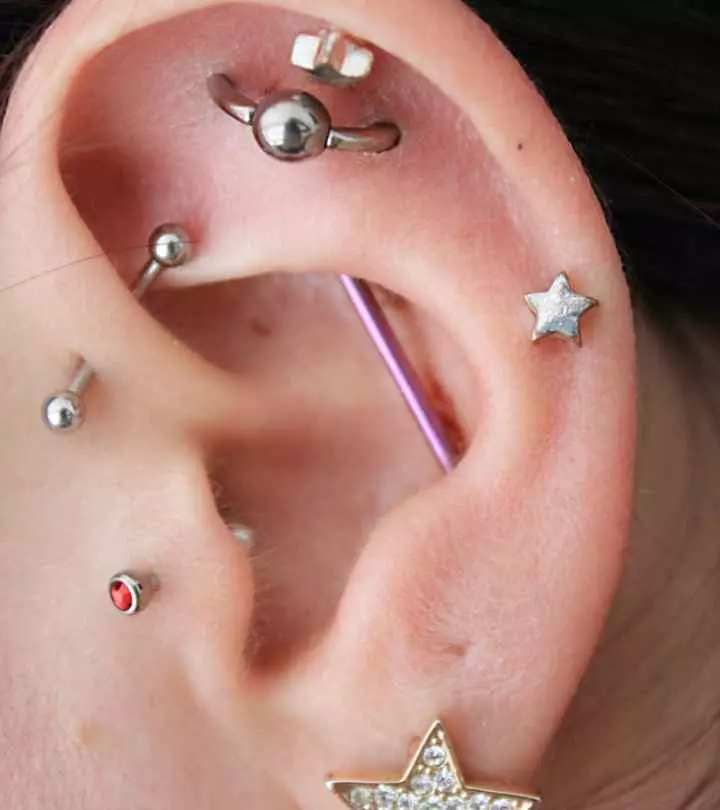
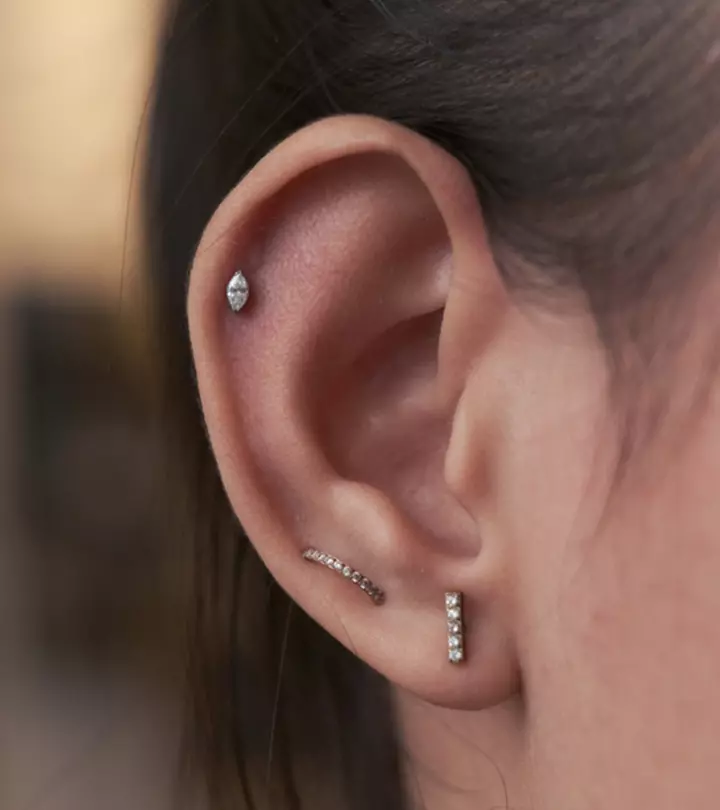
- Type Of Piercing: Whether it is a simple earlobe piercing or a more intricate cartilage piercing, you must decide on the type of ear piercing you are looking for. Different piercings may have varied healing times and aftercare requirements, hence it is important to make an informed choice vis a vis your aesthetic and lifestyle.
- Pain Tolerance: Understand that there will be some discomfort or pain during the piercing process. Starting with a less sensitive area like the earlobe may be a good option for those with lower pain thresholds. You must consider your pain tolerance and discuss it with the piercer before opting for any procedure.
- Healing Process: Healing times can range from a few weeks to several months, and different types of piercings may have unique aftercare requirements. Be aware of the typical healing time for your chosen piercing.
- Aftercare Commitment: Ear piercings require proper aftercare to prevent infections and promote healing. Only consider if you can commit to cleaning the piercing regularly and diligently following aftercare instructions.
- Jewelry Material: Choose earrings made from high-quality materials like titanium or surgical steel to avoid allergic reactions or irritation. Before getting pierced, it is a good idea to ask about the metal composition to ensure it is suitable for your skin.
- Allergic Reactions: If you have allergies, inquire about the metal used for the piercing and the material used for the initial jewelry. Avoid alloys containing nickel to minimize the risk of allergic reactions (1).
- Potential Complications: Understand the risks and complications from ear piercings, like infections, keloids, or allergic reactions (2). Knowing what to watch out for can help you address issues promptly.
- Lifestyle Considerations: Consider your lifestyle and daily activities. Certain activities, like contact sports or swimming, may need to be avoided during the initial healing period to prevent complications (3).
- Personal Health: Ensure you are in good health before getting a piercing. If you have pre-existing health conditions or are prone to infections, consult a healthcare professional before proceeding.
- Budget: Be aware of the overall cost, including the initial piercing fee and the jewelry price. Investing in high-quality jewelry can help reduce the risk of complications and ensure a successful piercing but can also add to the cost; hence, be prepared.
Relying on the above factors can help you make an informed decision and ensure a positive and safe ear piercing experience. Let us understand the symptoms of an ear piercing infection and what can help you tackle these symptoms effectively in the following sections.
Key Takeaways
- Clean your ear piercing with a sterile saline solution to prevent infections and irritation.
- Adopt a gentle cleaning approach, avoiding excessive movement to promote proper healing.
- Maintain a consistent cleaning routine throughout the healing period for the best results.
- Refrain from swimming or submerging the piercing in water to prevent introducing bacteria and hindering the healing process.
- Consult your piercer or a healthcare professional for personalized advice on your healing progress.
Signs Of An Infected Ear Piercing

Recognizing signs of an infected ear piercing is essential for timely intervention and proper care (2). Here are some common signs of infection:
- Pain And Discomfort: Increased pain or persistent discomfort around the piercing site beyond the healing period may indicate an infection.
- Swelling: Swelling beyond the initial stages of piercing or sudden swelling during the healing period may indicate an infection.
- Redness And Heat: Intense redness, especially spreading beyond the pierced area, making it unusually warm to the touch and constant itching may suggest inflammation.
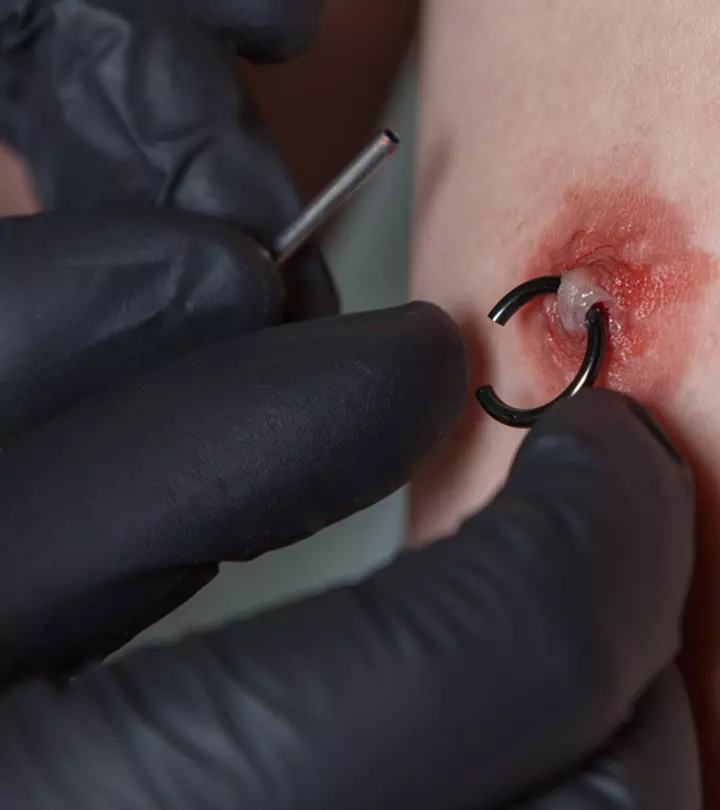
- Pus Discharge Or Odor: The presence of yellow or greenish discharge or pus, along with a foul smell around the piercing is a clear sign of bacterial contamination and infection.
- Changes In Earring Fit: If the earring feels tighter, and you experience difficulty moving it, it may be due to swelling from an infection.
- Keloid Formation: An elevated formation of scar tissue, known as a keloid, could indicate an inflammatory response or infection (4).
- Lymph Node Swelling: Swelling of lymph nodes in the neck or jaw may occur as a response to the infection (5).
If you notice any of these signs, it is necessary to take prompt action. Here are some urgent tips to prevent the infection from getting worse:
- Avoid Removing The Earring: Removing the earring may trap the infection and lead to abscess formation.
- Clean The Area: Gently clean the pierced area as recommended by your piercer or healthcare professional, using a saline solution.
- Avoid Touching: Minimize touching the infected area, and never with unclean hands to prevent further irritation or introduction of bacteria.
- Consult A Professional: If symptoms persist or worsen, seek advice from a healthcare professional or your piercer for appropriate treatment.
Remember that proper aftercare and hygiene practices can significantly reduce the risk of infection during the healing period. If you suspect an infection, seek professional guidance promptly to ensure effective resolution and prevent further complications. The following section reveals the best frequency for cleaning your ear piercings.
How Often Should You Clean Your Ears After Piercing?
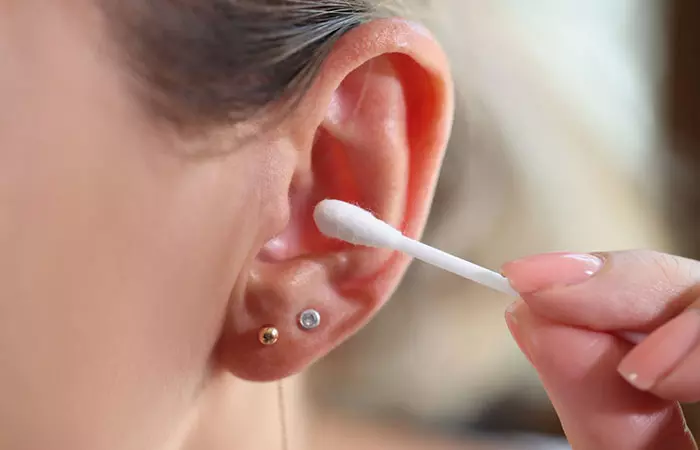
- Clean your ear piercings regularly with a saline solution or mild, fragrance-free soap twice daily, preferably in the morning and before bedtime (6).
- Pat the area dry with a clean, soft cloth or cotton swab. Gently wipe away any debris and rotate the jewelry slightly to ensure thorough cleaning.
- Avoid excessive cleaning, as it may lead to irritation. Strike a balance by following your piercer’s aftercare instructions and keeping an eye out for any signs of infection.
- You should clean your piercings more frequently in warmer months or after exercise to prevent sweat and bacteria from building up. When you are more active, pay close attention to any symptoms your body shows, like increased irritation or sensitivity, as this can indicate the need for extra care.
- If you notice signs of infection, like redness, swelling, discharge, or unusual discomfort and odor, consult a professional promptly.
Remember that a little care goes a long way, and a balanced and consistent cleaning approach helps maintain the health of your ear piercings without unnecessary risk. Alongside this, eating a balanced diet and keeping your body hydrated can keep your immune system robust and further aid healing. Read on to uncover a few tips that can help cleanse your ear piercings effectively and guarantee safety for your ears.
How To Clean Ear Piercings: 11 Tips
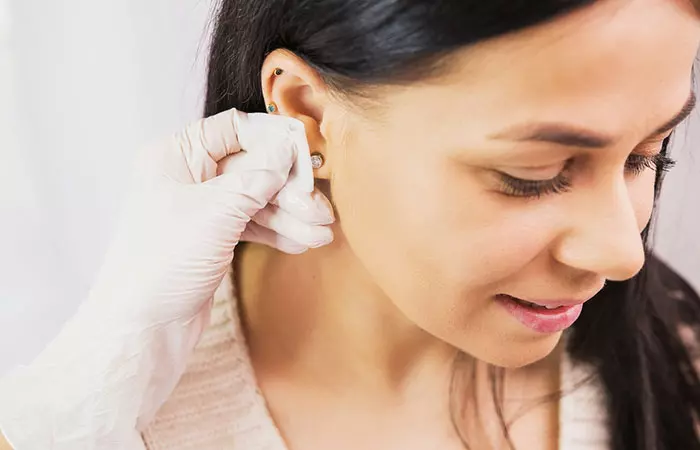
Ensuring the cleanliness of your ear piercing is a vital aspect of post-care that promotes proper healing and minimizes the risk of infections. Discover eleven effective tips below on how to clean your ear piercing with precision:
- Wash Your Hands: Always start by washing your hands with soap and water to minimize the risk of introducing bacteria to the piercing.
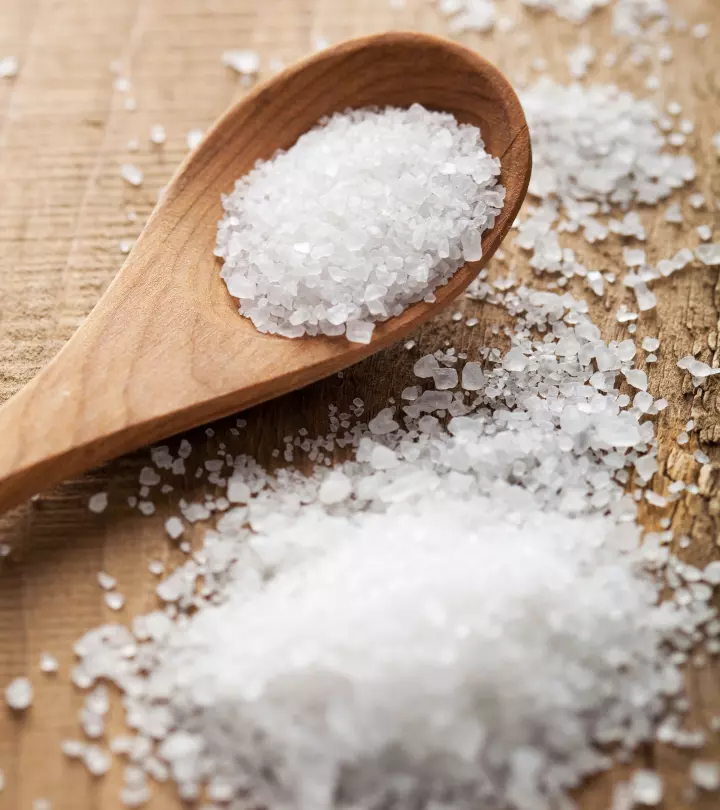
- Use A Saline Solution: Prepare a saline solution by mixing warm or distilled water with sea salt (non-iodized) in a 2:1 ratio. Soak a cotton ball or gauze in the solution.
- Gently Clean The Piercing: Dab the soaked cotton ball or gauze onto the pierced area to moisten it and gently clean the area.
- Use A Mild Soap: If your piercer recommends it, you can use a mild, fragrance-free soap to clean the piercing, but always rinse thoroughly.
- Consider Using Antibacterial Wipes: Gently clean around the piercing with an antibacterial wipe once or twice a day to help reduce bacteria and keep the area clean.
- Avoid Harsh Products: Avoid using alcohol, hydrogen peroxide, or strong antiseptics, as these products can be too harsh and cause irritation, delaying the healing process.
- Pat Dry: Pat the pierced area dry with a clean, soft cloth after cleaning. Avoid using tissues or cotton balls that may leave fibers behind or get tangled in the jewelry.
- Avoid Jewelry Movement: Avoid unnecessary twisting or rotating of the jewelry, as it can disrupt the healing process and lead to irritation.
- Avoid Touching: Minimize touching the piercing with unwashed hands to prevent the introduction of bacteria.
Kat Cass, a blogger, shared her experience about piercing aftercare in her personal blog. She writes, “I’ve always been a fan of just using a simple antibacterial soap and warm water to clean the area twice a day. This removes the blood from the area and helps to clean the wound without provoking too much healing. (After all, you are trying to keep the wound from healing in the first few days, thus causing the hole to stay). I usually just use a cotton swab dipped in soapy water and clean the area (i).”
- Keep Hair Products Away: Avoid getting hair products, like hairspray or shampoo, on the piercing as they can be irritating.
- Follow Aftercare Instructions: Adhere to the aftercare instructions provided by your piercer. For the initial swelling, you may gently massage the area to get the blood circulation going. However, if you notice any signs of infection or unusual discomfort, seek professional advice immediately.
In addition to cleaning the piercing site, you should also know how to clean piercing jewelry to ensure that accumulated dirt, debris, and bacteria do not lead to infections.
To sum up, keeping your piercing clean is a must to dodge infections and scars. You may use a Q-tip or gauze to apply a saline solution twice or thrice a day and opt for a mild cleanser and water for effective regular cleaning. Steer clear of harsh products like hydrogen peroxide or rubbing alcohol, as they are not friends of healing. Remember, consistency and gentle piercing aftercare are key to keeping your ear piercing safe. Embrace the art of gentle care to let your piercings shine without any hiccups!
Frequently Asked Questions
Can I clean my ear piercing more frequently if I notice irritation?
If you notice irritation, over-cleaning may worsen irritation, so consult a professional if it doesn’t improve.
What type of saline solution is best for cleaning ear piercings?
Choose a sterile, isotonic saline solution with no additives for optimal cleaning of ear piercings.
Should I rotate the jewelry while cleaning my ear piercing?
No, it is generally recommended not to rotate the jewelry while cleaning your ear piercing as it may cause irritation and disrupt the healing process.
Can I swim or submerge my ear piercing in water during the healing period?
It is best to refrain from swimming or immersing your ear piercing in water, especially in pools, hot tubs, or natural water bodies during the healing phase to prevent potential infections and promote optimal healing.
How do I clean cartilage piercings differently from lobe piercings?
Clean both cartilage and lobe piercings with a sterile saline solution. For cartilage piercings, be gentler during cleaning, and avoid rotating the jewelry. Lobe piercings may be more resilient, but consistency in cleaning is key for both.
When can I stop cleaning my ear piercing?
We recommend cleaning your ear piercing until it has fully healed, which typically takes about 6 to 8 weeks for lobe piercings, and several months for cartilage piercings. Consult your piercer or a healthcare professional to determine when it is safe to stop cleaning based on your individual healing progress.
Mastering ear piercing care is a breeze! Just be gentle, stay consistent, and know when it is time to give your piercings a break. Check out this video for a quick guide to ensure happy, healed piercings.
Personal Experience: Source
StyleCraze's articles are interwoven with authentic personal narratives that provide depth and resonance to our content. Below are the sources of the personal accounts referenced in this article.
(i) Tips for healing new Ear Piercingshttps://katclassics.wordpress.com/2017/09/28/tips-for-healing-new-ear-piercings/
References
Articles on StyleCraze are backed by verified information from peer-reviewed and academic research papers, reputed organizations, research institutions, and medical associations to ensure accuracy and relevance. Read our editorial policy to learn more.
- Metal allergy: State-of-the-art mechanisms, biomarkers, hypersensitivity to implants
https://www.ncbi.nlm.nih.gov/pmc/articles/PMC9739320/ - Ear-piercing complications in children and adolescents
https://www.cfp.ca/content/68/9/661 - Case report: Infected ear cartilage piercing
https://www.ncbi.nlm.nih.gov/pmc/articles/PMC1781501/ - Piercing Ear Keloid: Excision Using Loupe Magnification and Topical Liquid Silicone Gel as Adjuvant
https://www.ncbi.nlm.nih.gov/pmc/articles/PMC5921452/ - Auricular perichondritis after a “high ear piercing:” A case report
https://www.ncbi.nlm.nih.gov/pmc/articles/PMC10332785/ - The effectiveness of 7% table salt concentration test to increase collagen in the healing process of wound
https://www.sciencedirect.com/science/article/pii/S0213911121002065
Read full bio of Rodrigo Casco
Read full bio of Vaishali Sinha
Read full bio of Madhumati Chowdhury
Read full bio of Gracia Odile












Community Experiences
Join the conversation and become a part of our empowering community! Share your stories, experiences, and insights to connect with other beauty, lifestyle, and health enthusiasts.