How To Do A Reverse Perm At Home – A Step-By-Step Tutorial
Look nothing but stunning with smart and safe ways to straighten those waves.
Image: Shutterstock
If you want to go curly on some days and straight the others, we totally get you. If you are bored of your permed hair, try reverse perm at home! It involves straightening your permed curls at home. In this straight perm technique, a solution is used to smoothen and straighten out the permed hair without causing damage.

At-home reverse perming is not only effective but also convenient, costs nothing compared to hair salons, and gives you the exact results you are looking for. If you wish to change your present perm hairstyle without any long-term commitment, then reverse perming can be the ideal choice. So continue reading as this guide will explain everything you need to know about safely undoing your perm at home along with post-treatment hair care tips. Scroll down!
In This Article
What Is Straight Perm?
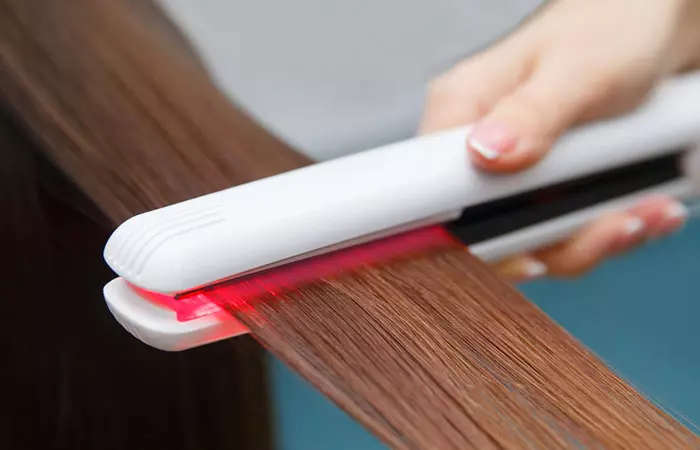
Straight perming is breaking down the bonds that create permanent curls or waves in the hair. A hot flat iron is used when the perm solution is applied to the hair. This promotes heat oxidization and makes the hair straight, soft, and smooth.
Here’s what you need before you start the process.
Key Takeaways
- To straighten permed hair at home you need a natural shampoo and conditioner, straightening perm kit, gloves, vaseline, a flat iron, and a shower cap.
- Apply perm solution to your hair, then straighten it with a flat iron to break down the bonds within your hair.
- A reverse perm is another way to straighten permed hair. Repeating this process a few times converts tight coily hair to loose curls, gradually becoming straighter.
What You Need For Straight Perm Process
- Natural shampoo and conditioner
- Straightening perm kit
- Gloves
- Vaseline
- Flat iron
- Shower cap
Check out the following section to master the straight hair perm process at home.
Check out the following section to master the hair treatment process of a straight perm at home.
 Quick Tip
Steps To Straighten Perm At Home
- Prep Your Hair
It is essential to prep your hair before any chemical treatment. Apply a deep conditioning treatment one day before to prep your hair for the harsh chemicals. And remember, chemical treatments are best done on unwashed hair.
- Divide The Hair Into Sections
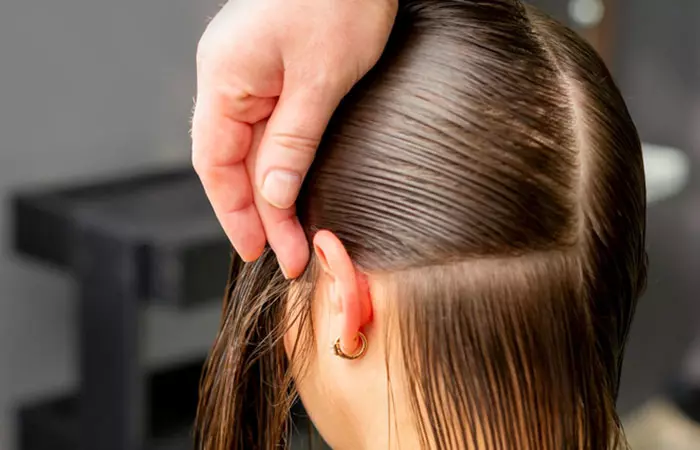
After towel drying your hair, detangle it. For this, separate your hair into 4-6 sections. If you have thick hair, divide it into multiple subsections for easy application of a chemical solution.
Note: If you have sensitive skin or scalp, do a patch test before applying any chemical solution. Apply Vaseline along the hairline and the back of the ears to prevent a burning sensation.
- Apply A Perming Solution
Apply the perm solution to each section of the hair, from root to tip. Avoid the scalp area. Comb the hair thoroughly to spread the solution evenly. Wrap a piece of paper and clip the end to weigh your hair down as much as possible. This process helps to create a straight effect naturally.
- Post-Care
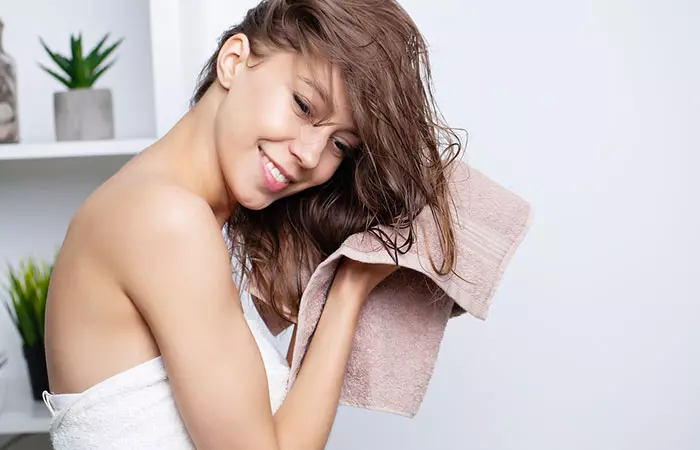
Apply a neutralizer after using the perming solution. Remove the paper and wash your hair thoroughly with lukewarm water. Also, follow the instructions given on the perm kit box. Do not apply any shampoo or conditioner unless mentioned in the instruction manual. Rinse the chemical from your hair with lukewarm water, followed by washing with normal water. Do not wrap or bunch your hair as it might make it wavy.
- Air Dry The Hair
Pat your tresses with a towel and let it dry naturally. If you have thick hair and struggling to air dry it, use a hairdryer.
- Use A Flat Iron
If you want to have a long-lasting straight perm, use a flat iron. Divide the hair into four sections and choose the appropriate heat setting depending on your hair type. If you have fine, damaged hair, keep the heat between 250 and 300 °F. For thick hair, 350 and 400 °F are ideal. Also, do not pull your hair too hard as it may cause breakage.
Nicole Allen, a YouTuber, tried straight perming her hair at home. She gave the entire walkthrough in her video, stating, “I currently have my temperature at 400 which I mean it might be a little lot right now but it’s good (i).” After the entire process, she adds, “I [will] let it sit for 48 hours but it [just permanently] should be straight like I should not have any more problems.”
Note: Avoid washing the hair, creating buns, and pulling the hair back for at least 48 hours after the process. This will prevent the hair from kinking or forming bends.
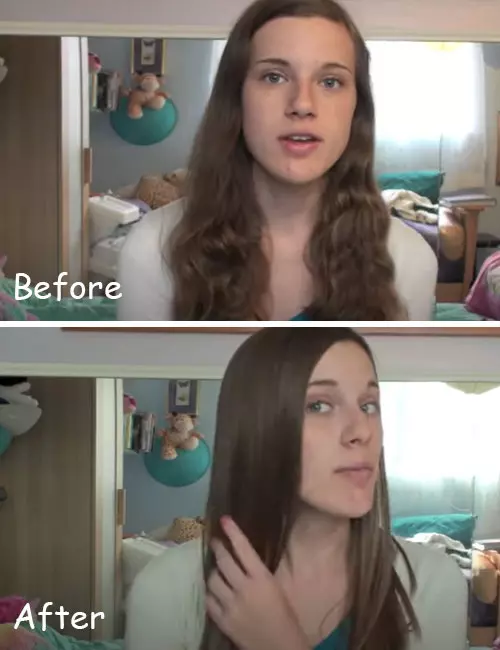
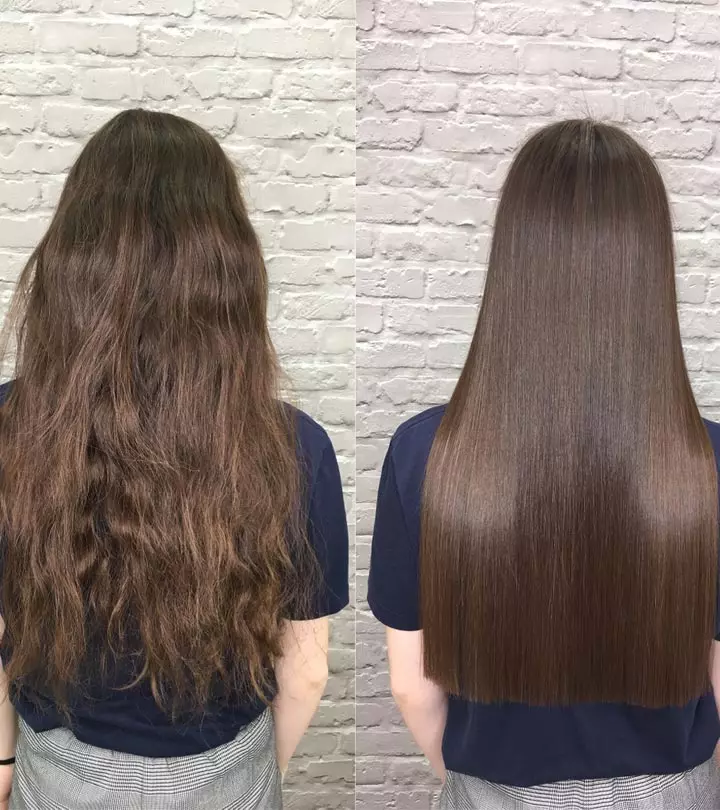
Here’s how the hair looks after straightening a perm with just a few hair products and techniques.
The Straight Perm – Before And After (With Picture)
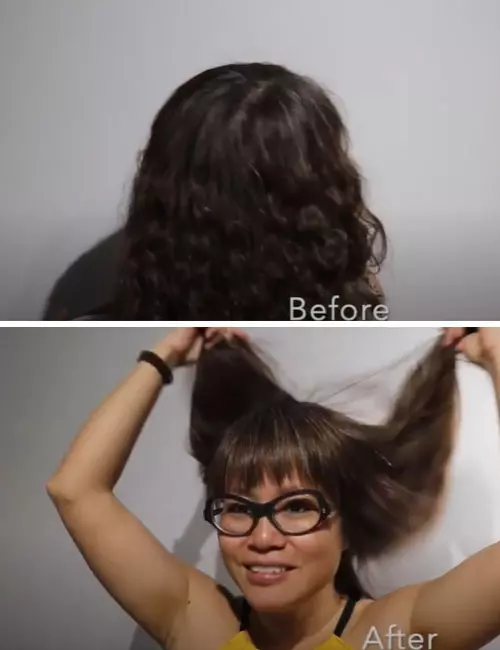
You can also straighten your perm with the reverse perm technique. Check out the next section to know more about this process!
What Is Reverse Perm?
Reverse perm is a hair styling technique to take out curls from the hair. It uses a different chemical process than the regular perming technique. It relaxes the hair and alters its structure for a temporary period. This type of perm straightens the kinky curls easily with a waving lotion or gel.
People often tend to confuse between a reverse perm and a relaxer as both straighten your hair. However, both are fundamentally different. Check out the next section to learn more.
Reverse Perm Vs. Relaxer
A reverse perm is a process aimed at straightening the curls created by a previous perm. It involves the use of chemicals that alter the hair structure. However, complete reversal to the hair’s original state may not be achievable.
A relaxer, on the other hand, is used to permanently straighten naturally curly or wavy hair. It breaks down the natural hair structure and modifies the bonds responsible for the hair’s curl pattern. Touch-ups are needed as new hair grows with the natural texture.
Both treatments involve strong chemicals. Hence, seek professional advice before opting for either.
Check out the next section for tips on maintaining straight perm hair.
Care And Maintenance Of Straight Permed Hair
- Do not comb, pull, or bend your straight hair for at least 48 hours after the process.
- Use a natural shampoo and apply a deep conditioning mask after your straight perm settles down. This will nourish, hydrate, and rejuvenate your locks.
- Avoid tying the hair in buns or ponytails for a few days to prevent the formation of kinks or small waves.
- To maintain your new reverse perm, be sure to use hair products that promote hair health and avoid any harsh hair dye or hair color.
- Include regular trims in your hair care routine to remove split ends and keep your hair looking healthy.
 Quick Tip
Infographic: How To Reverse Perm Your Hair At Home
If you have gotten bored of your permed hair and are looking for a change, a reverse perm is your best bet. And the best part? You can do it at home in a few easy steps. You can straighten your permed curls at home for that sleek hair look. It is quick and cost-effective and gives amazing results. Check out the infographic below to find out how to reverse perm your hair at home.
Some thing wrong with infographic shortcode. please verify shortcode syntaxTo recap, a reverse perm is used to straighten permed curls. It is the opposite of a regular perm, where you break down the bonds to curl your hair. You can achieve a reverse perm at home using a waving lotion or gel to loosen tight curls. You can also try this treatment on natural light curls or wavy hair to achieve a straighter look with a boost to the hair volume. It is a safer alternative to permanent hair straightening. You can also try reverse perm or light curls or wavy hair to achieve a straighter look with a boost to the hair volume. Once you reverse perm your hair, you should follow some maintenance tips to keep your hair healthy and damage-free, such as not tying your hair in tight ponytails or braids.
Frequently Asked Questions
How does olive oil get rid of perms?
A perm works by breaking down hair bonds and making it lighter. Olive oil can relax the wavy pattern of the perm and nourish the hair.
How long does it take for a perm to get out of your hair?
Depending on your hair texture and type, a perm could ideally last between 3-6 months.
Do you have to cut off your permed hair to go natural?
Yes. Your permed hair will never return to its natural state. However, if you do not want to compromise on the length of your hair, you can grow it out until you can chop off the perm-damaged part of the hair.
Illustration: How To Get A Straight Hair Perm At Home?
Image: Stable Diffusion/StyleCraze Design Team
Discover the revolutionary reverse perm technique in this captivating video! Click on it to learn how to achieve sleek, permanently straight hair effortlessly. Say goodbye to frizz and hello to smooth, salon-worthy locks!
Personal Experience: Source
StyleCraze's articles are interwoven with authentic personal narratives that provide depth and resonance to our content. Below are the sources of the personal accounts referenced in this article.
i. Straight perm at homehttps://www.youtube.com/watch?v=pwGkQy3Ps0Q
Read full bio of Tiffany Young
Read full bio of Anjali Sayee
Read full bio of Eshna Das
Read full bio of Krati Darak









Community Experiences
Join the conversation and become a part of our empowering community! Share your stories, experiences, and insights to connect with other beauty, lifestyle, and health enthusiasts.