How To Wear A Gel Eyeliner?
Ace the technique of using this makeup product with our detailed guidelines and tips!
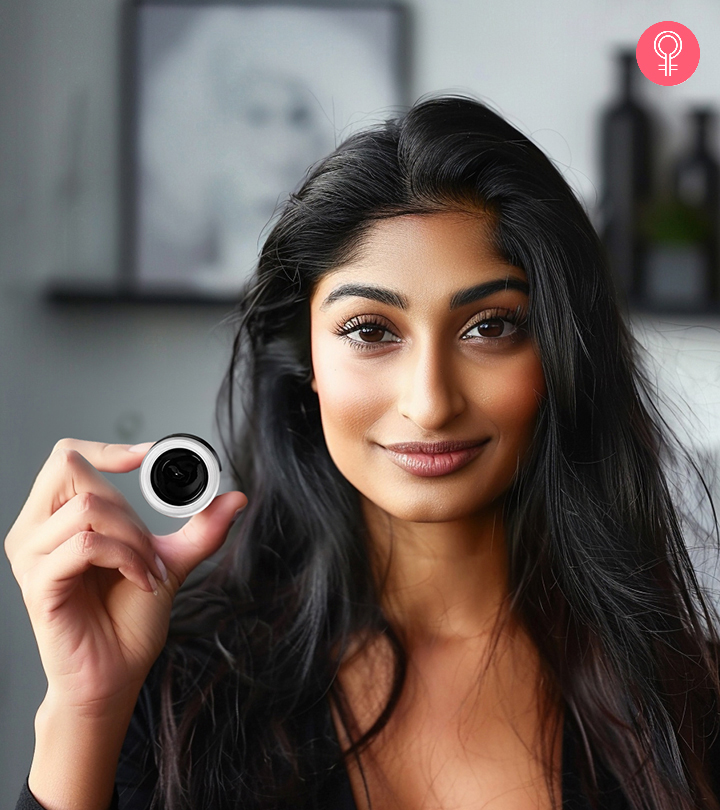
Image: Midjourney/ StyleCraze Design Team
Eyeliner helps enhance the shape of your eyes and makes them appear sharp and beautiful. While we have various eye cosmetics — pencil, liquid, pen, and gel — available on the market, ‘how to apply gel eyeliner perfectly?’ is a question only a few can answer.
Gel eyeliners are trending now, and if you are a novice and want to try gel eyeliner, this article is just the thing you need. Gel eyeliners can also make your eyes appear bigger and more well-defined. Commonly, you want to make your eyes appealing, bright, and bold. However, if your eyeliner is not up to the mark, the entire eyes and eye makeup may look dull.
Keep scrolling if you are new to gel eyeliners or want to apply the eyeliner in a style that will help accentuate your beauty and fashion sense. Here, we provide you with a complete step-by-step guide that focuses on applying the eyeliner and some useful tips for perfect application. Read on!
 Keep In Mind
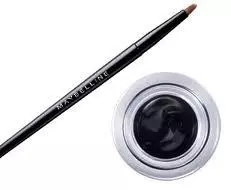
- Brushes: Use a narrow pointed tip or an angled brush like this one
- Base Layer: Use a primer or concealer for a perfectly set look that lasts longer.
- Benefits: Eyes appear bigger and bolder.
- Makeup Looks: You can try winged, the cat eye look, arrow liner, floating crease liner, or reverse winged liner.
- Makeup Technique: Warm up the product by rubbing the brush or applicator in the pot for a few seconds, as it will make it easier to apply.
In This Article
How to Apply Gel Eyeliner
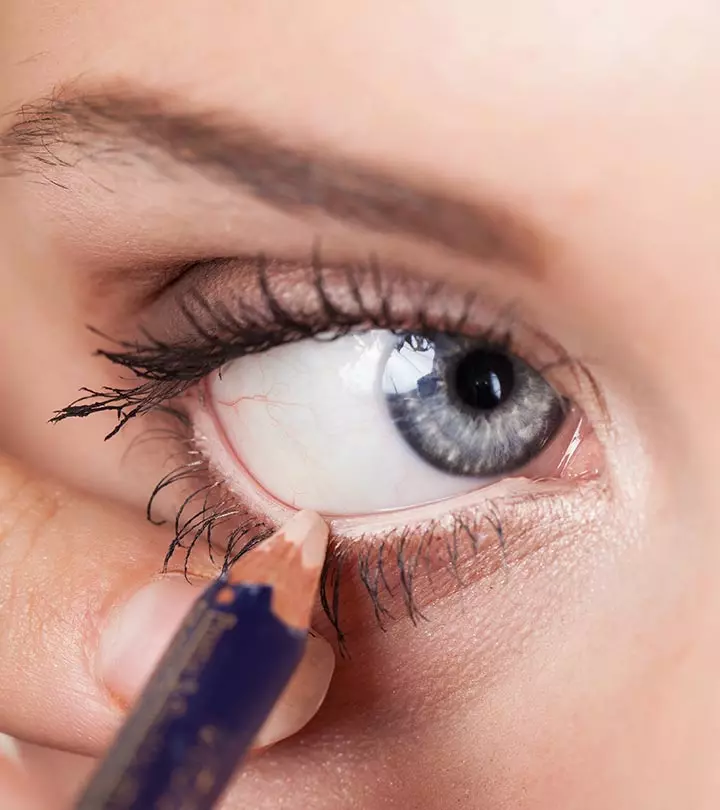
1. Before you begin anything, the first step is to properly clean your eyes, so that it does not have any dirt or leftover makeup.
2. Once you have cleaned your eyes thoroughly, dip the gel liner brush into the pot, and coat both sides of the brush with the gel.
 Quick Tip
3. Now dab the brush gently on the edge of the pot to form a pointed brush. It is advisable to use a flat, angular liner with gel eye liners.
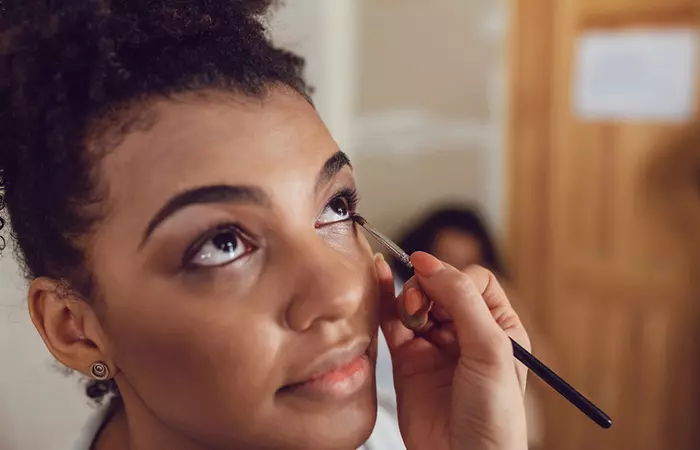
4. Begin by lining in the middle of the lash line and move to the outside corner of the eye. Now gently lift the lid to tight-line the lash line. Do this only if your gel eyeliner is waterline safe.
5. Next, apply the liner all the way to the inner corner of the eye. Try to keep the line thick on the outer corner and thin on the inner corner. Alternatively, you can also follow the natural shape of your eye.
6. Always line the whole way across the eyelid as this will help to open up your eye and make it look bigger.
7. Now repeat the entire process with the other eye. Try not to leave any space between the eyeliner and the lash line.
When you have finished, your eyes will look bigger and more defined.
 Quick Tip
Simple Tips to Apply Gel Eyeliner Perfectly:
A few simple tips can help you get the perfect result in the easiest ways:
- Certified makeup artist Vaibhavi Gupte says, “Before applying the liner, stretch the eyelid slightly from the outer corner to get a perfect stroke without any creases.”
- Hold the brush in the same way you would hold a pencil eyeliner.
- Clean the brush on a cotton ball before putting it back, to avoid bacteria breeding on the brush.
- Make sure you apply the eyeliner with steady hands.
- Always work any eyeliner or eye makeup product with gentle hands.
Infographic: 5 Easy Steps To Perfect Your Gel Eyeliner Game
Gel eyeliners might seem intimidating when you just start using them. But they are just as easy to apply as any liquid eyeliner, the only catch is to do it neatly. You just need the proper brush and gel eyeliner to achieve a gorgeous look. Check out the infographic below for a quick recap on how to apply a gel liner perfectly.

Illustration: StyleCraze Design Team
It is true that applying gel eyeliner can be a bit tricky initially. But with some trials and practice, you will surely achieve the right technique and get your desired results with this type of eyeliner. Gel eyeliners can help you attain the much-needed precision for a wing or flick. Just make sure to clean your eyes and apply primer to the lids before getting started. Our tips and tricks mentioned in this article on how to apply gel eyeliner will stand as a guide for you whenever you want. So stop holding yourself back and get started. It is time for you to flaunt your gorgeously defined eyes.
Frequently Asked Questions
Is gel eyeliner easy to apply?
Yes, gel eyeliners are easy to apply in comparison to pencil or liquid eyeliners. They are ideal for beginners to practice and use eyeliners.
Does gel eyeliner need to be wet?
No, gel eyeliners do not need to be wet as they have enough liquid to create a slick look for your eyes.
Does gel eyeliner smudge?
No, most gel eyeliners dry quickly after application and are long-lasting, waterproof, and smudge-proof.
How long does gel liner last?
A good gel liner can last between 24 hours to 36 hours after application.
How do I stop gel eyeliner from transferring to my eyelid?
You can apply a translucent setting powder over your eyelid and liner to prevent transferring the gel eyeliner to your eyelid.
Key Takeaways
- The best way to make the application easier is by coating both sides of the brush with the gel.
- A flat and angular liner provides for a smooth application of gel eyeliner.
- You can start your lining in the middle of the lash and move towards the outside and inner corners to achieve a perfect shape with an eyeliner.
- The brush should be cleaned with cotton after application.

Image: Stable Diffusion/StyleCraze Design Team
Learn how to apply gel eyeliner like a pro! Get tips on the brushes to use, techniques to apply, and more from this video to create the perfect look. Check it out!
Read full bio of Vaibhavi Gupte
Read full bio of Madhumati Chowdhury
Read full bio of Vaishali Sinha


