How To Do The Janu Sirsasana And What Are Its Benefits
Unlock flexibility and calm with this simple seated stretch that boosts body and mind.
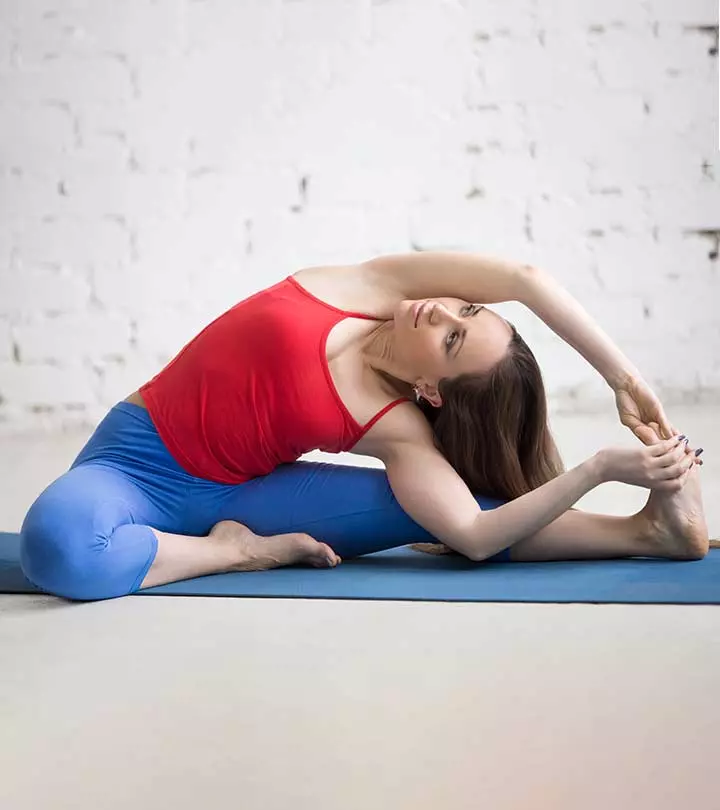
Image: Shutterstock
Sanskrit: जानु शीर्षासन; Janu – Knee, Sirsa – Head, Asana – Pose; Pronounced As – JAH-new shear-SHAHS-anna
The Janu Sirsasana is a part of the primary series of Ashtanga Yoga. It is a seated asana, and it gets it name from the fact that the head touches the knee in the full expression of this pose. This asana is also called the Head-to-Knee Pose, the Head-to-Knee Forward Bend, and the Head-on-Knee Pose. Although this asana sounds similar to the Sirsasana, it has nothing in common with it and doesn’t look anything like it.
In This Article
Everything You Need To Know About The Janu Sirsasana
- What You Should Know Before You Do The Asana
- How To Do The Janu Sirsasana
- Precautions And Contraindications
- Beginner’s Tip
- Advanced Pose Variation
- The Benefits Of The Head-To-Knee Forward Bend
- The Science Behind The Janu Sirsasana
- Preparatory Poses
- Follow-Up Poses
What You Should Know Before You Do The Asana
You must make sure to keep your stomach and bowels empty before you practice this asana. Have your meals at least four to six hours before you do the asana so that your food gets digested and there is enough energy for you to expend during the practice.
It is best to practice yoga first thing in the morning. But in the event you cannot work out in the morning, it is alright to practice it in the evening.
Level: Basic
Style: Ashtanga Yoga
Duration: 30 to 60 seconds on each leg
Repetition: Once on the right leg and once on the left leg
Stretches: Vertebral Columns, Shoulders, Hamstrings, Groin
Strengthens: Back
How To Do The Janu Sirsasana
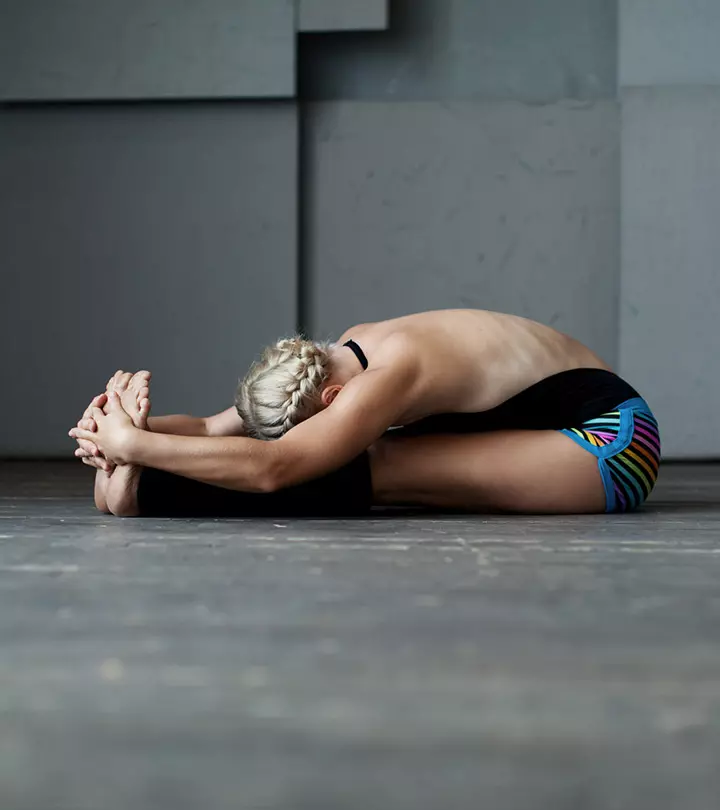
- To begin, sit on the floor with your back erect.
- Stretch out your left leg all the way from the hip joint. Bend your right knee, placing the bottom of the right foot against the inner part of your left thigh. Your right leg and knee should be comfortably pressed on the floor.
- Your chest and navel should line up with your left leg. This will set your torso in the right position.
- Let your hands provide support as they rest beside the hips.
- Inhale. Extend your belly and torso right up to the top of your head.
- As you exhale, let the energy flow through the left leg, reaching till the ball of the foot. Inhale and stretch your arms up such that it creates more length in your spine. Then, exhale and bend forward from the base of the hip as if you are coming forward from the groin to the front of the sitting bones. Reach for your ankles or toes, if you can, with your hands, or stretch till you are comfortable.
- Remember that if you stretch too far, it will tend to round the spine and, in turn, lead to injury.
- Hold the pose and breath deep and slow. As you breathe, feel the breath filling the groin, the back of your left leg, and the entire area of your back.
- Inhale and release the pose. Let the muscles in your abdomen contract. Then, lift your torso. Stretch out your right leg. Relax for a few seconds. Repeat the asana with the right leg stretched out.
https://www.youtube.com/watch?v=0lG0anfL138
Precautions And Contraindications
These are some points of caution that you must keep in mind before you do this asana.
1. Avoid this asana if you have diarrhea or asthma.
2. If you have a knee injury, make sure you do not flex it too much. Use a folded blanket for support.
3. Avoid this asana if you have a lumbar disc herniation or a serious lower back injury.
Beginner’s Tip
If you are a beginner, you need to ease carefully into this pose. First, make sure that your bent foot is always beside your straight leg, and that it never slides under the straight leg. When you look down, you should be able to see the sole of your foot. Secondly, you must also make sure that the bent leg is active. Broaden the foot and press the heel towards the inner groin of the straight leg.
Advanced Pose Alteration
To increase the stretch, you must widen the angle between the two legs, making sure it is more than 90 degrees wide. To do this, you need to bring the heel of the bent knee leg into the perineum, making sure it is snugged into the groin of the same side. But to do this, you need to have flexible hips and legs and an elastic back.
The Benefits Of The Head-To-Knee Forward Bend
These are some amazing benefits of the head to knee pose.
- Practicing this asana calms the mind and also relieves mild depression.
- The groin, hamstrings, and shoulders get a good stretch.
- The liver and kidneys are stimulated.
- The digestive organs get a good massage, and therefore, digestion is improved.
- The reproductive organs are stimulated too, and therefore, menstrual and menopausal disorders are reduced.
- Practicing this asana relieves headaches, anxiety, and fatigue.
- Practicing this asana also cures insomnia, sinusitis, and high blood pressure.
- During pregnancy, this asana helps to strengthen the back muscles. But this asana should be practiced only up to the second trimester.
The Science Behind The Janu Sirsasana
This asana is challenging in its own right, especially for men. The lower back, hips, and hamstrings can take quite a while to open up to the full range of motion. That said, the Janu Sirsasana works amazingly well in increasing the flexibility of the thighs, hamstrings, thighs, hip joints, back, arms, and shoulders. It soothes both the heart and the mind and stretches the entire body. This asana is usually done at the end of a sequence once your body is warmed up. It prepares the body for deeper forward bends. Although this asana is called the head-to-knee pose, touching your head to your knee is not as important as keeping your torso stretched out throughout the pose.
Preparatory Poses
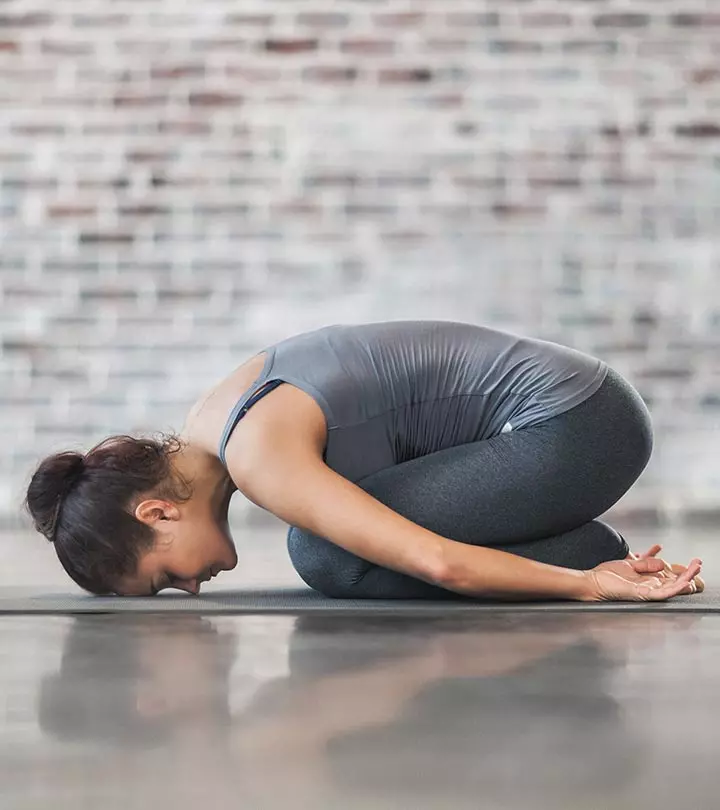
UttanasanaBaddha KoṇāsanaAdho Mukha SvanasanaVriksasanaBālāsanaSupta Padangusthasana
Follow-Up Poses
Forward Seated Bends
Now that you know how to do Janu Sirsasana, what are you waiting for? This challenging forward bend will help you ease into the more difficult stretches, and help your mind and body connect to make you strong and flexible.
Read full bio of Shirin Mehdi








Community Experiences
Join the conversation and become a part of our empowering community! Share your stories, experiences, and insights to connect with other beauty, lifestyle, and health enthusiasts.