Acrylic Nails: 10 Essential Steps Plus Pros And Cons
The good, the bad, the ugly - know it all before getting your acrylic nails done.
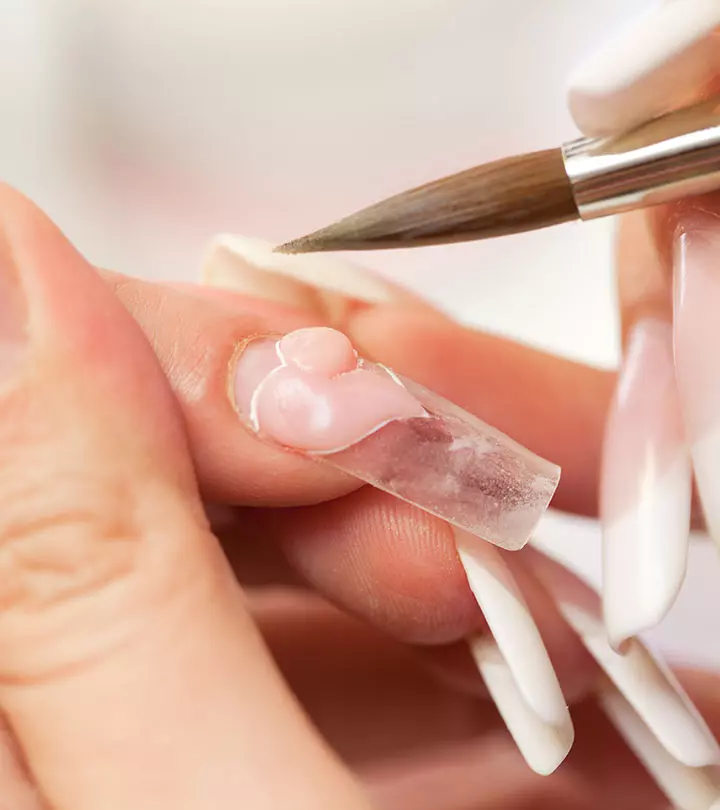
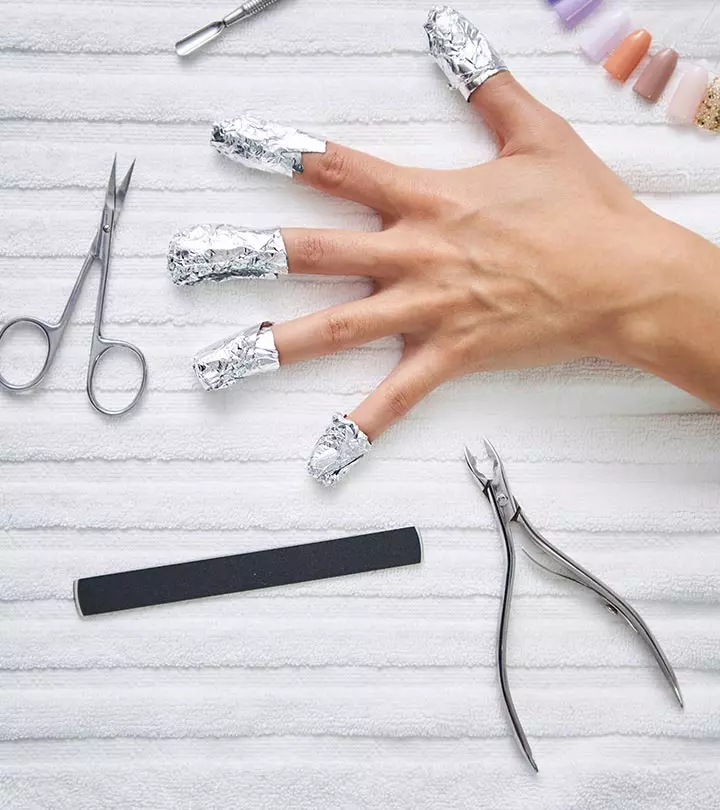
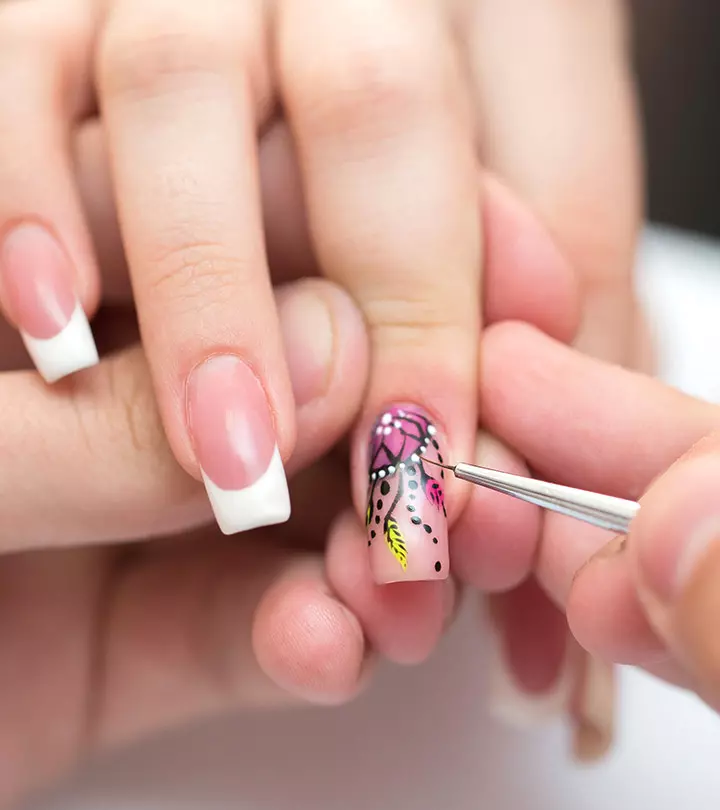
Image: Shutterstock
Acrylic nails, aka fashion nails, are ideal if you have non-existent nails or your nails lack strength.
These nails mimic the appearance of natural nails. However, before getting them done, you should be aware of the pros and cons of acrylic nails.
Acrylic nails are for you if you want to attend every special occasion or wedding with stylish nails or appreciate well-groomed and manicured nails. In the 21st century, anything is possible. So go for it, don’t hesitate!
Blair, a blogger, shared her experience of getting acrylic nails and being obsessed with them. She said, “I have had a really good experience with acrylics. I’m sure there are horror stories out there and people saying they’ll never get them because they’re harmful and blah blah. I have to admit this is what kept me from getting acrylics for quite a while – just the whole stigma that my nails would be forever ruined and get infected. But finally, I just wanted to try them and figured it couldn’t be that dramatic, and went in to get them done. I was immediately hooked (i)!” Also, the blogger was pleased with the color after getting her nails done.
Experts say it is recommended to get acrylic nails done by a professional because you can not do it smoothly at your home. Moreover, it needs special training to be done. So, you should only attempt it at home if you are a manicurist or trained expert.
 Trivia
If you are enthusiastic to try these nails once, check out the step-by-step guide on how to do acrylic nails, along with the pros and cons. Keep scrolling to read more!
 Keep In Mind
- Maintenance: Get your acrylic nails filed every two to three weeks to prevent damage and maintain their finesse.
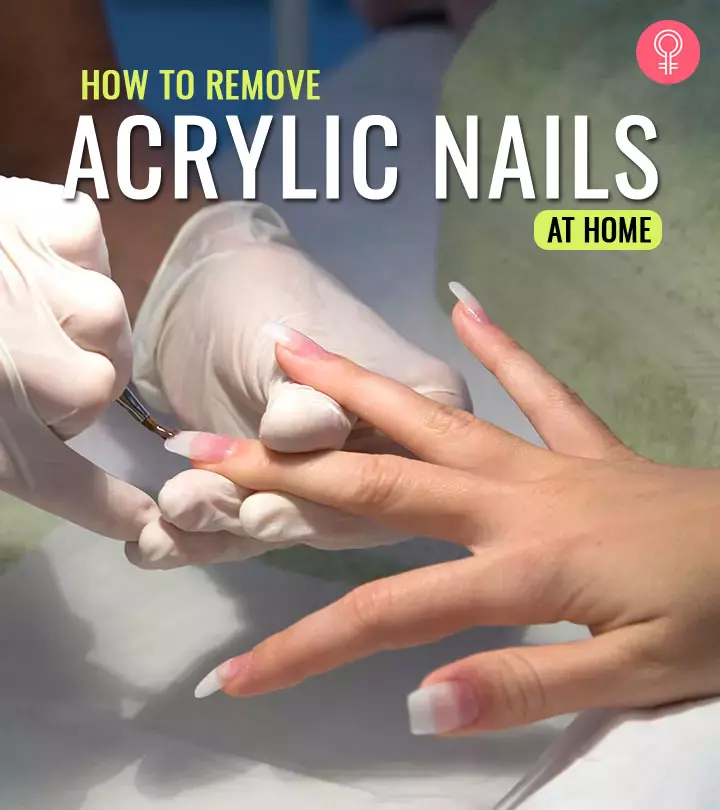
- Removal: While there are convenient home remedies to remove acrylic nails like acetone and electric nail files, it is preferable to have your acrylic nails professionally removed in order to protect your natural nails. Especially if you are a beginner.
- Caution: The chemicals used in acrylic nails may cause adverse responses in people with sensitive skin. It’s important to check the ingredients before use.
In This Article
Pros And Cons of Acrylic Nails
Pros
- Acrylic extensions are suitable for women with brittle and weak nails. Belen, a lifestyle blogger trained in the application of acrylic nails, shares some pros and cons of acrylics in her blog. She points out, “If your natural nails are prone to snapping or breaking, then acrylic nails may be good for you as they will give strength to the nail. Note that they won’t make your natural nails stronger but the acrylic layer, while applied, will give extra strength and support to the nail overall (ii).”
- Acrylics are good for women, who have a bad habit of chewing their nails as they are very hard to chew off. What better way to ward off an unwanted habit than making the damaged area as pretty as possible?
- Acrylic nails have been around longer than their counterparts, so, most nail technicians at salons and spas have a lot of experience about how to apply and remove these nails. You don’t have to worry about side effects as such.
- They have the affordability advantage. The lighter the wallet, the more the happiness. Agree?
- One of the primary benefits of acrylic nails is that if one of them breaks, it can be fixed at home by using the right tools. You don’t have to spend a bomb again to get them rectified.
- They last longer than gel nails.
Cons
- They can damage your natural nails underneath, and it can be hard to grow out your nails with acrylic over them. Also, a damaged nail is a breeding ground for fungus and bacteria.
- As Acrylic nails are artificial enhancements, they present a fake look. You need a very talented technician who can apply your acrylics as close to natural ones.
- Application of acrylic nails involves the use of strong chemicals and formation of fumes. Some women may have an allergy to such substances.
- You need refilling every month which means extra expenditure.
Now, let’s look at the steps to be followed to apply these nails.
Key Takeaways
- Acrylic nails are durable, cheaper, and offer you a broader range of creativity to engage in.
- You need to prep your nails properly before getting acrylic nails to ensure they last longer and your nails are healthy.
- However, prolonged use may weaken your natural nails and discolor them.
- If you suffer from the undesirable habit of chewing your nails, acrylic nails offer a more sturdy and harder-to-chew alternative to stem your habit.
How To Apply Acrylic Nails
Step 1: Prep The Nails
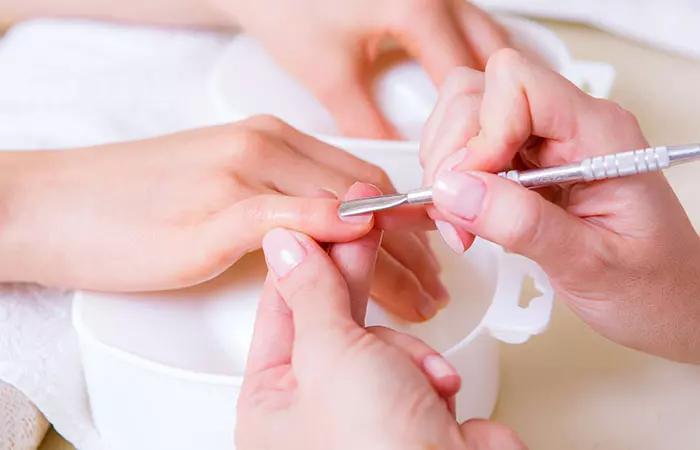
Always start with clean nails. Providing a smooth base helps the acrylic material to go on better. Remove any nail polish and push back the cuticles.
Step 2: Trim Nails
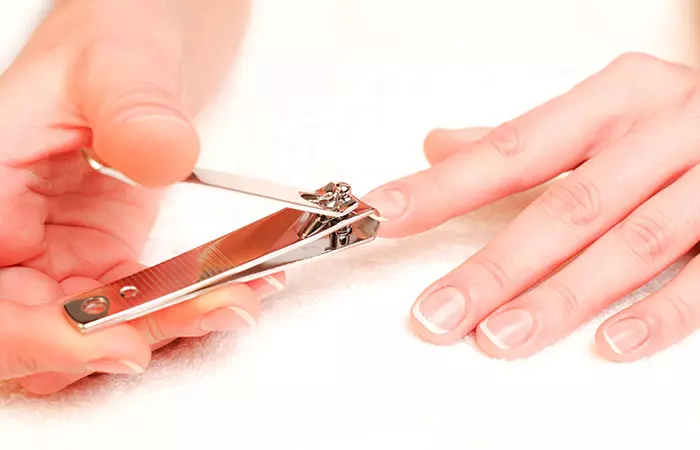
The manicurist will probably trim and file your nails while leaving a few millimeters so that the nail extension can be stuck.
Step 3: Buff Nails
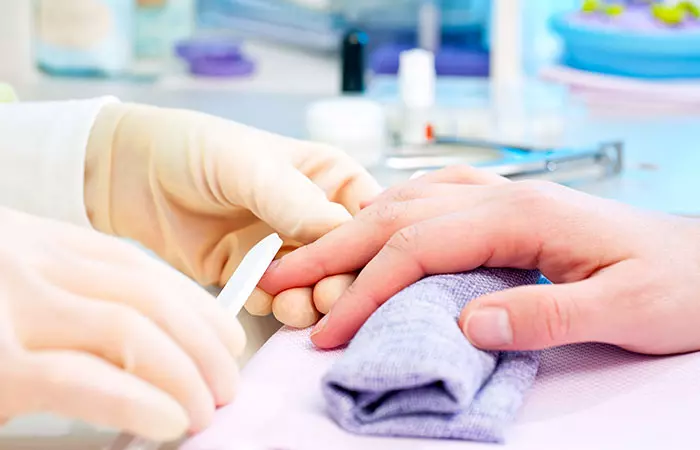
She will then buff your nails so that the surface of your nails are a little rough. This rough surface makes it easy for the acrylic to stick to.
Step 4: Nail Primer
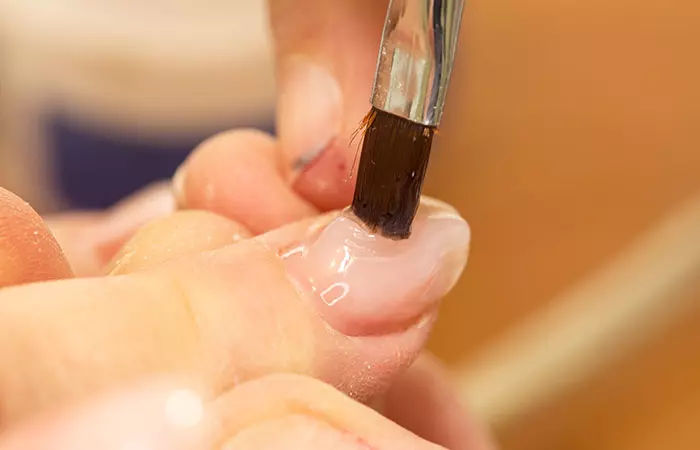
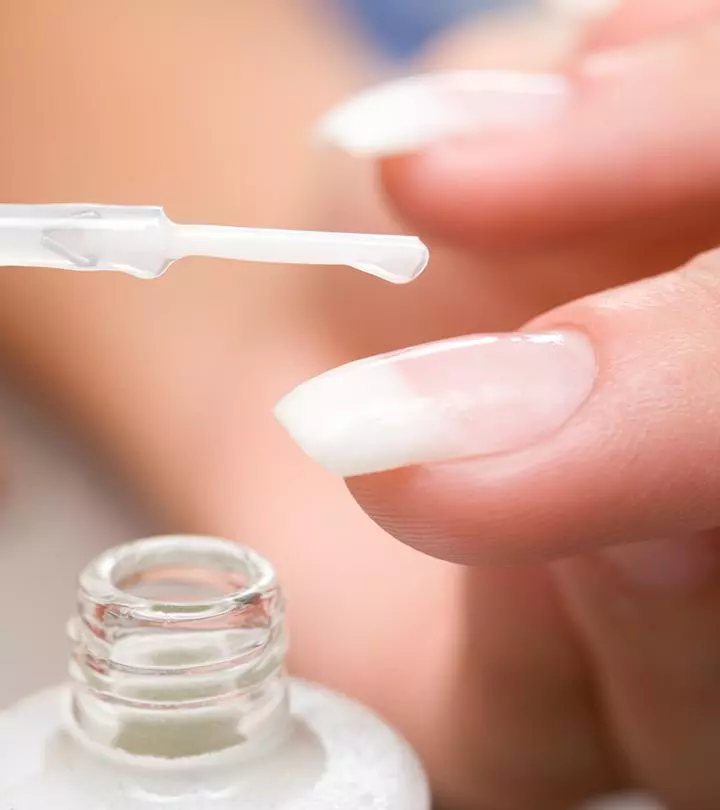
A nail primer would be used to remove any remaining moisture and oil from the nails. Use a cotton swab with acetone to clean the nails and then apply the primer over the nails. Some of the primers contain an acid called methacrylic acid. Be careful as it may burn. You can also use the acid-free primer if you are unsure.
Step 5: Application Of The Tips
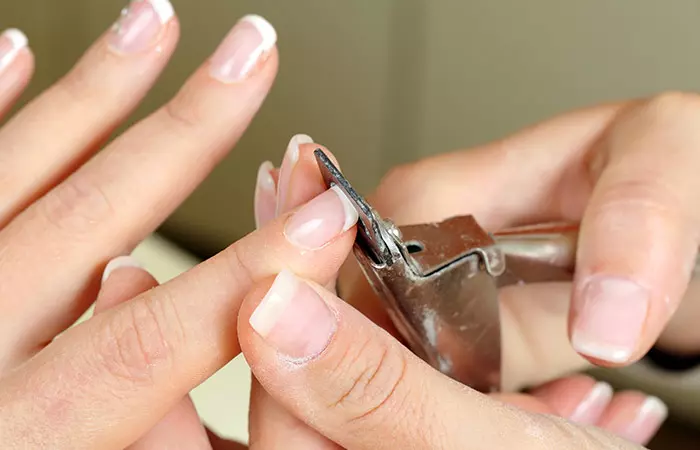
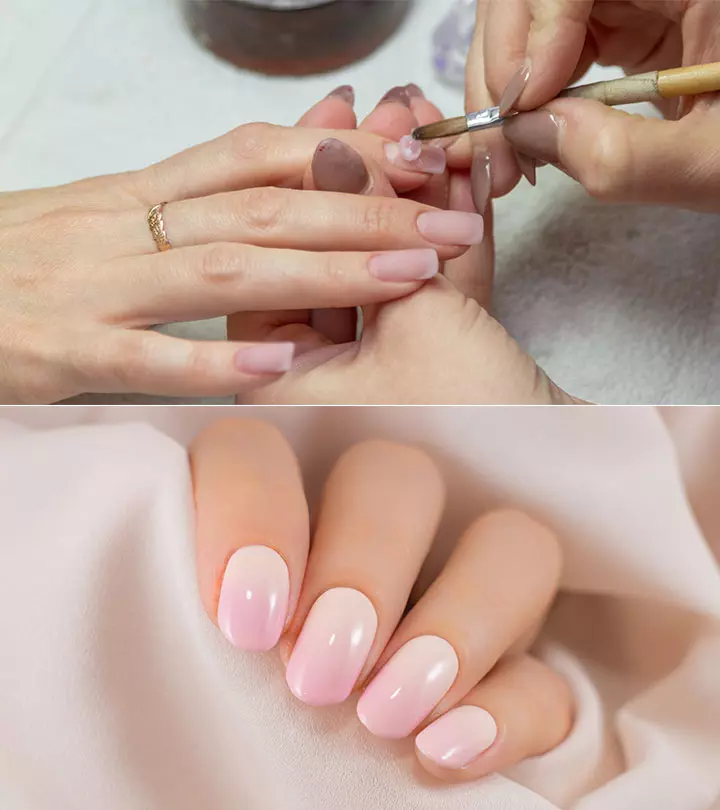
This is where the actual application begins. Mastering how to apply nail extensions is essential for achieving the perfect look with acrylic nails. The tips would be filed according to your nails and will be applied with glue to your real nails. The glue should not touch your skin. The nail can be cut and sized according to your specifications.
Step 6: Prepare The Acrylic Material
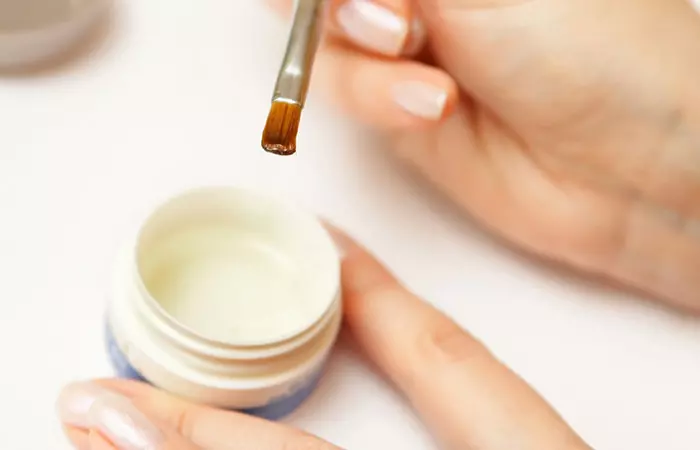
The acrylic liquid would be poured into an acrylic dish and some of the powder into another dish.
A word of caution: One of the drawbacks is that the fumes are strong while using acrylics so this should be done in a well ventilated area.
Step 7: Pick Up The Acrylic With The Brush
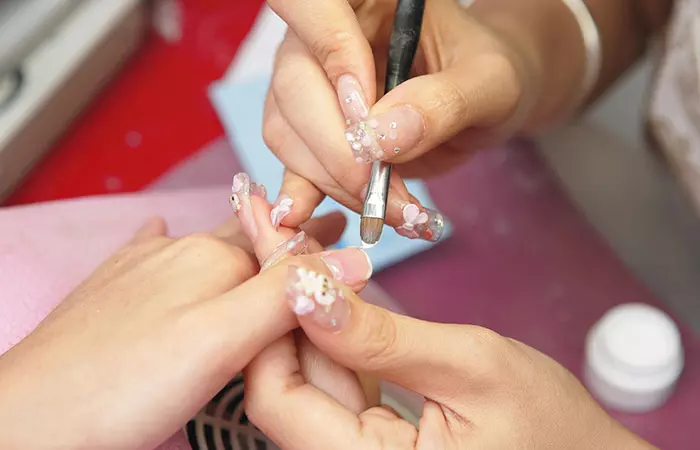
The manicurist will dip the brush all the way down into the liquid. Make sure there are no bubbles. She will brush any excess liquid against the side of the dish to prevent it from dripping. Then, she will run the brush against the powder so that you get a moist ball. This is the material that is to be spread on the nail.
Step 8: Apply The Mixture
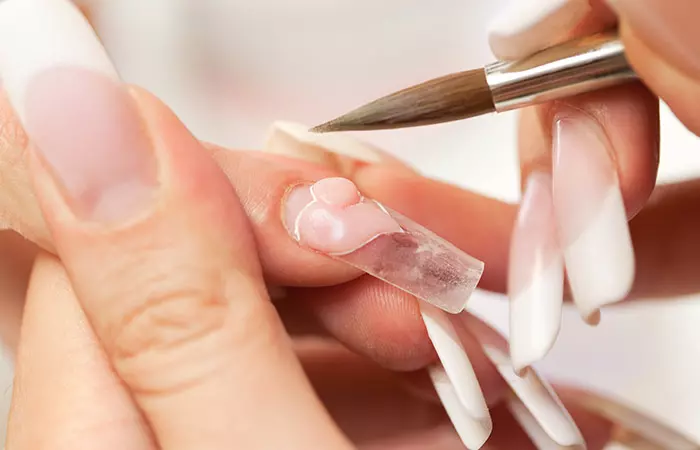
Without touching the cuticles, she will apply the mixture over your nails and smoothen it out as it is being applied. The transition between the tip and your natural nails should be smooth. Apply another layer if required.
Step 9: Let It Dry
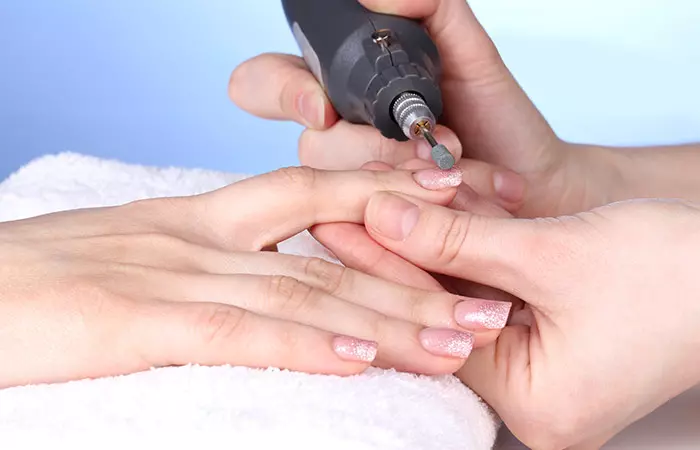
It should take about ten minutes to dry. Once this is done, buff and file the nails to make them smooth.
Step 10: Finishing Touches
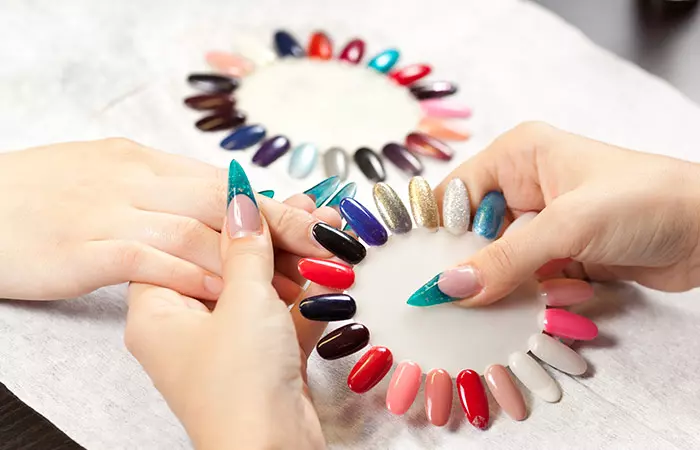
Your nails are ready to be painted! Choose from various experimental acrylic nail designs to find your style and flaunt it confidently.
 Quick Tip
There are a few things you would want to consider before getting acrylic nails. Let’s check them out.
Things You Must Remember When Getting Acrylic Nails
- Keep Your Nails Healthy: It is extremely important to keep cleaning your nails. Especially since there is an entire layer covering your real nails. Make it a point to regularly clean your acrylic nails. Use a soft bristle brush under and around the nails to clean hard dirt. Then use a cotton swab with some alcohol to clean around the cuticles and under the nails.
- Find Yourself A Regular Manicurist: Finding a manicurist that you can regularly go to makes life so much easier. She will understand your concerns, and since she knows your nail’s weaknesses, negative aspects, and your problems as well as the good points, you can save time trying to explain.
- Keep Your Nails Dry: Whenever you wash your hands, dry them completely! If you leave them wet, there are chances for your acrylic layers to lift and also a fungal growth! This may be considered a disadvantage, but you need to wear gloves if you are doing the dishes.
- Oil Your Nails: Dry nails can break easily. Use a neutral oil such as rapeseed oil to keep them moisturized.
- Maintain The Look Of Your Acrylic Nails: Maintaining the healthy shine and seamless look of your acrylics is very important. Lightly buff the nails and apply a top coat every few days to prevent dullness and chipping. If you notice any chips in the corners, gently file them to prevent cracking. Use high-quality nail glue to press down the edges if they start lifting. One prominent tip is to avoid using your nails as tools. For example, do not use nails to open cans, scrape surfaces, or peel adhesive stickers. These will lift the nails and cause cracking.
In case of mishaps like cracking or lifting, you can restore the original shine and finish of your acrylics with basic nail equipment. Ruhee, a beauty blogger, shares, “If you are worried about repairing your acrylic nail polish at some point in the future, fear not! Acrylic nails are incredibly easy to repair. If one nail breaks off or cracks during application or removal, then file it down or gently trim it off and apply some clear coat over the top until it has healed completely. Then apply another coat of polish over this patchwork repair job so as not to notice where the original break occurred within reach of your fingers (iii)!”

Besides acrylic, gel nails are also widely used in nail styling. But there are some differences between these two. Scroll down to know more.
Acrylic Vs. Gel Nails
Understanding the difference between acrylic and gel nails can help you make an informed choice when opting for acrylic nails.
Acrylic nails are created with liquid monomer and powder polymer that hardens when exposed to air. They are durable, long-lasting, and offer a robust extension for nails, ideal for those seeking added length and strength. However, they can appear thicker and require regular maintenance.
Gel nails, on the other hand, involve applying gel polish that is cured under LED or UV lamps. They provide a natural, glossy look and tend to be more flexible and lightweight compared to acrylics. Gel nails offer a smoother finish and are less likely to cause damage to the natural nail during removal, but they may not be as durable as acrylics.
Both offer beautiful results, so selecting the right option often comes down to individual needs and nail care habits.
In addition to gel and acrylic nails, there are also other nail enhancement and beautification options available. Each one offers certain pros, from durability and shine to strength. In the next section, we have explored the performance of dip powder nails, press-on nails, and poly gel nails in comparison to acrylics.
Acrylic Nails Vs. Other Nail Enhancement Options
Acrylic nails are durable and robust nail extension options, but they are prone to lifting and cracking if not cared for properly. Additionally, the chemicals used in the acrylics have a strong smell that may be unpleasant for some noses. If you are one among them, you can consider other nail enhancement options like dip powder nails and poly gel nails. Another innovation of the nail industry, press-on nails, has created a rage owing to their quick and mess-free application. Below, we have compared the three nail enhancement options with acrylic nails and jotted down the pros and cons. Read on to make an informed choice for your nail aesthetic needs.
Acrylic Nails Vs. Dip Powder Nails
Dip Powder nails involve dipping the nails into pigmented powder and sealing the powdered nails with an activator. The application process is messy compared to getting acrylic nail extensions. However, dip powder nails are lighter and more flexible than acrylics. They offer a more natural look and their odor-free formula is better preferred by people who are allergic to strong smells. Dip powder nails are a low-maintenance option, but they do not provide the dramatic length that acrylics do.
Acrylic Nails Vs. Poly Gel Nails
Poly gel formulas have a putty-like consistency that gets sculpted onto the nails for a more natural feel. The major drawback of poly gels is that they take a long time to harden. On the flip side, this allows for more shaping time, allowing you to achieve a personalized look. Poly gel nails feel lighter on the nails as well. However, this nail enhancement option is more expensive than acrylics.
Acrylic Nails Vs. Press-On Nails
Press-on nails are pre-made artificial nails that stick onto the real nails with high-strength adhesive tabs. These are quick, non-intrusive alternatives to acrylics. They are easy to remove and apply. However, they can pop off your nails after some days of use, unlike acrylics, which are meant to stay for a long time.
Infographic: Steps For Easy Application Of Acrylic Nails
Applying acrylic nails at home is a great way to save money and still look fabulous. With the right supplies and a little practice, you can get a professional-looking manicure in the comfort of your home. We have put together an easy step-by-step process in the infographic below to help you master the art. Check it out!
Some thing wrong with infographic shortcode. please verify shortcode syntaxMake sure you are very much thorough with the various pros and cons of acrylic nails before you go for them. Get your acrylic nails done by a professional manicurist, as it can be a hassle to do them on your own. Also, always clean your nails after the procedure is over since you would definitely not want any dirt or germs to cause complications later. Acrylic nails have many positive aspects. They are long-lasting and if done in the right way, they look gorgeous, make your nails appear well-groomed, and enhance the overall appearance of your hands. You can also find amazing acrylic nail ideas online. Go ahead and give it a try.
Frequently Asked Questions
How long do acrylic nails last?
Acrylic nails last between two to three weeks before needing a refill. It depends on individual nail growth and care practices. Regular maintenance and professional application can however extend their lifespan.
Do acrylics ruin your nails?
Prolonged use of acrylics has downsides and will weaken and stain your natural nails. Additionally, poor application and removal of acrylics can leave your nails thin and brittle.
Is acrylic better than gel nails?
Acrylic nails are sturdy and have a more creative scope. However, gel nails last longer without chipping and may also be healthier for your nails as they do not contain toxic chemicals like toluene or methyl methacrylate. Consult a professional and understand your options before choosing the one that is suitable for you.
Do acrylics help your nails grow?
No, acrylics are not capable of making your nails grow.
Illustration: Pros And Cons of Acrylic Nails | How To Apply Acrylic Nails
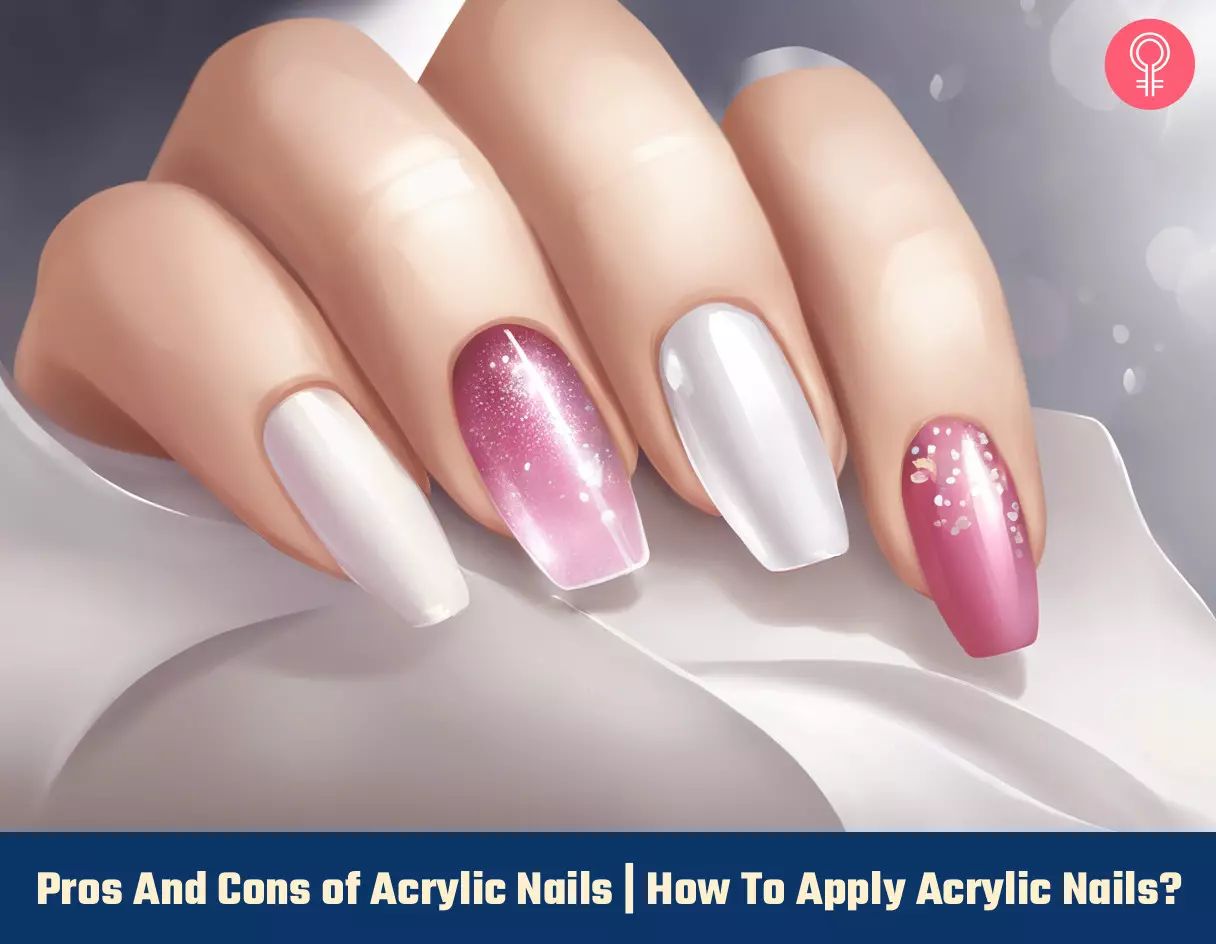
Image: Stable Diffusion/StyleCraze Design Team
Explore the pros and cons of acrylic nails and details about the latest nail trends! Play this video to decide what is right for you or to pick something completely new.
Personal Experience: Source
StyleCraze's articles are interwoven with authentic personal narratives that provide depth and resonance to our content. Below are the sources of the personal accounts referenced in this article.
i. My Acrylic Nails: Experience & Tips!https://justblairslife.wordpress.com/2017/02/24/my-acrylic-nails-experience-tips/
ii. Acrylic nails | 101
https://peacelovevintagefall.blogspot.com/2015/09/acrylic-nails-101.html
iii. Things To Know Before Getting Acrylic Nail Done
https://ruheebeautysalon.wordpress.com/2025/11/29/things-to-know-before-getting-acrylic-nail-done/
Read full bio of Angela Jackson
Read full bio of Joyce Joyson
Read full bio of Asmita De
Read full bio of Vaishali Sinha







Community Experiences
Join the conversation and become a part of our empowering community! Share your stories, experiences, and insights to connect with other beauty, lifestyle, and health enthusiasts.