10 Easy Steps To Do A Salon-Finish Pedicure At Home
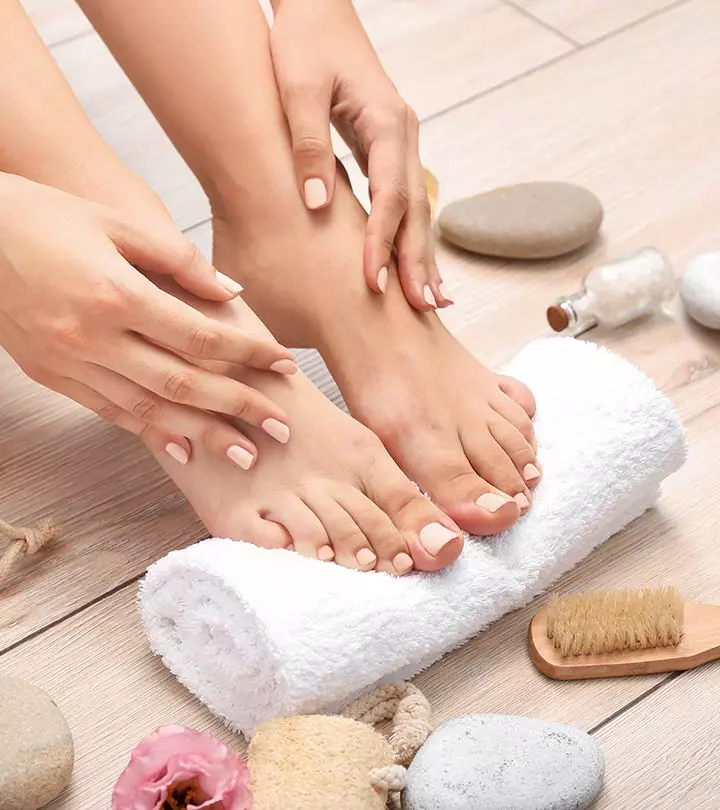
Image: Shutterstock
Pedicure is more than just keeping your feet moisturized and pretty; it is like a form of therapy that awakens the goddess in you! There are a number of reasons why we like doing pedicures at home. One, it is easy to get the supplies at home. Two, you don’t have to worry about the walk from your salon to your home where your feet can get dirty again. And three, there is no definite number as to how often you should pamper your feet with a pedicure. So, if you have been thinking of giving yourself a professional pedicure at home, we know just how to do it. Read on to know 10 easy steps to the perfect relaxing treatment for your feet.
Gather The Pedicure Supplies
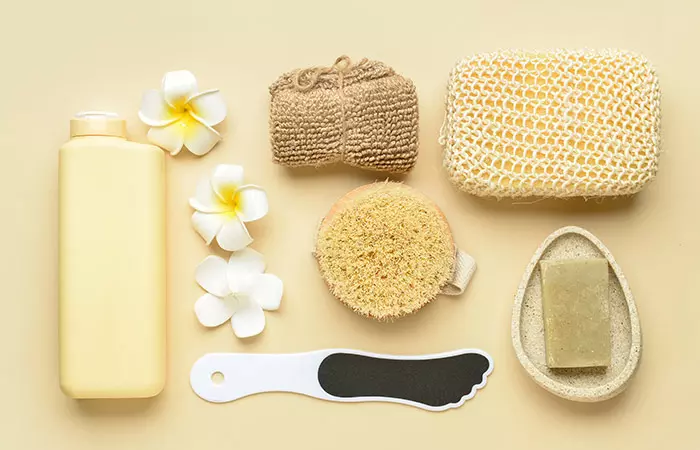
A pedicure does not need a whole lot of fancy creams and scrubs. Here are a few things to help you achieve gorgeous looking feet.
- A pumice stone or foot filer
- Nail polish remover
- Nail clippers or nail filer
- Foot cream and cuticle oil
- Toe separators
- Nail polish
Step 1: Prepare Your Toe Nails
The biggest enemies of a pedicure are the remnants of the last pedicure! For one thing, toenails grow at a much slower rate than your fingernails; hence we often ignore the chipped nail polish at the end of the month. Start by cleaning the nail color with a soaked ball of cotton nail polish remover. Hold it for some time, and then wipe the color away. If stubborn yellow stains hold on to the rims, you can use cuticle oil over the surface to lighten the residues.
Pro Tip: While you cleanse your nails, bring the essential oils and candles to set the ambiance. Once the mood is set, nothing can come between you and your therapeutic treatment.
Step 2: Soak Your Feet
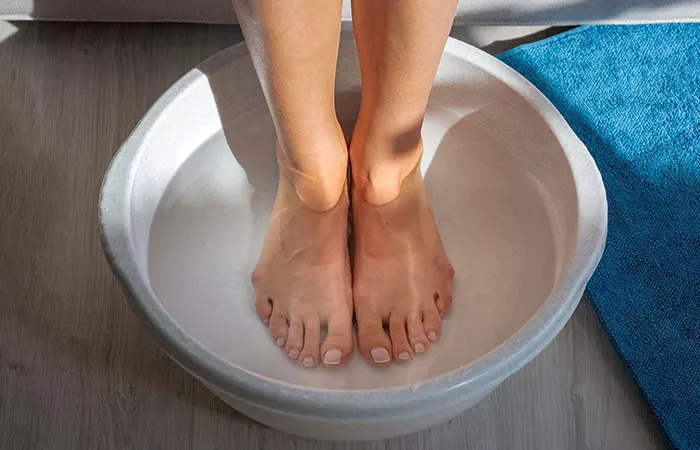
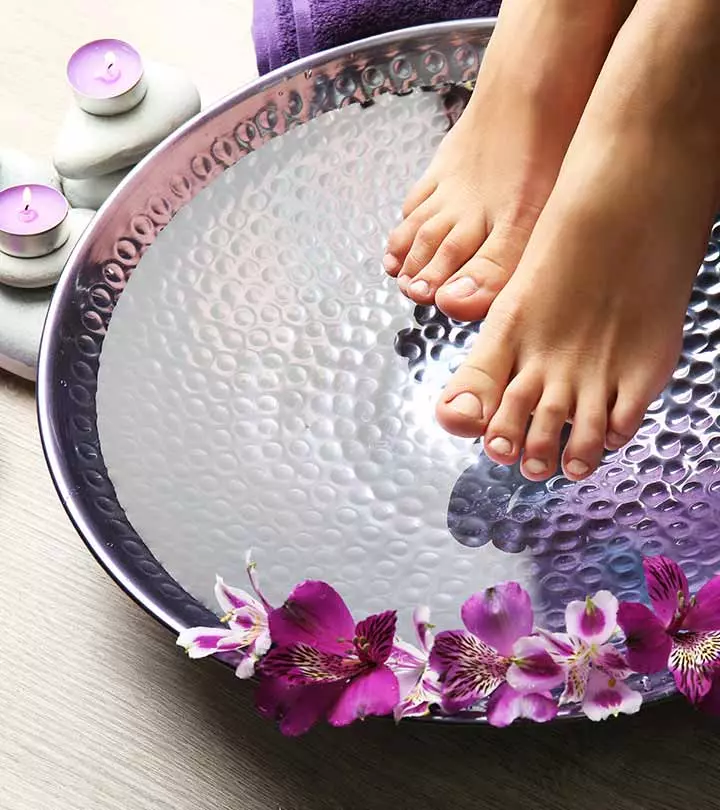
You can set your pedicure regime in the washroom or arrange a tub for easy soaking. Fill it with warm water and add a scoop of bath salts in it. Let your feet soak in the tub for a few minutes, and then we can proceed to the next step.
Step 3: Get Rid Of Dead Skin
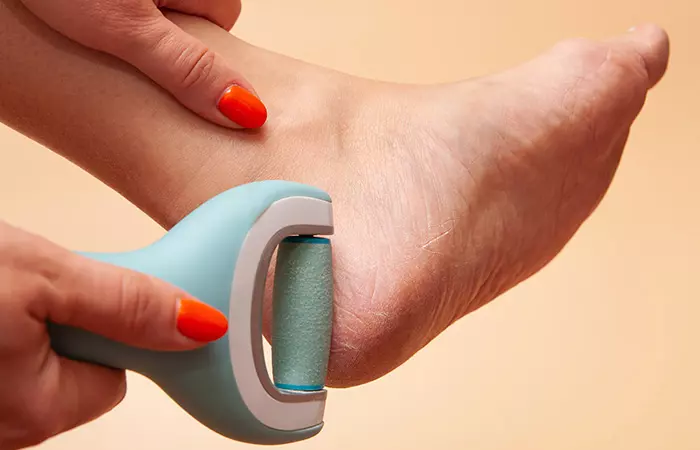
We know it’s the gross part, but scrubbing the dead skin away is rather satisfying. After your feet are dry and clean, use a pumice stone to rub the heels and hard skin areas. Make sure you do not overdo it or it could cause irritation to your skin.
Step 4: Cut Your Toenails
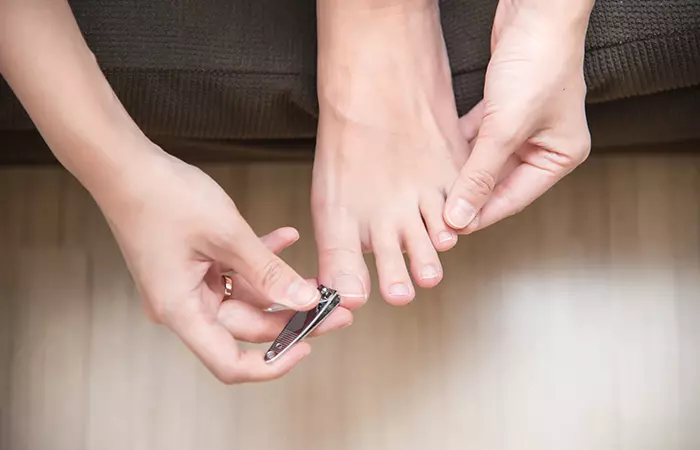
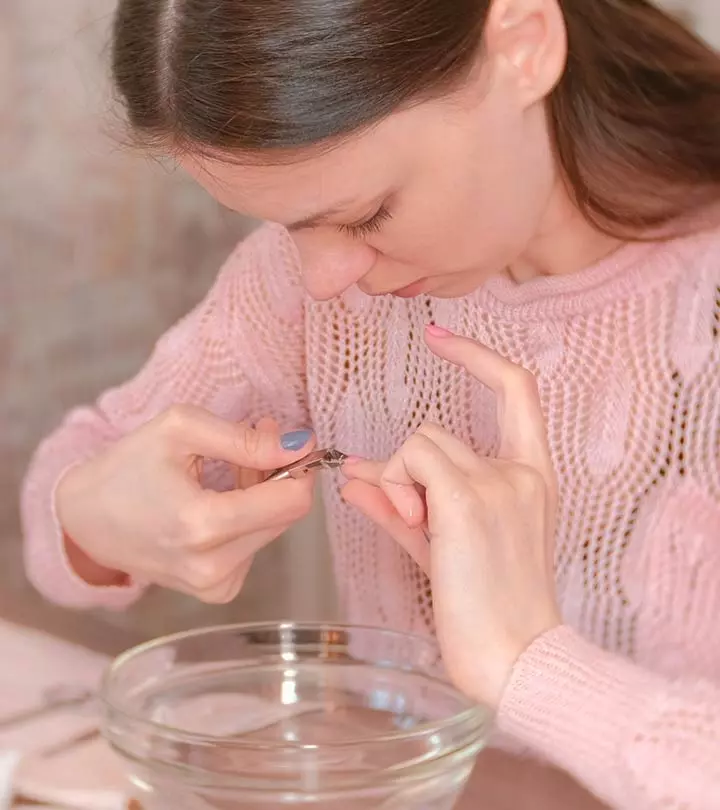
Once your feet feel smooth, reach your nail clippers and trim your toenails. You do not have to worry about getting the perfect shape as you can take care of that later.
Step 5: Shape The Toenails
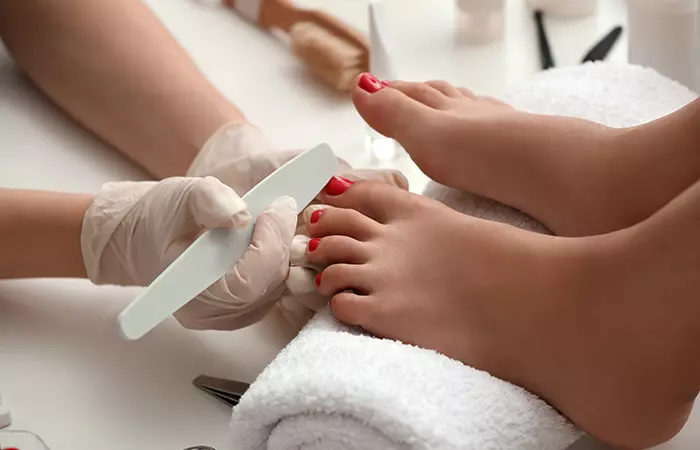
Once your toenails are of the preferable length, you can go on to smoothening them in the shape you want. All you have to do is, pick a filer and rub the edges and corners. You can take your time doing so as shaping toenails is not as easy as it seems.
Step 6: Add A Few Drops Of Cuticle Oil
Cuticles are an essential part of your pedicure. Paying special attention to them will help you maintain your nail polish longer. You can use orange sticks to push the cuticles back and then use cuticle oil over your nails. It makes a huge difference in making your nails look gorgeous.
Step 7: Massage Your Feet
You can use a foot cream or lotion of your choice, and all you have to do is massage your calves, feet, and toes till your feet look nourished. This is a perfect way to hydrate your skin after all the scrubbing. If you still feel your nails are not absolutely clean of residues, you can rub alcohol over them to keep your nail polish from sticking to them.
Step 8: Apply Base Coat
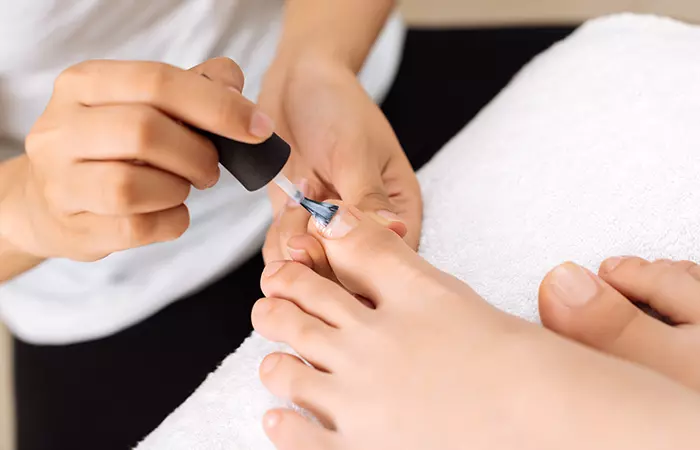
Most people who are new to pedicure miss this step, which is why your nail polish chips the first chance it gets! The base coat is like a natural barrier that holds your nail polish together and protects it from getting scraped away. This helps your pedicure last much longer than without.
Step 9: Paint Your Nails
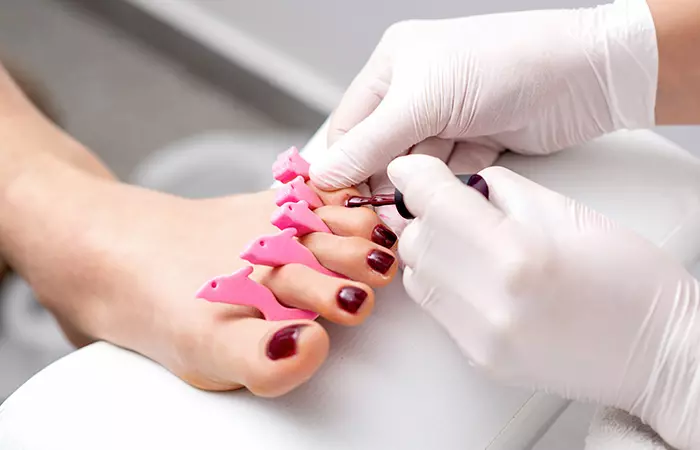
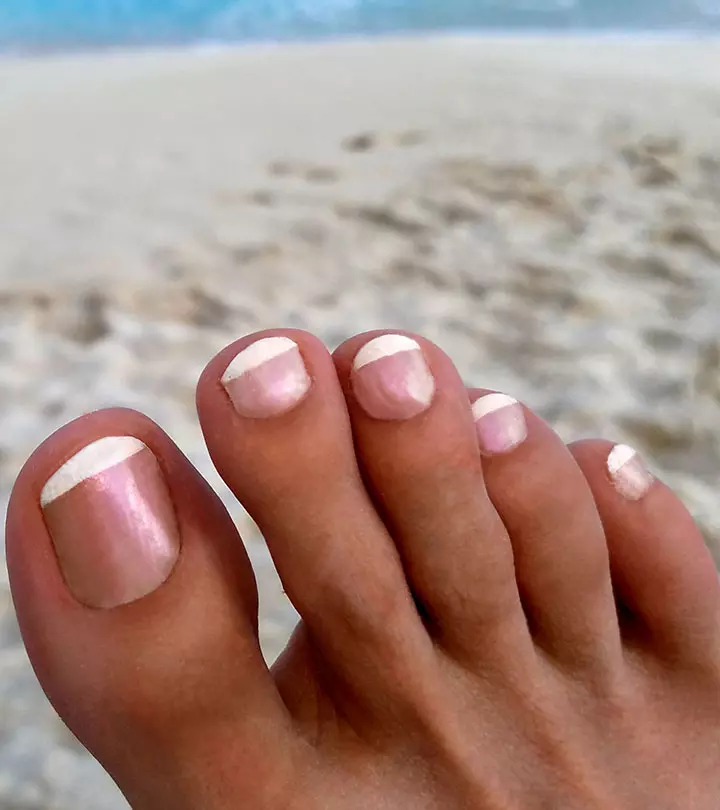
If you don’t have toe separators, you can work with cotton balls to separate your toes for easy nail paint application. Do not use more than two coats of paint per color as they might peel off easily. Give ample time for them to dry out.
Step 10: Apply A Top Coat
Topcoat does more than just give your nail paint a gloss. It will protect your nail color and give it a long-lasting shine that you craved for.
Now that you know how to get the perfect pedicure without stepping out of your home, maintaining happy feet is something you can achieve flawlessly. Make sure you cover your feet in cotton socks after moisturizing them and apply thick creams with the first signs of heel cracks.
So do you have any particular technique for maintaining pretty feet? Let us know in the comments below!


