11 Easy Steps To Make The Most Delicious Easter Cookies Ever

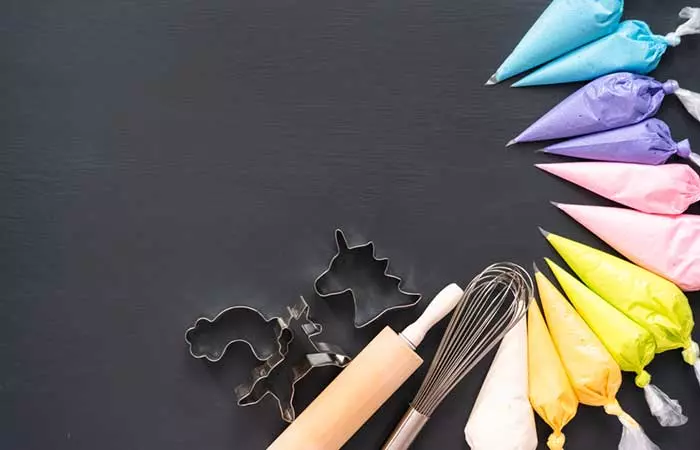
Everybody loves cookies. Be it classic chocolate chips or ginger cookies; you will find a cookie for every single person. If you’re new to baking cookies and have no clue how to even start your oven, you’ve come to the right place. Making Easter cookies is as easy as one, two, and three, and you don’t need to get too stressed over how to make them. All you need is a couple of tasty ingredients and supplies that you should keep ready before you decide to make them. They are unsalted butter, granulated sugar, egg, vanilla extract, baking powder, salt, all-purpose flour, royal icing, and gel food coloring. The equipment you will require is, measuring spoons and cups, a hand mixer, mixing bowls, a rolling pin, cookie cutters, a half sheet baking pan, a wire cooling rack, couplers, piping bags (for the icing), and different sized metal piping tips to decorate the cookies. Here are eleven steps you should follow to make the perfect Easter cookie:
1. Make The Cookie Dough
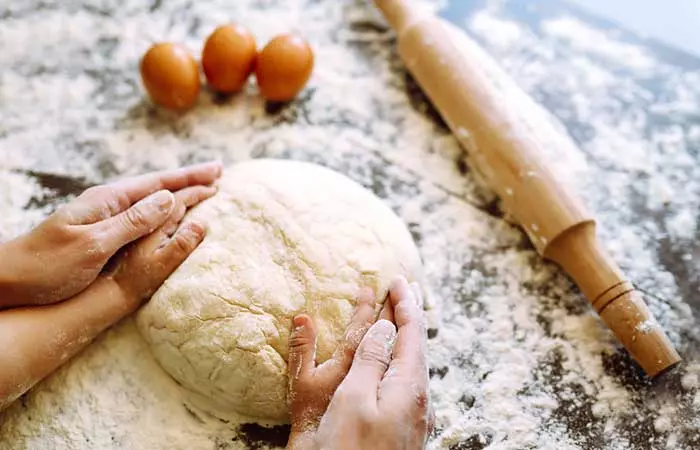
Add cream, butter, and sugar into a large mixing bowl and use a hand mixer to combine them together at a medium speed. Once the mixture takes on a light and fluffy texture (usually in two minutes), add vanilla and egg and beat it until it is combined. Once that is done, turn the mixer to a lower speed and add baking powder and salt to the mixture. Gradually add in the flour and mix until all of them are combined. Once you’ve rolled up the dough into a ball, wrap it up tightly in plastic cling wrap and freeze for an hour or more (overnight also works).
2. Use A Rolling Pin To Flatten The Cookie Dough
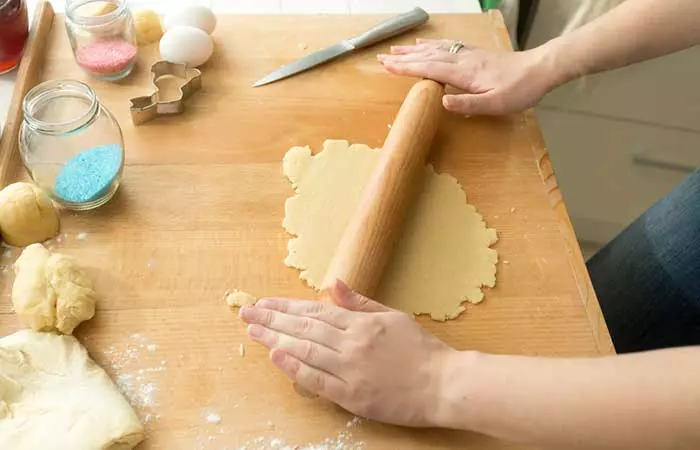
Once you’ve let the cookie dough get firm, remove it from the fridge and let it sit at room temperature for about ten minutes. Once it is at room temperature, place the surface that has been lightly floured and use a rolling pin to roll out the dough until it is about a quarter of an inch thick.
3. Cut Out The Cookies
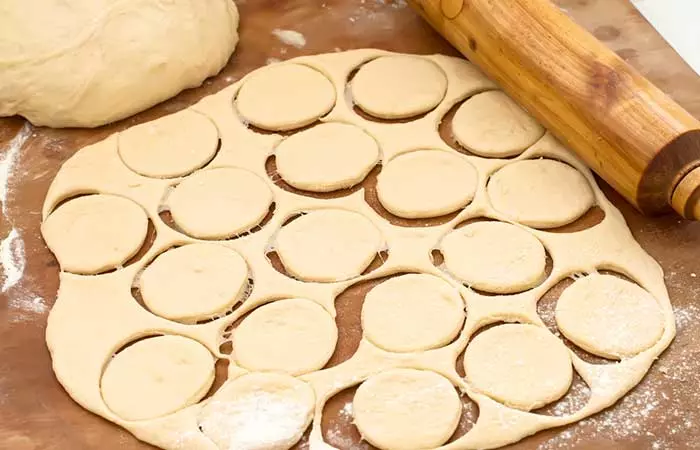
You can get cookie cutters in all kinds of shapes and sizes, and choose whichever one you like. Since it’s Easter, it’s always a good idea to use egg-shaped cookie cutters to keep with the theme of the occasion. Once this is done, you can transfer the cookies onto a half sheet baking pan. Make sure that the pan is lined with parchment paper, and place the cookies at least an inch or more apart to avoid them getting stuck to one another. Re-roll any extra scraps of cookies and repeat the process to cut out more cookies.
4. Bake The Cookies In An Oven
Place your cookies in an oven that has been preheated to 350° Fahrenheit and leave it for about eight to ten minutes. Once the edges turn a shade of golden brown, set the cookies aside on a baking sheet to cool for a few minutes.
5. Transfer Cookies Onto A Wire Cooling Rack
It’s important to keep a wire cooling rack around your home. This is important, especially if you are a baker and enjoy making baked goods. A wire cooling rack can help your cookies cool down at a much faster rate. Once they have fully cooled down, you can begin the icing process.
6. Prepare Icing For The Cookies
After the cookies have cooled down completely, you can start making the icing. While you can use raw egg whites to make the icing, if you are a vegetarian, you can even use meringue powder instead of egg whites. It will still work just as well as the egg white icing and harden perfectly. In order to make the icing, you need to combine the confectioner’s sugar with the meringue powder/egg white. Add vanilla extract and water into the mixture and beat it with a hand mixer at a medium to high-speed setting. Do this until the mixture is smooth. If the icing is still too thick, add some water into it and if it’s too thin, add some sugar.
7. Add Food Coloring
In order to color the icing of the cake, add gel food coloring to it. You can also make use of liquid food coloring, but it can have a bit of a drastic effect on the consistency of your icing. You might also need to add in a little more sugar to get your icing to meet the right consistency.
8. Divide The Icing Into Smaller Portions
It’s a good idea to make the icing and divide it into smaller portions. This helps as you can mix in the food colorings as per your usage and avoid wasting icing. When you are using icing, ensure that you cover the bowl with a damp towel to make sure that it doesn’t dry out.
9. Start Adding Icing To The Cookies
This is the part where you will need to take out the different icing tips. You can use a no. 5 round tip to create an outline along with the base color on your sugar cookie, leave about half an inch from the edge and fill it in on the inside. To make sure that the icing reaches completely across the edges, you can use the back of a spoon to spread the icing across the edge. Let the base of the icing dry before you add icing to the top so that it won’t smudge or blend in.
10. Use A Thin Icing Tip To Add Designs To Your Cookies
You can use a thinner no. 1 round tip to decorate the easter cookies in cute patterns like squiggles, dots, and lines. If you are adding multiple layers of icing onto the cookie, then you need to allow the bottom layer of the cookie to dry up first for at least thirty minutes before you add more layers of icing. Your icing will need to be set aside to completely harden or else it can get smudged while storing.
11. Store Them In An Airtight Container
Easter sugar cookies can be stored for a longer amount of time if you make sure that they are stored in an airtight container. If you leave the container at room temperature, you can store them for about 3 days, and if you leave them in the freezer, layered between pieces of parchment paper, you can store them for up to three full months!
So what are you waiting for? Get out those thick oven mitts and get all your equipment ready. All you need is some patience, this article, and time. And make sure that you remember to put in the special ingredient, love. Let us know all of your thoughts on this article!


