3 Expert Tricks To Curl Your Hair Without Using Heating Tools
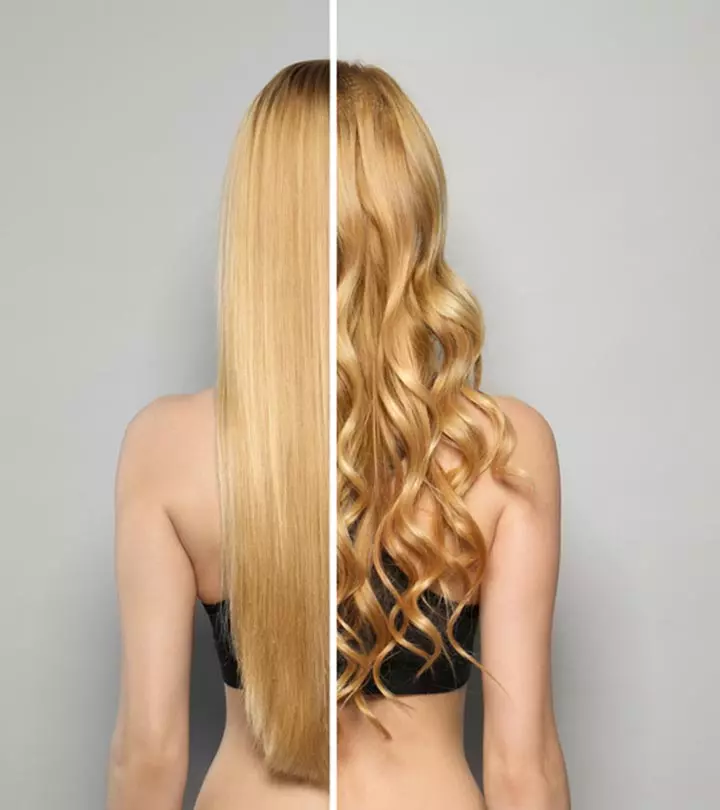
Image: Shutterstock
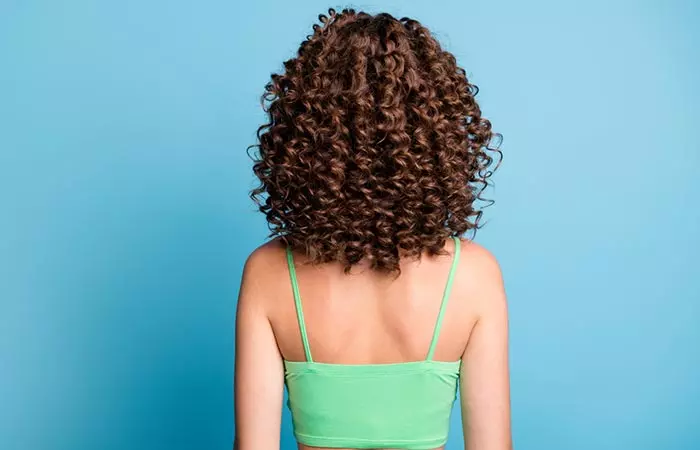
Adding waves and curls to your hair changes your look, and if you have been planning to flaunt a new hairstyle, there is nothing better than curling it. But unfortunately, using heating tools damages your hair strands in the long run, so you need to limit how frequently you use them on your hair. Wish there was a way to curl your hair without damaging them? Well, here they are! Here in this article are 3 ways to curl your hair with simple tools without any heat. Read on to know them all.
In This Article
Method 1: Straw Curling
Materials required:
- Twenty-five plastic straws (you can use more or less depending on the volume of your hair)
- 25 rubber bands
- A styling comb
- Anti-frizz lotion
Step 1:
You need to start by dampening your hair and untangling it. It will take a while to dry if you get it too wet, so you can try a spray bottle so it does the work without drenching your whole hair. Next, use an anti-frizz cream for curls that linger and look great. If you want your hair to dry naturally without heat, you should try this method in the morning.
Step 2:
Wrap thin locks of your hair around the straw. Pick off a small section of hair and position the straw as near the hair root as possible. Wrap the hair clockwise around the straw until no more turns are possible.
Step 3:
Fold the straw and secure it with a rubber band. If you’re using a hair tie to fasten the straw, wait to let go of that end until it’s completely attached. Straws can be snipped to make shorter strands. It’s best to do this after you’ve rolled all of your hair in the straw, so you don’t end up with too much or too little of the desired length.
Step 4:
Take the straws out after letting your hair dry overnight. Although it may be a tad bit painful, let it air dry and remove the straws in the morning.
Step 5:
Separate the curls gently to give volume to your hair. Next, split each ring at the base into many curled strands. Doing so will add fullness to your hair. You may finalize the look by using the mousse setting lotion again.
Method 2: Curling With Flexible Tubes
Materials required:
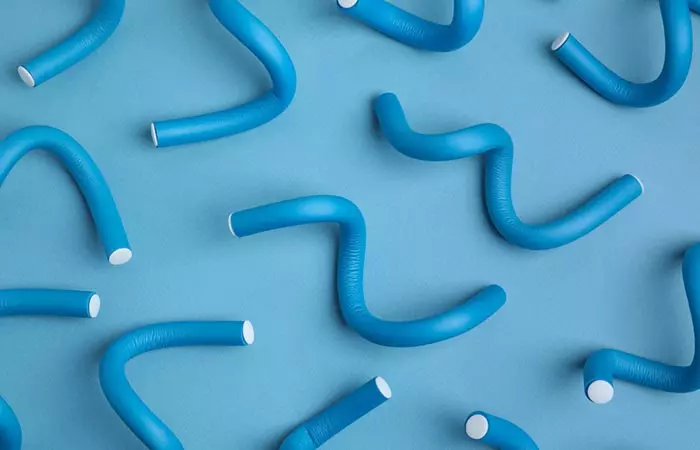
- 25 curling tubes
- Anti-frizz lotion
- Setting lotion
- A styling comb
Step 1:
Select small sections of hair and treat it with anti-frizz cream and a setting lotion. You shouldn’t use water to dampen the hair, so you’ll need to find products that moisturize and keep the curls.
Step 2:
Untangle the hair and roll it into the flexible tube. If you want your curls to stand out more, you should untangle them. Then, wrap the hair tightly backward and near the root, using the garden hose as a guide.
Step 3:
Make a U-shaped bend in the tube, first from the top and then at the bottom. Then, apply a mousse on the twisted lock to the tube before bending the bottom end to ensure the lock is securely fastened.
Step 4:
Continue adding more tubes until all your hair has been secured. Use a blow dryer if you don’t have time to wait for it to dry naturally. If you choose the latter, protect your hair from heat damage by spraying it with heat protectors.
Step 5:
Once you have achieved the desired effect, you may take out the tubes and untangle the curls. When your hair has become dry, pull the strands of each tube counterclockwise. The curls will be more defined and hydrated if cream is applied before they are separated.
Method 3: Curling Hair With Socks
Materials required:
- An afro pick
- Four pairs of socks
- Styling cream
- Hair spray
Step 1:
Detangle your hair gently and apply the curling cream. If you want the effect to last, you should use this technique either right before bed or first thing in the morning.
Step 2:
Wrap the strands of hair around each sock. We suggest you secure the other sections of hair to make things simpler. Put the top of the sock close to the strand’s knot. Next, roll the sock and twist the hair together. To achieve longer, looser curls, use thicker sections of hair.
Step 3:
Tie the sock around the hair to stay in place. Then, holding the sock’s end where the hair is, fold it in half and tie it with two or more knots so the hair doesn’t slip out.
Step 4:
Repeat the process with all the socks to cover them in knots. When tying the sock, the hairline may come loose at the ends. If this occurs, you should loosen the knot, use fixing cream to blend the broken section back in with the rest of your hair, and re-tie it. Again, don’t take your socks off for at least 8 hours.
Step 5:
Take off your socks and part your hair. Begin at the top and untwist the hair first from the sock. When you want defined curls, carefully separate the strands until you get the desired effect, then spray them with hairspray.
Everyone enjoys changing their hairstyle once in a while, and with these techniques, you can curl your hair without worrying about damage. So what is your favorite heatless hair curling technique? Let us know in the comments section!


