Skin Care Tips: DIY At-Home Facial For Glowing Skin

Image: Shutterstock
We all live a stressful life, don’t we? But there are some amongst us who have to deal with more than the usual fare of stress, and this becomes very evident on their face. How? Well, their dull and lifeless skin is a dead giveaway. Dull skin, fine lines, and premature wrinkles — they are all signs of a stressed body. It’s quite impossible to hide these manifestations of stress on our face.
The only way out of this is to indulge in a bit of self-love by pampering our skin. All we can suggest is that you should gift your skin a facial every now and then. It’s bound to reboot its energy and make you look fresh and happy like never before.
But facials, especially the ones offered by the high-end salons can surely cost you a pretty penny. And with that being the case, you wouldn’t want to get one every fifteen days, would you? We have a solution to this problem. How about a DIY facial at home? It can be done with everyday skin care products and also save you the trouble of going all the way to the salon. Here’s a quick guide that will guide you in doing a facial all by yourself, in the comfort of your home:
In This Article
Step 1: Cleanse
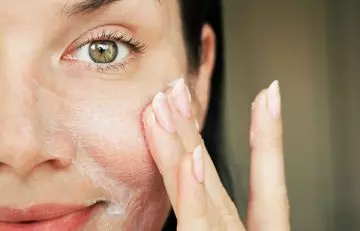
Cleansing forms the foundation of the facial. It helps you to get rid of the dirt and impurities that are embedded in your pores and preps your skin so that it can easily absorb all the nourishment it’s going to receive in the following steps.
How To Cleanse:
- You need to select a cleanser that suits your skin type. An oil-free cleanser for oily skin, mild cleanser that foams well for dry skin, or if you have combination skin type, pick the one that is specially formulated for combination skin.
- Before you cleanse, splash some lukewarm water on your face.
- Take a pea-sized amount of cleanser, rub it between your palms and cleanse your face by massaging the cleanser on to it in a circular manner, in the upwards direction for at least 40 seconds, and then rinse it off with water.
Tip: Consider cleansing your face with raw honey. It will hydrate your skin and leave it looking soft and supple.
Step 2: Exfoliate
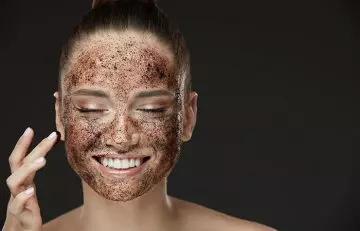
Exfoliating removes the dead skin cells present on our face and unearths the fresh, healthier layers of the skin. It’s a very important step of the facial.
How To Exfoliate:
- After cleansing your face, take a coin-sized amount of the exfoliator.
- Massage it on your face in circular motions.
- Continue massaging for a good 4-5 minutes, but make sure you scrub very gently, or you’ll end up damaging your skin’s natural structure.
- Splash some cold water on your face to rinse off the exfoliator.
Tip: Mix oatmeal with honey and olive oil for normal skin type. Mix honey and sugar with water for oily skin type. Mix honey with olive oil and grounded almonds for dry skin type.
Step 3: Steam
Steaming your face will relax your skin and open up its pores which will help it absorb the nutrients better. Steaming also helps in releasing the toxins of the skin.
How To Steam:
- Use a facial steamer, it is easily available in almost all cosmetic stores or you can purchase one on an e-retail site.
- In case you don’t have a facial steamer do this: Heat some water in a wide-mouthed container. Take the container off the stove, wear a towel over your head, slightly bend and let your face soak in the steam coming out of the hot water container. Please be careful while doing so!
- Do this for 5-10 minutes.
Tip: Add herbs like rosemary or any of your favorite essential oils to the water for added benefits.
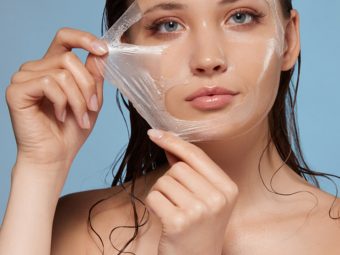
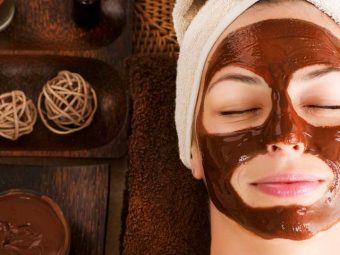
Step 4: Face Mask
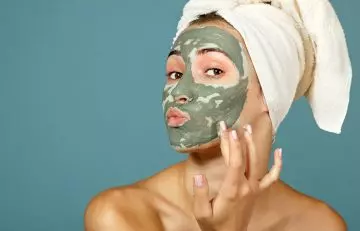
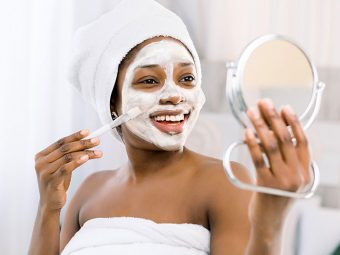
With steaming done, your skin is all set to soak in the goodness of the facial mask. Applying a facial mask on your face will help your skin regain its radiance and health. These facial masks can be customized to treat specific skin issues, so choose one that is most suitable for you.
How To Apply Face Mask
- Pick a suitable DIY mask for yourself that addresses your skin problems.
- Now, spread a thin layer of it on your face. Avoid areas near your eyes and mouth.
- Once the mask has dried, splash some water and wash it off.
Tip: Since it’s summer, we suggest you make fruit masks for yourself and let your skin soak in some tropical magic.
Step 5: Tone
Now that your skin has soaked in all the goodness of the mask, you have to use a toner to seal the pores of your skin so that they don’t accumulate any dirt or grime.
How To Use A Toner
- Use a cotton pad to apply toner. Doing so allows the toner to spread evenly and also helps in removing dirt.
- Let the toner dry naturally.
- If you have combination skin, apply the toner only on your T-zone.
Tip: Mix equal parts of water and apple cider vinegar to make your own DIY toner at home.
The Final Step: Moisturize
Your freshly nourished and revealed skin needs hydration to ensure that its radiance is everlasting. For that, you need to apply a moisturizer.
How To Use A Moisturizer
- Pick one that suits your skin type.
- Take a pea-sized amount and apply it on your face.
- Let your skin absorb it.
Tip: You can also use olive oil, jojoba oil as moisturizers.
See, isn’t it easy to do your facial at home on your own now. Just follow these steps and gift yourself a DIY facial when you feel that your skin needs a little bit of shine and sparkle.


