Where To Apply Highlighter For A Gorgeous Glow

Image: Shutterstock
Highlighting and contouring have been around for a long time now. However, it was only after the Kardashian sisters hyped the makeup item up in their heavily-edited photos on social media, that people started taking notice of the product. The sisters did something right and the trend spread like wildfire. These days every makeup brand is producing its own spin of the product. If you’re a newbie to this trend and don’t even understand the H in “Highlighter”, fret not! The trick to applying highlighter (whether you prefer powder or liquid) is to find the right shade as well as the correct formula for your complexion. Highlighters have come a long way from the “disco-ball” look that was there initially. Read this article to know exactly how and where you must highlight to get that Kardashian glow.
Finding Out Your Key Points
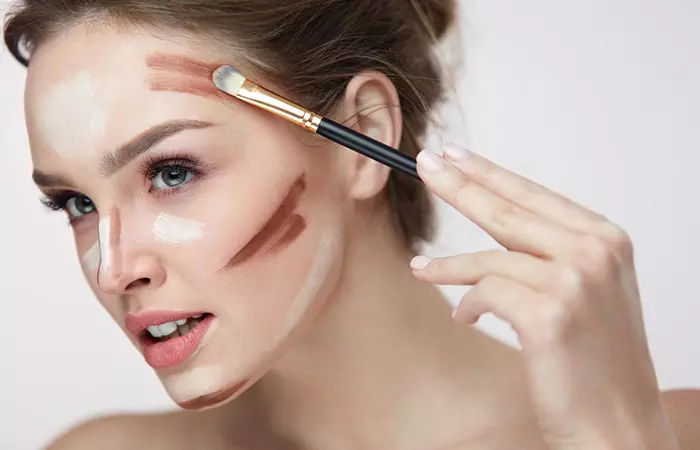
Let’s get real. Regardless of whether you have butter knife sharp cheekbones or you’re looking to create the illusion that you do, you need a highlighter. Just as you play with lights and shadows in photography, the trick to highlighting and contouring is the same. For example, the forehead, chin, cheekbones, bridge of the nose, cupids bow, inner eyes and underneath your brow bone are the best places to apply highlighter. Applying highlighter in these specific areas will illuminate your face with a natural-looking glow. Just like with a person and a shadow, your contour must go under or next to your highlighter. You can also highlight certain parts of your face that you feel deserve attention. For example, if you have a wide nose, you can highlight the center of your nose and contour the sides.
Method 1: Full Face Highlighting With Foundation And Powder
If your main goal is to create a full coverage make-up look with your cheekbones as the main highlight, this is the method for you to follow. It’s important to remember that you follow a full skincare routine before you start applying make-up. This includes cleansing, moisturizing, and applying one layer of primer to prep your skin. In this method, we work with not just one, but two shades of foundation! The trick to achieving this is to purchase one size lighter than your skin tone and one shade darker. Once you’ve applied the two foundations in a similar way as is stated in the previous paragraph, blend the two. Go crazy and make sure there aren’t any jagged lines visible. You don’t want to look like a comic book character now, do you?
Method 2: Blush With A Highlight
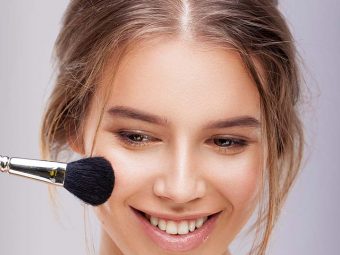
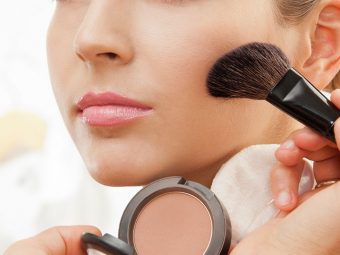
When it comes to applying blush, you must keep in mind that every face type is unique and you should probably adhere to your own facial structure. Here are some simple ways you can do so:
Round Face: Brush a matte blush from your ear to the cheekbone and towards the mouth.
Square Face: Apply the blush below and not over your cheekbones
Oval Face: At the top of your cheekbones
Long Face: Below the outer corners of the eye and extended further till the tip of your nose
Heart-shaped Face: Apply blush to the outer corner of the cheekbones, starting at the ear and ending at a point below the outer eye corner
Method 3: Use A Damp Sponge To Apply Highlighter
If you want to add some major glow to your face, the method you use to apply the highlighter matters a lot. Take a damp makeup sponge, dip the sponge in a cushion highlighter or a creamy one. Sweep the highlighter across your cheekbones, temples, nose, and forehead and extend it towards your hairline.
When it comes to highlighting, always remember that less is more and you shouldn’t go overboard on the same. You need to focus on certain areas and go crazy on others. Parts of your face you should focus on are your cheeks, nose, lips, eyes, forehead, and chin. With your cheeks, you want to create the illusion of sharp cheekbones. So you apply a bronzer at the bottom and highlighter at the top of your cheekbones. Make sure you highlight the right areas of your cheek to add some punch. When it comes to highlighting your nose, the best way to do so would be to apply a dot at the center of your nose and blend it upward along the bridge. For fuller lips, you should apply a small dot at the center of your cupid’s bow. To highlight your eyes and give yourself a “woke up like this” look, apply highlighter at the inner corner of your eyes and your outer bone as well. This will make your face look super perked up.
All in all, it’s smart to invest in the right kind of highlighter. It’s a good idea to not choose cheap when it comes to purchasing makeup, especially highlighter. Considering it goes all over your face, you should be extra careful about the right one to pick. Do you see the super highlighted and contoured trend catching on? Let us know your thoughts in the comments below.


