How To Do An Ice Facial At Home

Image: Shutterstock
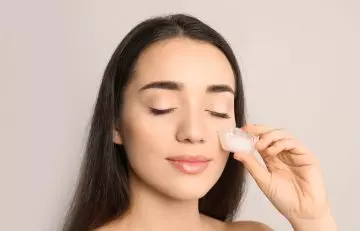
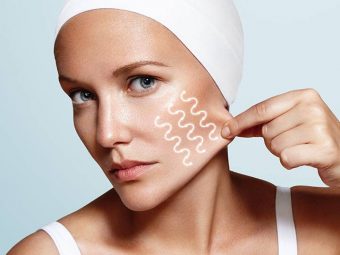
Most dermatologists attest that ice facials do wonders for the skin. They help in reducing the appearance of fine lines, wrinkles, inflammation, and redness. Here in this article, we have explained the procedure required for an ice facial in the comfort of your own house. Read on to know how to incorporate ice facial in your skincare routine to reap the benefits.
In This Article
Materials Required
The four types of cold you may employ to give yourself an ice face mask are:
- Two cryo sticks
- Ice rollers
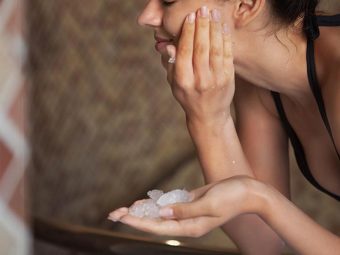
- Ice
- Metallic spoons
You’ll also need, in addition to a cold source, the following:
- Makeup-removing wipes
- Face cleansers
- Mask or serum
- Thin compress
- Nourishing face cream
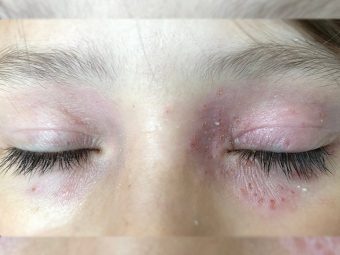
Ice helps the skin absorb the serum better, but masks and serums frequently have similar purposes, so you need to pick your products carefully. Avoid procedures that contain fruit enzymes, retinoids, or substances in the AHA or BHA family, since they may irritate your skin if pushed deeper into the skin. Don’t use clay-based masks, either. The best alternatives include sheet masks, crème masks, and products with hyaluronic or peptides.
Step 1: Remove All Your Makeup And Wash Your Face
Before attempting any skincare routine, you need to start by cleaning your face. You can choose to do it with water, or a makeup removal wipe, but make sure there are no traces of makeup or cleanser residue left after you have cleaned your face. Makeup should be removed using the designated product first. Afterward, apply a facial cleanser and clean your face with lukewarm water, and then pat it dry. This final step is very effective when performed under a hot shower, which will also help to loosen any stubborn dirt and oil.
Step 2: Apply A Serum Or Face Mask
To activate your face mask or serum, simply warm it up by gently rubbing it in the palms of your hands. To apply it, press it firmly over the face and then let go. It will seal your pores and protect them from any dust or debris trying to settle in the pores.
Step 3: Prepare The Source Of Your Ice Facial
Depending on what you want to choose as the medium of your ice facial, you need to prepare it too. You need to be patient until your mask or liquid takes effect, so we suggest you put on some candles and music and let the mask stay for some time. In the meantime, you may get your refrigeration ready. For example, if you want to use spoons, you need to make sure you keep them in the refrigerator.
The preparation varies from person to person and depends on whether a solution or a mask is desired. If you want to use a sheet mask, the cold source should be rinsed with water to prevent it from clinging to the mask. Now you may follow the steps and put them directly over the sheet mask.
If you’re using a compress, wet it down (for example, with water and cotton gauze) and squeeze out the excess liquid. Next, place the cold source inside the compress. Then, put it on your face.
Quicker and more thorough treatment of both of your face’s sides at once is possible if you have two cold sources ready.
Step 4: Apply The Cold Source
As soon as your serum or mask has dried completely, grab one cold object in each hand and rub it gently into your face. While applying a compress, start in the middle of your forehead and work outward. Repeat this process, this time working your way up the face from the bottom, starting with the jaw. Next, go to the face center. Put in sufficient time resting your eyes.
The final step is to focus on your upper body. There should be no discomfort throughout this operation, but if there is, you should consult a skin care expert right away. Also, the entire process shouldn’t take longer than three minutes. When done for longer than that, it might cause redness and irritation to the skin.
Step 5: Apply A Face Moisturizer
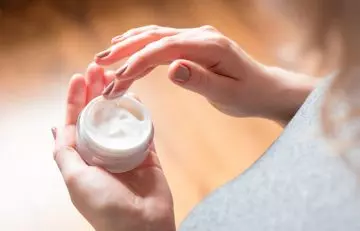
Take off your mask of choice and wash your face well with lukewarm water. If you don’t have time for that, just use your usual face cream and warm it between your fingers before massaging it into the skin in upward strokes.
Ice facials are all the rage now among skin care routines, and we can guess why. Make sure you follow the instructions carefully and consult a dermatologist if you feel your skin is having frequent breakouts. So what is it about ice facials that you like the most? Let us know in the comments section!
Sources:
- Safety and effectiveness of focused cold therapy for the treatment of hyperdynamic forehead wrinkles, NCBI
- Retinoids in the treatment of skin aging: an overview of clinical efficacy and safety, NCBI


