How Can You Fix A Broken Nail At Home
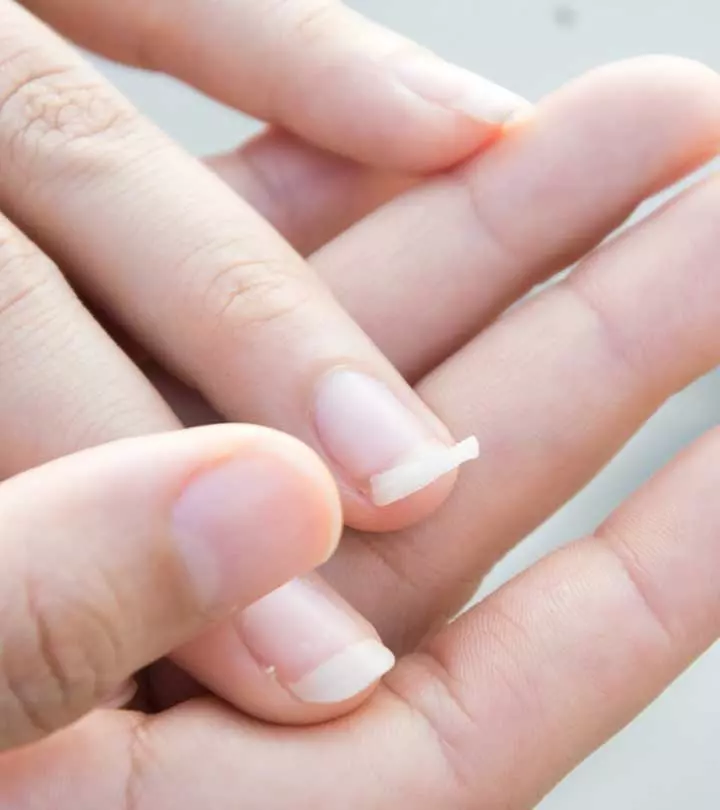
Image: Shutterstock
There’s nothing more frustrating than experiencing a broken nail, especially when you want to keep your nails looking beautiful and well-maintained. But fear not, we are here to help you tackle the issue from the comfort of your home. Whether you’ve chipped, cracked, or broken your nail, we’ve got you covered with various DIY solutions to restore your nails to their former glory. Get ready to embrace beautifully repaired nails with confidence and style! Read on!
In This Article
Preparatory Steps For Fixing A Broken Nail
Before diving into the methods to fix your broken nail, it’s essential to properly prepare the nail for repair. Follow these simple steps to ensure best results:
Step 1: Ensure The Nail Is Plain
Make sure your broken nail is free from any base coat or polish. A clean and bare surface is ideal for an effective repair.
Step 2: Cleanse Your Hands
Wash your hands with soap to remove any dirt or debris from the affected nail. Pat them dry with a clean towel.
Step 3: Disinfect The Nail
To maintain a germ-free environment, use rubbing alcohol to disinfect the broken nail thoroughly. This step also helps eliminate any excess oils that may hinder proper adhesion.
With these steps completed, you’re now ready to explore the different ways to fix your broken nail, choosing the method that suits the materials you have available. Let’s proceed with confidence and get your nails back to looking flawless in no time!
1. Paper
What you’ll need:
- A sheet of paper
- Scissors
- Clear nail polish
Step 1: Prepare The Paper
Take a sheet of paper and cut out a small piece that matches the shape and size of your broken nail. This piece will act as a temporary patch to repair the nail.
Step 2: Apply Clear Nail Polish
Using clear nail polish, apply a thin layer to the broken nail. The clear polish acts as a bonding agent for the paper patch.
Step 3: Place The Paper Patch
While the clear nail polish is still wet, carefully place the cut-out paper piece over the broken area of your nail. Gently press it down to ensure proper adhesion.
Step 4: Seal With Another Layer Of Polish
To secure the paper patch in place, apply another layer of clear nail polish over the top. This will help protect the patch and keep it securely attached to the nail.
Step 5: Conceal With Colored Nail Polish
Once the clear nail polish has dried, you can apply colored nail polish over the entire nail to hide the paper patch. Choose a shade that matches your desired look, ensuring the paper remains discreet and unnoticeable.
2. Tea Bag
What you’ll need:
- A tea bag
- Scissors
- Nail glue
- Nail file
Step 1: Prepare The Tea Bag
Begin by taking a tea bag and cutting it open to empty the tea leaves. Cut a strip from the tea bag that is large enough to cover the entire broken area of your nail.
Step 2: Apply Nail Glue
Coat your entire nail with nail glue. Ensure that the glue is evenly spread over the nail’s surface.
Step 3: Attach The Tea Bag To Strip
Immediately after applying the nail glue, carefully place the tea bag to strip on your nail. Gently smooth it down using your hands or a nail file to ensure it adheres securely to the nail. Allow it to dry completely.
Step 4: Add Another Glue Layer
Apply another layer of nail glue over the tea bag patch, covering the entire surface of the nail. This second layer of glue will reinforce the repair and provide added durability.
Step 5: Smooth And Beautify
Once the second layer of glue is dry, use a nail file to gently smooth out the surface of your nail. File until the repaired area looks natural and seamless. Afterward, apply a base coat and your desired nail color as usual to complete the look.
3. Tape
What you’ll need:
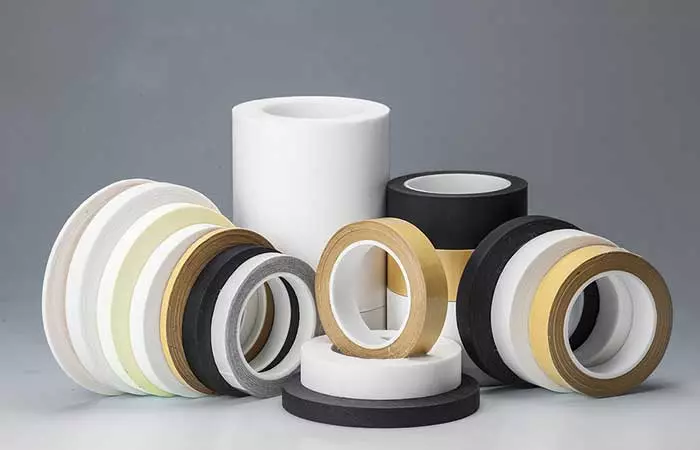
- Clear tape (Scotch tape or gift-wrapping tape)
- Scissors
- Tweezers
Step 1: Cut The Tape
Begin by cutting out a piece of clear tape that is large enough to cover the broken area of your nail.
Step 2: Attach The Tape
Using tweezers, carefully place the cut-out tape piece on your nail to cover the entire broken area. Gently press it down to ensure it adheres firmly to the nail. With this easy tape method, you can provide temporary protection to your broken nail until you’re ready to implement a more permanent solution.
4. Baking Soda
What you’ll need:
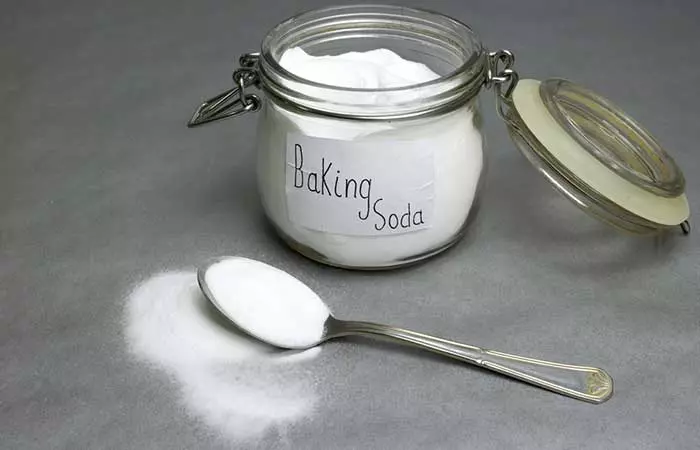
- Baking soda
- Nail glue
- A toothpick
- Nail file
Step 1: Apply Nail Glue
Begin by placing some nail glue on the broken part of your nail. Use a toothpick to spread the glue evenly all over the cut, ensuring it penetrates inside the broken area as well.
Step 2: Add Baking Soda
Next, dip the glued part of your nail into some baking soda, focusing on the area with the applied glue. Afterward, remove the nail from the baking soda, wiping away any excess.
Step 3: Smooth And Strengthen
Use a nail file to gently smooth the fixed area, ensuring it blends seamlessly with the rest of your nail. Repeat the application of glue and baking soda as needed until your nail looks natural and strengthened.
Whether you choose the tape method for quick protection or the baking soda method for added strength, both techniques offer efficient and simple ways to mend your broken nail at home. Embrace these DIY solutions for beautifully repaired nails until you’re prepared for a more permanent nail fix. So, what is your favorite method to fix your nails? Let us know in the comments section!


