Learn How To Cut A Bob Hairstyle On Your Own
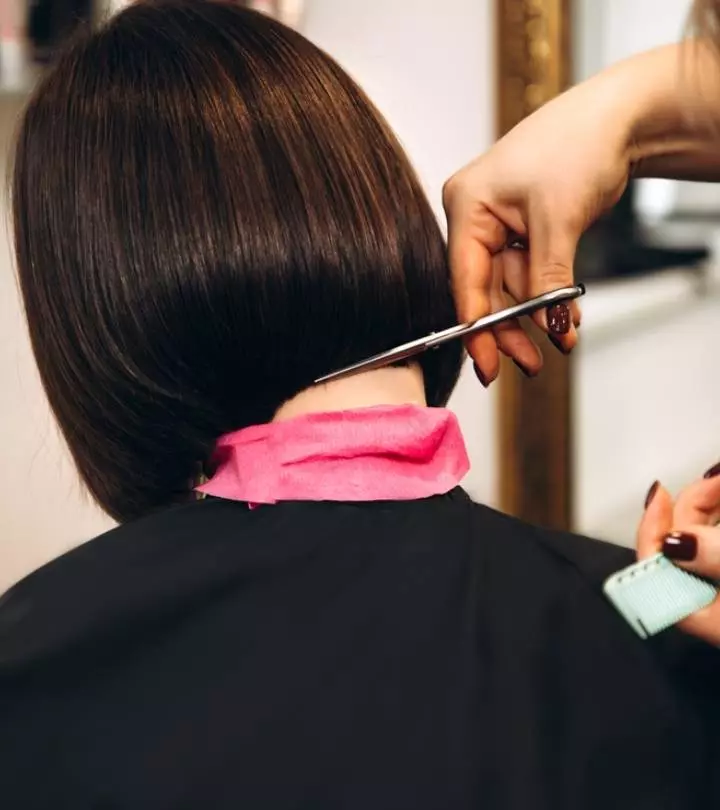
Image: Shutterstock
There’s something very chic and timeless about a bob haircut. It’s a versatile style that suits almost every face shape and hair type. The best part? You don’t always have to head to the salon to get that perfect bob. With the right tools, a bit of patience, and a dash of creativity, you can learn how to cut a bob hairstyle on your own. In this article, we’ll explore the step-by-step process to help you achieve that salon-worthy bob right from the comfort of your home. Read on!
In This Article
Gather Your Tools
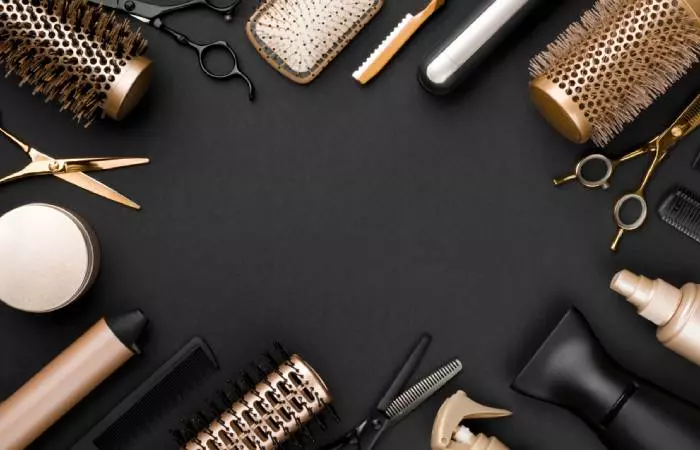
Before anything, make sure you have the right tools. Here’s what you’ll need:
- A pair of sharp hair-cutting scissors
- A fine-toothed comb
- Hair clips or ties
- A handheld mirror
- Hair straightener or curling iron
- A sink with a mirror or a well-lit space
Choose The Bob Style
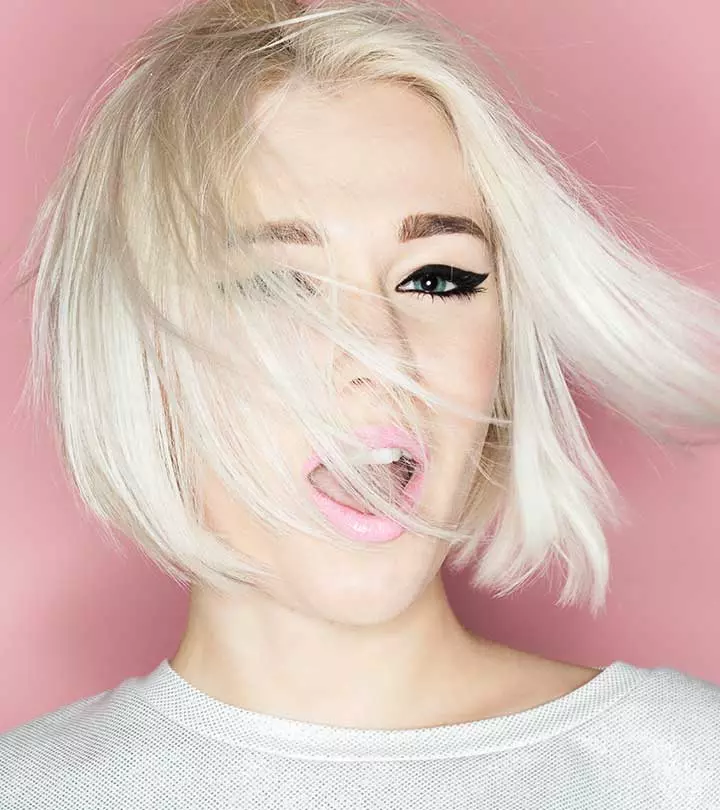
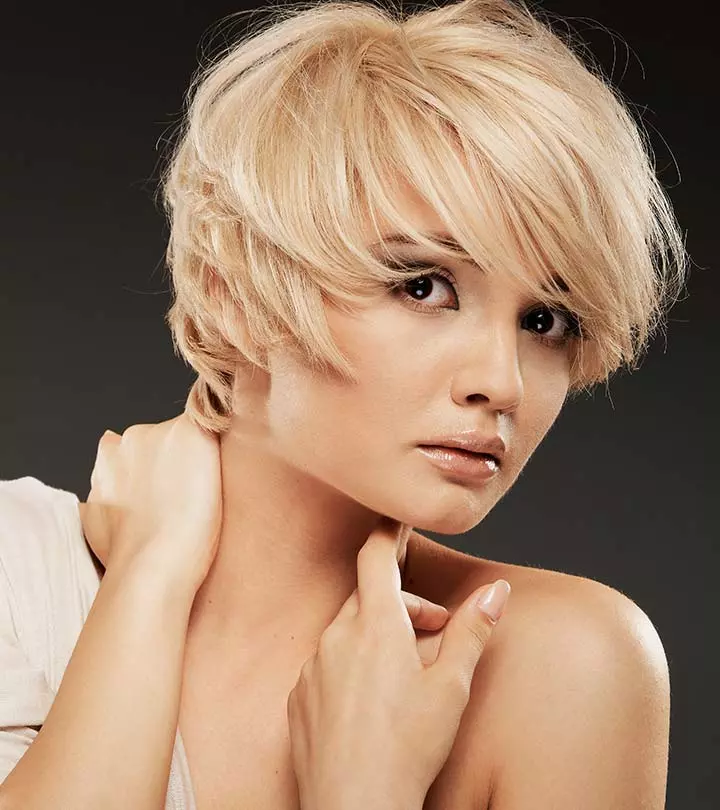
The beauty of a bob haircut lies in its many variations. Before you start, decide on the specific bob style you want. Some popular choices include- the classic bob, the asymmetrical bob, and the textured bob. Take your time to research different styles and find one that suits your face shape and personality.
Wash And Dry Your Hair
Start by washing your hair to ensure it’s clean and manageable. After washing, let your hair air dry. It’s important to cut your hair when it’s dry because wet hair can appear longer, and you might end up cutting more than you intended.
Part Your Hair
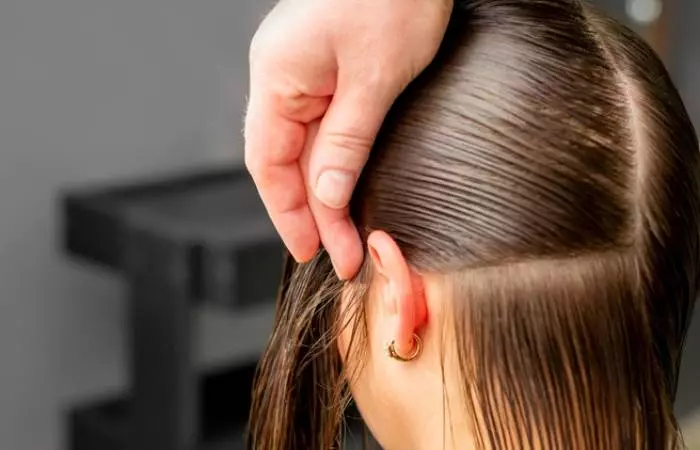
Once your hair is dry, part it as you normally would. You can choose a center part, a side part, or no part at all, depending on your preferred style. For beginners, a center part is often the easiest to work with, as it provides symmetry.
Section Your Hair
To make the cutting process smoother, divide your hair into sections. Start by separating the front and back sections. Use hair clips or ties to secure the back portion, so you can focus on the front.
Create A Guideline
Now comes the crucial step of creating a guideline for your bob. A guideline is essentially the length at which you want your bob to end. Here’s how to do it:
- Begin by standing in front of the mirror, holding a small section of your hair near the front as your first guideline.
- Tilt your head slightly down and cut this section to your desired length. Remember that it’s always safer to cut a bit longer than you think you want; you can always trim more later.
- Use this first cut section as a guide to cut the rest of the hair in that front section. Ensure you cut each strand to the same length as the guideline you’ve created.
Work On The Back Of Your Hair
Now it’s time to tackle the back section. This is where a handheld mirror can come in handy. Stand with your back to the main mirror and use the handheld mirror to see the back of your head. It may take a bit of practice to get used to this process.
- Starting from the center, use the guideline you created in the front as a reference point.
- Cut the hair in the back to the same length as the front. Take your time and be patient.
- Continue working your way around the back of your head, always using the front guideline to ensure even length.
Create Layers
If you desire a layered bob, you can add layers to your haircut. To do this, hold sections of your hair at a 45-degree angle and snip into them, creating the layers. The key is to keep it subtle and not go overboard with layering. You can always add more layers later if needed.
Check For Evenness
Once you’ve cut your bob, check for evenness. This is where a fine-toothed comb and your hair straightener or curling iron can come in handy. Run the comb through your hair and make small adjustments if you notice any uneven lengths.
Styling Your DIY Bob
Congratulations, you’ve successfully cut your bob! Now it’s time to style it. Use a hair straightener or curling iron to add some texture or curl to your new haircut. You can also experiment with different products to achieve the look you desire.
Final Touches And Clean-Up
After you’ve styled your bob, it’s time for some final touches. Check for any stray hairs and trim them if necessary. Make sure your bob is symmetrical and polished.
After completing your DIY bob, don’t forget to clean up your space and wash your tools to keep them in good condition for future use.
While it may take a few attempts to master the technique, the satisfaction of achieving a stylish bob without a trip to the salon is well worth the effort. Remember, practice makes one perfect, and over time, you’ll become more confident in your hair-cutting abilities. So go ahead and enjoy your fabulous new bob!


